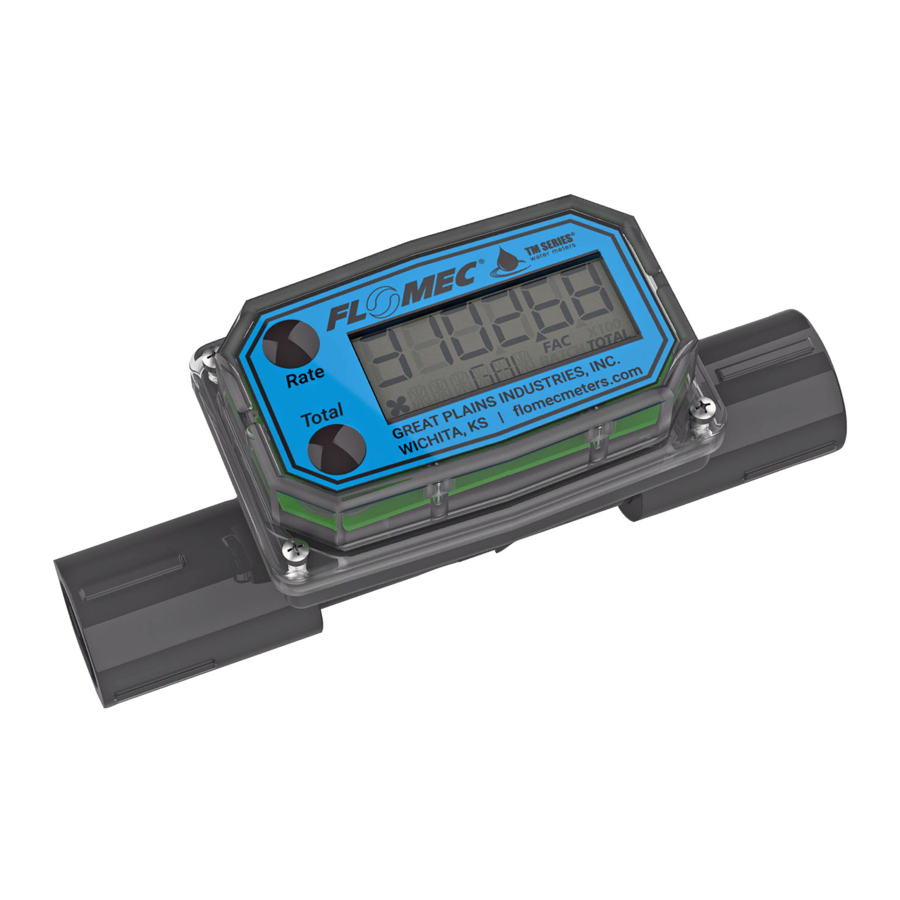
Flomec Q9 Quick Start Manual
Computer retrofit kit electronic digital meters
Hide thumbs
Also See for Q9:
- Owner's manual (60 pages) ,
- Product owners manual (36 pages) ,
- Installation instructions (2 pages)
Advertisement
Table of Contents
This Kit includes:
•
(1) Replacement Computer Assembly with (2) (AAA) Alkaline Batteries
•
(4) Screws (4-40 X 3/8" Machine Screws) For Metal Body Turbines
•
(4) Screws (4-20 X 3/8" Plastite Screws) For Plastic Body Turbines
•
(1) Seal
•
(1) Battery Pad
•
(1) Coil Assembly w/Glue Dot
Installation Instructions:
1. Your meter must be installed with the arrow pointed in the direction of flow.
Note: You can rotate the computer display 180 degrees before it is installed.
2. Check that the batteries are secure in the back of the computer.
3. Clean the bottom surface of the coil counter bore of your meter housing. This
surface will be used to secure the coil assembly with permanent adhesive. Then,
remove and discard the peel off liner from the bottom of the coil to expose the
glue dot permanent adhesive. (See Figure 1)
4. Adhere the coil / glue dot combo to the coil counter bore surface previously
cleaned, visually centered (see Figure 2). NOTE: The glue dot is permanent
adhesive and the coil cannot be maneuvered once contact is made with the
counter bore surface. Press firmly on the top of the coil with finger or other
object to ensure it is fully adhered to the surface.
5. Place the battery pad into the computer mount cavity, connect the coil wire to the
computer (see Figure 3), and mount the computer. Fasten the computer to the
turbine through the four corner holes in the faceplate using the screws provided
(4-40 x 3/8" for metal body turbines or 4-20 x 3/8" for plastic body turbines). Make
sure the seal is fully seated in the computer housing groove before tightening the
screws.
6. Check meter accuracy before using. Make sure there is no air in the system by
starting the flow until it runs steadily. Then stop the flow using a valve or nozzle.
7. Hold down DISPLAY button for three seconds to reset the meter's Batch Total to
zero. When zeroes appear, release the button.
8. Meter an exact known volume into an accurate container. For best results, meter
with one continuous full stream.
9. Check the readout. If the amount metered is accurate, field calibration is not
necessary. If not, refer to the Field Calibration Section in your Owner's Manual.
Q9 Computer Retrofit Kit
A1 & 03 Electronic Digital Meters
920896-11 Rev.-
Advertisement
Table of Contents

Subscribe to Our Youtube Channel
Summary of Contents for Flomec Q9
- Page 1 Q9 Computer Retrofit Kit A1 & 03 Electronic Digital Meters This Kit includes: • (1) Replacement Computer Assembly with (2) (AAA) Alkaline Batteries • (4) Screws (4-40 X 3/8" Machine Screws) For Metal Body Turbines • (4) Screws (4-20 X 3/8" Plastite Screws) For Plastic Body Turbines •...
- Page 2 Figure 1 Figure 2 Figure 3...


Need help?
Do you have a question about the Q9 and is the answer not in the manual?
Questions and answers