Table of Contents
Advertisement
Quick Links
Advertisement
Table of Contents

Summary of Contents for Christie Brio
- Page 1 Brio User Guide 020-101213-05 Brio User Guide 020-101213-05 Rev. 1 (06-2014)
- Page 3 Brio User Guide 020-101213-05...
- Page 4 Performance specifications are based on information available at the time of printing. Christie makes no warranty of any kind with regard to this material, including, but not limited to, implied warranties of fitness for a particular purpose.
-
Page 5: Table Of Contents
Sketching .......................... 33 Administration ........................35 System Settings Page ......................35 General Tab ........................35 Network Tab ........................37 Connect Brio to a Network ....................40 Software Tab ........................41 Security Tab ........................43 Mounting Options ........................45 Brio User Guide 020-101213-05 Rev. 1 (06-2014) - Page 6 Mount Brio in a Rack ......................45 Mount Brio under a Desk ..................... 45 Mount Brio behind a Monitor ....................46 Cable and Power Connections and Status LED................49 Periodic Maintenance .......................51 Safety Precautions ........................53 Warnings ........................... 54 SBC Battery Warning ......................54 Service Warning .........................
-
Page 7: Welcome To Brio
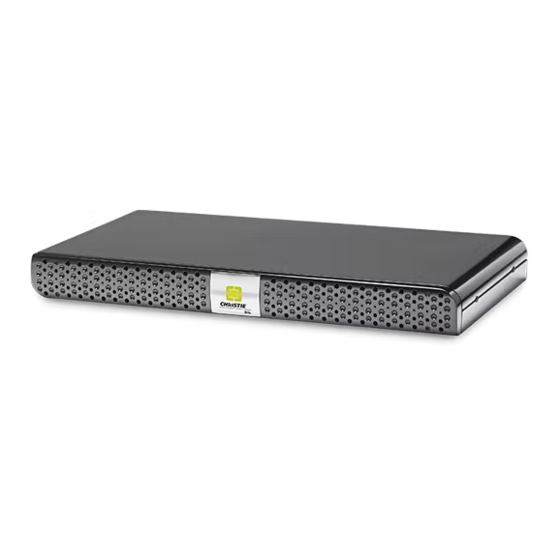
Welcome to Brio Brio is a presentation and collaboration solution that makes it easy to share and compare up to five presentations with others. With a few quick keystrokes or taps on your Mac, PC, iPad, or, wired or wireless device, you can share your audio, high definition video, whiteboards, and other information in a single room or with multiple people in multiple locations. -
Page 8: Set Up
Set up Required accessories: Two DVI cables to connect the displays to the Brio Speakers and related cables Ethernet cable to connect to a network or a wireless router A device with a Web browser Some connectors on the rear panel have been closed off with connector plugs. Do not remove these. - Page 9 Tab, page by meeting participants, or set up the PtP Option connection. 7. To power on Brio, plug it in and press the power switch. The LED turns solid green when Brio is ready. When powered on, the splash page provides tips for getting started.
-
Page 10: Set Up Ptp Connection (Optional)
Set up PtP Connection (Optional) The PtP connection requires the optional wireless adapter and a license for this feature. When the Brio is set up with a PtP connection, it is isolated and meetings with other Brios are not supported. -
Page 11: Meeting Manager
The splash page is displayed when Brio is powered on. The splash screen background image displays the IP address for the Brio, the current meeting password (if set), network information to help you connect to Brio, and an optional message (if defined). -
Page 12: Connect To The Meeting Manager
You can connect to the Meeting Manager using a browser-capable device. Your device must be on the same network as Brio. If security is enabled for the Meeting Manager, a password is required to access the Meeting Manager. Refer to Security (page 14). -
Page 13: Ptp (Point-To-Point) Connection
When hosting a meeting, the content on Output A (the area outlined in green) is shared with the attendees that have one display connected to Brio. If the attendees have two displays connected to their Brio, all the content is shared. -
Page 14: Security
Security Securing the Meeting Manager prevents unauthorized devices from connecting to Brio and it also limits access to the interface page. 1. To secure access to the Meeting Manager, click Security. 2. Type a password (a minimum of four characters) and enter the duration to secure the Meeting Manager, and then click Start. -
Page 15: Source List
Auto-show Select to automatically show the source in the presentation area when the source is connected to Brio. Clear to disable automatic preview. If disabled, use the preview button to preview the source. Select to display the source numbers on the sources in the presentation numbers area. -
Page 16: Reorder The Sources
These numbers are useful when organizing your presentation. Preview your Sources When sources are connected to Brio, they are automatically displayed on the presentation area unless you have elected to preview them first. To preview sources before they are displayed in the presentation area: Clear the Auto-show check box. -
Page 17: Meetings
Meetings You can start a meeting with local attendees or a multisite meeting (license required) with other Brio locations. Whoever starts the meeting is the meeting host. In a multisite meeting, the host can add or remove meeting attendees and ask attendees to be meeting presenters. - Page 18 Click Add. Click Name or Location to sort the list. Type a name, location, and IP address for the Brio unit and click Save. Names are case sensitive. Delete an address from your address book Click Address Book.
-
Page 19: Start A Meeting
The presenter’s whiteboard is shared with all meeting attendees. To invite other Brios to a multisite meeting, click Start. Select the check box associated with the desired attendees and click Start. Click Name or Location to sort the list. Brio User Guide 020-101213-05 Rev. 1 (06-2014) -
Page 20: Join A Meeting
Join a Meeting When you are invited to a meeting, you receive a meeting request through the Brio Meeting Manager. You can join the meeting or decline the request. You can also join a meeting by requesting to join.


Need help?
Do you have a question about the Brio and is the answer not in the manual?
Questions and answers