Advertisement
Charging Instructions
To ensure long term performance charge battery for 24 hours or more before first use.
Charge time 3 to 4 hours
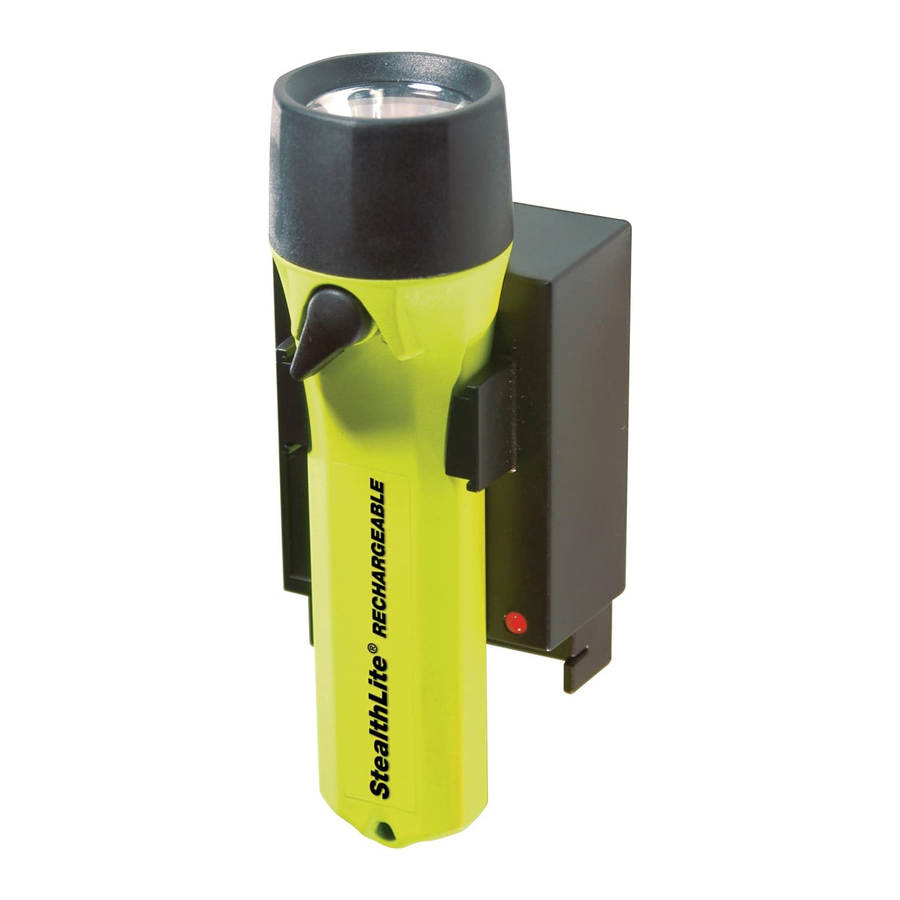
- Push the AC/DC Power Transformer plug into the Charger Socket (the transformer socket is located in a pocket in the base). Plug transformer into electrical receptacle. The LED should be SOLID GREEN.
- Insert the flashlight into charger base until locked in position. The LED will pulse RED.
- When the LED changes to SOLID GREEN the light is fully charged and ready to use.
On/Off
Swing the switch lever to the right (light facing away from you) until light activates. To turn light off, swing the switch lever to the left (light facing away from you) until the light goes off.
Battery pack installation
- Remove lens housing by turning counter-clockwise.
- Remove the lamp and contact module.
- Remove used batteries and replace with fresh batteries as shown on the outside of the engraved body.
- Replace the contact module and lamp.
- Replace lens housing squarely on threads and turn clockwise while pressing on the lens housing slightly.
Alkaline battery (Option)
Insert 4 AA cell batteries (2 in-line with + end up and 2 in-line + end down) as indicated on the outside of the engraved body.

Do not charge alkaline batteries.
Lamp replacement
To replace the lamp module follow steps in the battery installation section as listed below:
To remove lamp module follow steps #1 and #2.
To replace lamp module follow steps #4 and #5.
Explosion Hazard - Substitution of components may impair suitability for use in hazardous locations
Explosion Hazard - Batteries must only be changed and/or charged in non-hazardous locations.

If light is not to be used for some time, remove batteries to prevent possible leakage and corrosion.
Charger base mounting instructions
The charger base can be permanently mounted using double sided tape (included) or with two #8 screws (not included).
Vehicle installation
The charger base can be permanently mounted in most vehicles and this operation should be performed by a professional auto technician. When installing the charger, ensure that the DIRECT WIRING RIG is connected to an ignition key-switch line. The high amperage draw of the charger may drain the vehicle's battery if connected directly to the battery.'
Product specifications
Lamp Type: Xenon
Lamp Life: 30 hours
Battery Type: 4.8V NiMH (4-cell)
Battery Brand: Use Pelican Cat. #2469
Hydrogen gas absorber
Internal catalyst pellets, located on the lamp, are there to help absorb hydrogen gas that could possibly be emitted by defective, leaking, reversed polarity or heavily discharged batteries. If the pellets become lost or damaged, replace lamp immediately. If pellets become wet, let them air dry. Pelican Products assumes no liability for any brand of batteries which are defective or cause injury to anyone when used in any Pelican flashlight.
Replacement parts
| CAT # | DESCRIPTION |
| 2401 | O-ring |
| 2404 | Xenon Lamp |
| 8056 | 12v Plug In Charger Cord |
| 2467F | 110v Transformer |
| 2470F | Handy Desk / Dash Smart Charger Base |
| 2469 | Replacement NiMH Battery |
| 6061 | Direct Wiring Rig |
23215 Early Ave.
Torrance, CA 90505 (310) 326-4700
FAX (310) 326-3311
www.pelican.com
All trademarks and logos displayed herein are registered and unregistered trademarks of Pelican Products, Inc. and others.
2453-313-002 5-0784 REV A © 2010 Pelican Products NO/10

Documents / Resources
References
Download manual
Here you can download full pdf version of manual, it may contain additional safety instructions, warranty information, FCC rules, etc.
Download PELICAN StealthLite 2450 - Rechargeable Flashlight Manual
Advertisement


Need help?
Do you have a question about the StealthLite 2450 and is the answer not in the manual?
Questions and answers