Advertisement
- 1 Flashlight Operation
- 2 Low Battery Indication
- 3 Battery Replacement
- 4 To charge the 8060
- 5 To Attach the AC/DC Power Transformer
- 6 Battery Care
- 7 Charger Mounting
- 8 Vehicle Installation
- 9 O-Ring Maintenance
- 10 PRODUCT SPECIFICATIONS
- 11 Battery Safety Information
- 12 PELICAN LIMITED LIFETIME GUARANTEE OF EXCELLENCE
- 13 Videos
- 14 Documents / Resources

Before disassembling any part of the 8060 flashlight, ensure that the flashlight has not been operating for five (5) minutes prior to removing the lamp module. During operation, the lamp module can become extremely hot and may cause injury if touched.
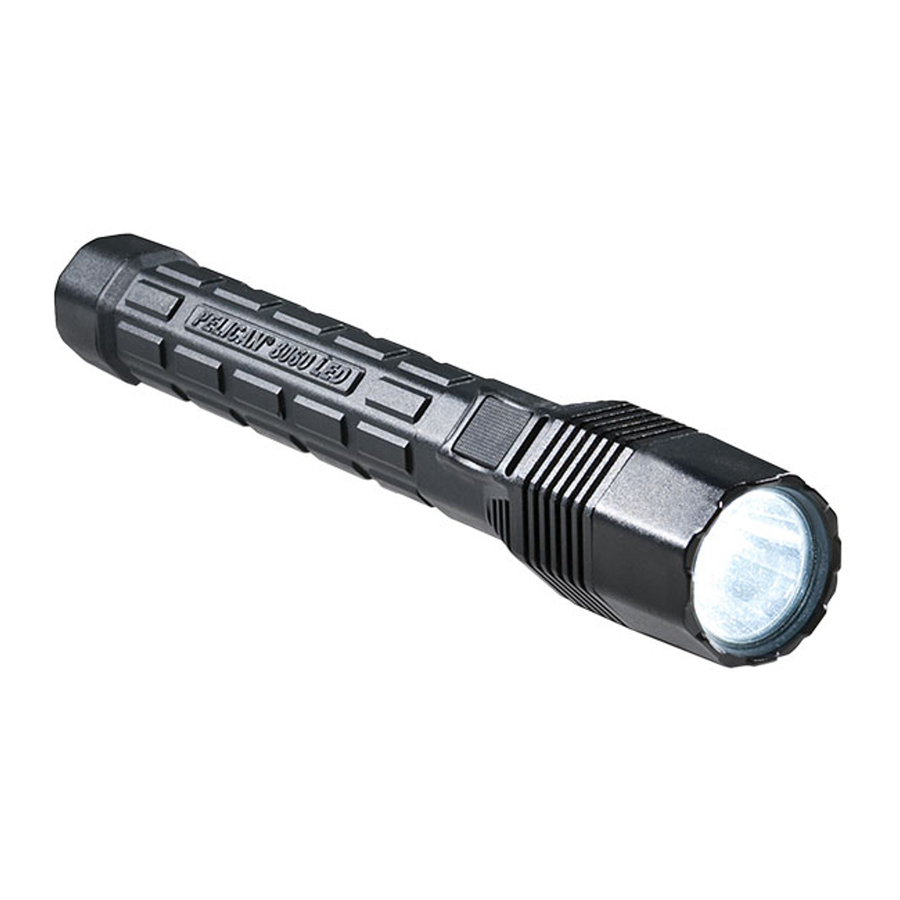
Flashlight Operation
The 8060 is a high performance flashlight for use by professionals. This flashlight comes equipped with a high output LED pre-focused lamp module that emits a strong tight beam of white light. There is no need to focus the 8060.
Your 8060 battery pack comes to you partially charged and will need to be charged for at least 24 hours prior to use.
To select a program, partially depress the button repeatedly within.5 seconds of each other (momentary press, do not click) as indicated in the table below and HOLD until the 8060 flashes in acknowledgment. The light will flash to let you know that a new program has successfully been selected. The number of confirmation flashes indicates the program number. Now set.
| Momentary presses | Confirmation flashes | ||
| Program 1 (default) | High > Strobe > Medium > Low | 8 | * |
| Program 2 | High Only | 10 | ** |
| Program 3 | High > Medium > Low > Flashing | 12 | *** |
| Program 4 | Low > Medium > High > Flashing | 14 | **** |
To change the mode within a program, depress the button (momentary, do not click) once for each step in the program. Presses need to be within.5 second. Fully depress the button to turn OFF from any activated mode. Depress fully in order to lock in the chosen mode.
Low Battery Indication
A red flashing LED (mounted in front of the switch area) indicates a below 25% charge level has been reached. The light should be charged as soon as possible.
Battery Replacement
After an an extended period of use, the NiMH battery stick may no longer hold a charge and must be replaced. The battery stick is available at any location where Pelican flashlights are sold or directly from Pelican Products, Inc.
Note: The 8060 flashlight can also perform using 4 "C" cell disposable alkaline batteries in place of the rechargeable NiMH battery stick. Make sure to remove alkaline batteries prior to attempting to charge the 8060 flashlight.
To replace the battery stick:
- Unscrew the rear battery cap.
- Remove the old battery stick.
- Install new battery stick with the positive end (+) first.
- Replace the battery cap.
NOTE: Please act responsibly when disposing of the NiMH Battery Stick. This part is recyclable and should not be disposed of in the municipal waste system. Please check with your local waste disposal authority for information.
To charge the 8060
The charger is capable of charging the battery pack in under 5 hours. The LED Charge Lights will indicate where the battery is in the charge cycle as follows:
Solid Red = 8060 Not Connected
Flashing Red Light = 8060 Fast Charging
Solid Green Light = 8060 Fully Charged
The 8060 will need to run through several charge/discharge cycles before achieving maximum lamp run-time There is no need to fully discharge the 8060 before charging the battery. Charging can occur whenever required and the 8060 can be left indefinitely in the charger housing without fear of over-charging.
To Charge:
- Turn off the 8060.
- Snap the 8060 into the arms of the charger with the switch facing towards you and the charger contacts engage with the 8060 contacts. The LED will turn from a SOLID RED to a FLASHING RED to indicate the fast charging cycle.
- When the LED turns SOLID GREEN the battery pack is fully charged.
NOTE: A flashing green LED indicates a charging problem. Remove the flashlight from the charger and clean the charging contacts. If the problem persists, please return the flashlight for warranty related repair.
To Attach the AC/DC Power Transformer
- Rotate the charger so that the base is facing towards you.
- Take the right angled plug from the power transformer and push the metal end into the socket located in a pocket in charger base. You may need to use a small flat screwdriver to gently guide the plug into the socket.
- Feed the cord into the channel leading from the pocket.
Battery Care
The 8060 battery pack will only reach maximum capacity after a number of charge/discharge cycles have occurred.
- Do not operate your 8060 flashlight beyond the point where the lamp becomes dim. Operating beyond this point will damage the battery cells and shorten their life.
- Do not over discharge your flashlight in an attempt to reduce a "memory" condition.
This practice is unnecessary as modern NiMH batteries, when used in flashlights such as the 8060, are highly unlikely to develop this condition. In addition, deep discharging of the batteries may cause the batteries to vent potentially dangerous gases and electrolytes.
Charger Mounting
The 8060 charger base can be permanently mounted in most positions except upside-down in vehicles. Two mounting holes are provided to enable attachment using #10 screws. The AC/DC power transformer must be connected before the charger can be mounted (see above).
Vehicle Installation
The 8060 charger can be permanently installed in most vehicles and this operation should be performed by a professional auto technician. The charger should not be installed upside down since certain conditions may cause the 8060 to be ejected from the charger. When installing the charger, ensure that the Direct Wiring Rig (sold separately) is connected to an ignition key-switched line. The high amperage draw of this charger may drain the vehicle's battery if connected directly to the battery.
O-Ring Maintenance
Remove any dirt or foreign matter from O-ring sealing surfaces. Keep O-rings lubricated with silicone grease.
| CAT # | DESCRIPTION |
| 8056F | 12V PLUG-IN CHARGER CORD FOR FAST CHARGER |
| 6057F | 110V TRANSFORMER FOR FAST CHARGER |
| 8069 | REPLACEMENT NiMH BATTERY PACK |
| 8070F | DESK/DASH FAST CHARGER BASE UNIT |
| 6061F | DIRECT WIRING RIG FOR FAST CHARGER |
| 8052YW | TRAFFIC WAND (Yellow) |
| 8052OR | TRAFFIC WAND (Red) |
| 8060FBC | 5 BANK CHARGER |
PRODUCT SPECIFICATIONS
Lamp Type: LED
Battery Run Time: 2.5 - 69.0 w/NiMH Batteries
Battery Type: 4C NiMH Rechargeable Stick
Battery Safety Information
HANDLE AND STORE BATTERIES PROPERLY TO AVOID INJURY AS DAMAGE BATTERIES CAN BE DANGEROUS!
Most battery issues arise from improper handling of batteries, and particularly from the use of damaged or counterfeit batteries. Please review the information below to avoid serious injury and/or damage to your property.
Rechargeable Batteries
- Hazardous location safety approvals for explosive environments are only valid for the Pelican battery pack that is supplied with the light.
- For replacement battery packs only use the approved Pelican battery pack for the model of the light that you are using. The use of other battery packs will invalidate the safety approval.
- Lights should only be charged in a non-hazardous location.
- Lights should only be charged using the Pelican charger base that is supplied with the light.
- Lights should be charged and operated between the temperatures shown:
Charge Temperature: -20°C to 50°C (-4°F to 122°F)
Operating Temperature: -20°C to 50°C (-4°F to 122°F) - Do not charge with alkaline batteries installed in the light. Attempting this can cause internal gas or heat generation resulting in venting, explosion or possibly fire.
- Deep discharge of the rechargeable battery may cause batteries to vent potentially dangerous gasses and electrolytes.
Always dispose of all batteries properly at an approved battery recycling center.
PELICAN LIMITED LIFETIME GUARANTEE OF EXCELLENCE
Pelican Products, Inc. guarantees its lights for a lifetime against breakage or defects in workmanship. This guarantee does not cover the lamp or batteries.
To make a warranty claim, the purchaser must contact Pelican Products, Inc. at 23215 Early Avenue, Torrance, CA 90505 or csrwarranty@pelican.com, or by calling 1-800-473-5422, extension 5.
In Australia: To make a warranty claim, the purchaser must contact Pelican Products Australia, Suite 2.33, West Wing, Platinum Bldg., Erina NSW 2250, Tel: +612 4367 7022.
Lifetime Guarantee does not cover Roto Molded cases, Refer to www.pelican.com/warranty for full details.

23215 Early Ave. • Torrance, CA 90505 USA
Tel 310.326.4700 • FAX 310.326.3311 • www.pelican.com
PELICAN PRODUCTS ULC
10221-184th Sreett. • Edmonton, Alberta T5S 2J4 Canada
Tel.780.481.6076 • FAX 780.481.9586 • www.pelican.ca
8063-311-002 5-11368 Rev A JA/15
© 2015 Pelican Products
All trademarks are registered and/or unregistered trademarks of Pelican Products, Inc., its subsidiaries and/or affiliates.

VideosPelican 8060 LED Flashlight - Programming
Documents / Resources
References
![www.pelican.com]() Warranty Support | Pelican
Warranty Support | Pelican![www.pelican.com]() Cases, Flashlights, Coolers, and Travel gear | Pelican
Cases, Flashlights, Coolers, and Travel gear | Pelican![www.pelican.ca]() Cases, Flashlights, Coolers, and Travel gear | Pelican
Cases, Flashlights, Coolers, and Travel gear | Pelican
Download manual
Here you can download full pdf version of manual, it may contain additional safety instructions, warranty information, FCC rules, etc.
Advertisement


Need help?
Do you have a question about the 8060 and is the answer not in the manual?
Questions and answers