Njoy Garun Series Installation Manual
40 pieces battery cabinet
Hide thumbs
Also See for Garun Series:
- User manual (33 pages) ,
- Battery installation (7 pages) ,
- Installation and connection (7 pages)
Table of Contents
Advertisement
Quick Links
Advertisement
Table of Contents

Related Manuals for Njoy Garun Series


Summary of Contents for Njoy Garun Series
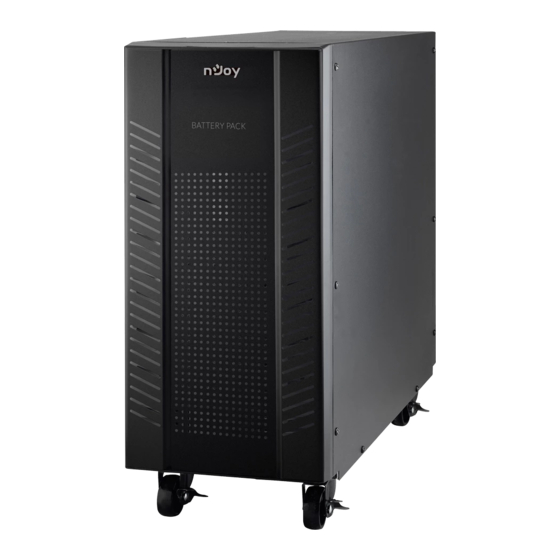
- Page 1 Garun Series 40 pieces battery cabinet UPBPTA1222AX-AZ01B Installation and battery connection for 40 pieces EBM, sequence (10+10 x 2) 150.1 Before using this product, carefully read all product documentation and retain it for future reference.
- Page 2 The battery pack is a product that works only with an UPS. The battery pack will provide or extend the backup time of your UPS. Left side view Garun Series models that are compatible with this EBM model: 10K VA Garun 10KL Step 2...
- Page 3 Step 3 Then, on the same tray, place another 7 Identify the placement of batteries upwards, with the trays in the battery cabinet, terminals down, this time existing on three levels: with the terminals towards down, middle and top. Put the left of the cabinet.
- Page 4 Step 7 The following connections are made (according to the diagram on pages 8-9). In the diagram each battery is coded according to tray level, side and number. For example. DR2 means battery no. two (counting from the front of the cabinet), from the Down tray, Right side of the cabinet: Step 5 Using cables no.1, connect all batteries on the 3 levels in series...
- Page 5 Front of the cabinet Front of the cabinet Switch Switch The second set of cables 5, 4 și 6 connect on the left side The second set of cables 5, 4 și 6 connect on the right side UR6 UR5 UR4 UR3 UR2 UR1 UL1 UL2 UL3 UL4 UL5 UL6 MR5 MR4 MR3 MR2 MR1 ML3 ML4 ML5 ML6 ML7...
- Page 6 Slide the top lid back on and secure it in place. Front of the Front cabinet of the cabinet Step 8 Left side view Make sure the cables are Left side view correctly connected on each side. Step 9 Switch the power to ON. The EBM is now active and functioning. NOTE! If you want to use only one battery string (10 + 10) x1, please populate Front...
- Page 7 Memo Disposal of Old Electrical & Electronic Equipment (Applicable in the European Union and other European countries with separate collection systems) This symbol on the product or on its packaging indicates that this product shall not be treated as household waste. Instead it shall be handed over to the applicable collection point for the recycling of electrical and electronic equipment.
Need help?
Do you have a question about the Garun Series and is the answer not in the manual?
Questions and answers