Advertisement
Quick Links
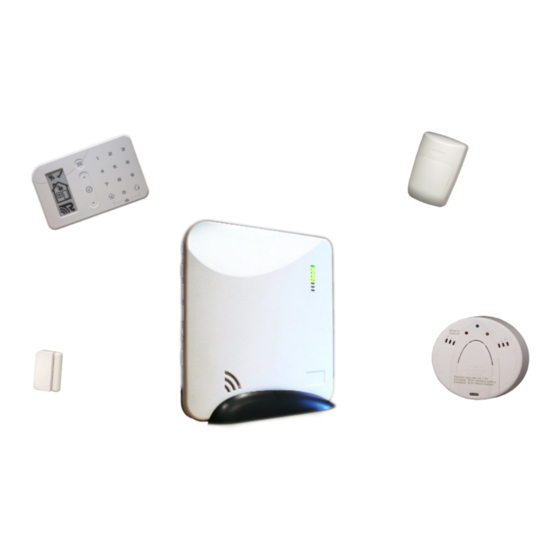
Installing Helix™ Demo and the Core CryptiX™ Sensors
Congratulations on purchasing the Helix platform!
This installation quick start guide will help the installer
manually set up the Helix system and enroll Resolution
CryptiX sensors to the panel.
But first, if you have not setup an account or registered
Helix please visit:
www.resolutionproducts.com/helixsetup
Advertisement

Related Manuals for Resolution Helix Demo


Summary of Contents for Resolution Helix Demo
- Page 1 Congratulations on purchasing the Helix platform! This installation quick start guide will help the installer manually set up the Helix system and enroll Resolution CryptiX sensors to the panel. But first, if you have not setup an account or registered Helix please visit: www.resolutionproducts.com/helixsetup...
- Page 2 Installing Helix: 1) Plug power supply into Helix and the selected outlet (no power strips). Preferably near the router. 2) Insert ethernet port into Helix and into the router. Wi-Fi: Press button router Helix enrollment button simultaneously. Helix will beep when successful. 3) Check Helix LEDs and ensure they are Network connectivity...
- Page 3 Installing Helix (cont.): 4) Download and use Applications for installation and control. 5) Either using the iTunes store or Google Play store on the smart device, search “SecureNet” in the search bar. Once search is complete, scroll down on page until you see the “SmartLink Security”...
- Page 4 Enrolling & Installing NanoMax: 1) Log into the demo portal at cloud.securenettech. com. Ensure panel communication status green reads “online”. Select “Helix Panel Settings” underneath “Alarm System” on the right side of the page. 3) Select the Zones/Add Device form tab at the top. 4) Under the “Add Device by Serial Number”...
- Page 5 Locate device’s serial number. NanoMax, the serial number is located on the battery tab or on the backside of the housing. 6) Enter the eight digit serial number into the “Serial Number” slot to the right of the zone name. No spaces are needed.
- Page 6 9) To test the NanoMax, arm the Helix system and break contact from the magnet by opening the door or window where NanoMax is installed. If installed correctly, Helix will sound the alarm. Disarm the system by entering your code on your smart device or keypad.
- Page 7 3) Select “Add Device by Serial Number” to enroll. Once enrolled, remove the battery tab to activate the sensor. Ensure battery maintains connection. Mount designated location using included screws mounting tape. 5) To test the PIR, arm Helix to “Arm Away” mode on keypad or smart device.
- Page 8 2) Locate the serial number on either the smoke or CO. Smokes: # is located on bottom CO: # is located on outside battery cover. 3) Enter serial number into the form and select “Add Device by Serial Number” when complete. 4) Activate the sensor by removing the battery tab.
- Page 9 Enrolling and Installing the HeliPAD 1) Remove HeliPAD from box, remove the battery tab, and locate the small, brown, Bluetooth enrollment button on the side of the Helix panel. Press Bluetooth enrollment button for 3 seconds, or until Helix beeps. You now have seconds enroll...
Need help?
Do you have a question about the Helix Demo and is the answer not in the manual?
Questions and answers