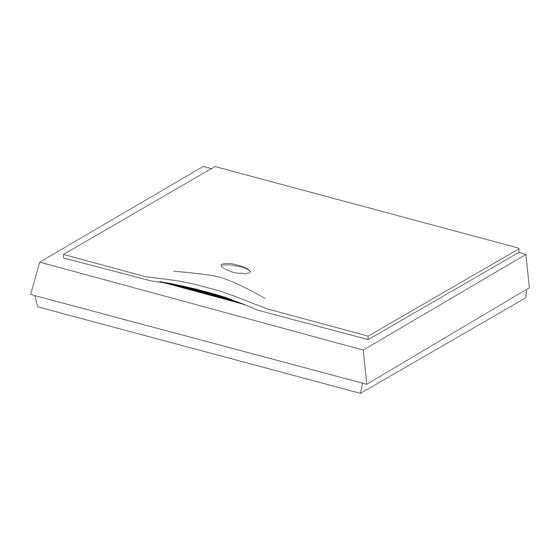
Summary of Contents for Microtek Vantas 3000
-
Page 1: Table Of Contents
Contents Introduction 3 Installation 4 Installing the software 5 Connecting the scanner 6 Uninstalling the scanner 6 Start scanning 7 Where to find the scanner commands 7 Scanning 8 Scanning settings 9 Appendices 14 Troubleshooting 14 Index 17... -
Page 2: Fcc Statement
FCC STATEMENT This device complies with Part 15 of FCC Rules. Operation is subject to the following two conditions: (1) this device may not cause harmful interference, and (2) this device must accept any interference received, including interference that may cause undesired operation. This equipment has been tested and found to comply with the limits for a Class B digital device, pursuant to part 15 of the FCC Rules. -
Page 3: Introduction
This manual shows you how. The Installation shows you how to connect the scanner to your PC and install the software. The next chapters, Start scanning, provide step by step instructions for scanning photos and documents. -
Page 4: Installation
Power adapter (12V) Scanner cable We also assume that you have checked out the system requirements and that your PC is suitable for this scanner. Just to make sure, please check that your computer: is a 486, Pentium or higher, IBM-compatible... -
Page 5: Installing The Software
3. The last screen in the setup wizard asks you to restart Windows. 4. Move on to the next section “Connecting the Scanner” for instructions on how to connect the scanner to your Note: If for any reason, the Setup doesn’t run automatically, please use the the Setup.exe file on the CD-ROM. -
Page 6: Connecting The Scanner
Uninstall from the “Start menu” (Uninstall Wizard) 1. From the Windows Start menu, select Programs, followed by the name of your scanner. 2. From the drop-down menu, select Uninstall. 3. A window will pop up, asking you to confirm the deletion of the selected application and all of its components. -
Page 7: Start Scanning
If you want to scan from any image editing, OCR, or other program that can accept scans, you can do so via a standard link called TWAIN. Any program that supports TWAIN can access the scanner and make full use of its functions. Such programs include CorelDraw, IphotoPlus, Painter, PhotoDeluxe, PhotoImpact, PhotoShop, PhotoSuite, Presto! PageManager, TextBridge, etc. -
Page 8: Scanning
Regardless of what you want to scan, once the TWAIN window is open, the process is the same: 1. Put your photo or document face down onto the scanner glass and close the cover. 3. Move your cursor to the top left of the photo or document. Click and drag down to the bottom right of the area to scan. -
Page 9: Scanning Settings
Preview window After clicking the preview button, this window shows the document or photo on the scanner glass. You can then view changes made to settings and define an area to scan: simply drag your mouse to outline the area. -
Page 10: Scan Mode
Setting area Grayscale True Color Lineart Scan mode Resolution Auto Crop & Descreen mode Scan size Button opens Color Options Scan Mode The scan mode determines the amount of color information collected from your original. Choose this option based on what the original is - color or black & white - and what you want to use the scan for: color display, black & white printing, OCR, etc. - Page 11 300dpi When quality is critical and a lower resolution is inadequate, choose 300dpi for any size image, for any use (to determine if the resolution is too low, look for squares in the image, see below). Also use 300dpi (with black &...
- Page 12 Size You can adjust scan size in preview window, enter a width and length in the size entry boxes or select a fixed size from the list box. You can move the area by dragging. The orientation option swaps the width and height values. Brightness, contrast &...
- Page 13 36-bit Color Mode Your scanner is capable of scanning images using 36-bit color depth. This provides a more dynamic color and tonal range, giving your scanned images a smoother and more colorful appearance.
-
Page 14: Appendices
Make sure all connections are secure and correct. B. Scanner scans very slowly. Make sure the resolution of the scanner is not set too high (preferably 300dpi or lower). Check your connections (see 1A above). C. Error: “Scanner not found. Please check the following: (1) USB setting is enabled. -
Page 15: Printing Problems
Displayed if there is a problem communicating with the scanner. May be caused by power outage, misconnection or an installation problem. Please check your connections and check that your wall socket and power switches are all turned on. 4. Problems in TWAIN A. -
Page 16: Specifications
Resolution - Optical Enhanced Scanning area Scanning mode Color Gray scale B&W Light source Power consumption Physical dimension (w/ cover) Unit weight (scanner body) Temperature range Operation Storage Humidity Operation Storage Warm up time One-pass 600 dpi 19200 dpi A4 or Letter size – 216mm x 297mm or 8.5in x 11.7in... -
Page 17: Index
Software, 5 Message bar, 9 Preview window, 9 Resolution, 10 Scan Mode, 10 Grayscale, 10 Line-art, 10 True-color, 10 Scanner not found, 14 Scanning, 7, 8 Select Source, 7 Size, 12 Specifications, 16 System requirements, 4 Troubleshooting, 14 TWAIN, 7...


Need help?
Do you have a question about the Vantas 3000 and is the answer not in the manual?
Questions and answers