Goodwe EH Series Quick Installation Manual
Grid-tied pv inverter
Hide thumbs
Also See for EH Series:
- Quick installation manual (110 pages) ,
- User manual (68 pages) ,
- Manual (18 pages)

Related Manuals for Goodwe EH Series


Summary of Contents for Goodwe EH Series
- Page 1 Quick Installation Guide Grid-Tied PV Inverter EH Series (GW6000-EH) V1.0-2022-11-30...
-
Page 2: Safety Disclaimer
• Strictly follow the installation, operation, and configuration instructions in this guide and user manual. The manufacturer shall not be liable for equipment damage or personal injury if you do not follow the instructions. For more warranty details, please visit https://en.goodwe.com/ warranty. Safety Disclaimer... -
Page 3: Check Before Power-On
Product: 1. Do not apply mechanical load to the terminals, otherwise the terminals can be damaged. 2. All labels and warning marks should be visible after the installation. Do not scrawl, damage, or cover any label on the device. 3. Do not touch the running equipment to avoid being hurt as its temperature may exceed 60℃. -
Page 4: Eu Declaration Of Conformity
EU Declaration of Conformity GoodWe Technologies Co., Ltd. hereby declares that the inverter with wireless communication modules sold in the European market meets the requirements of the following directives: • Radio Equipment Directive 2014/53/EU (RED) • Restrictions of Hazardous Substances Directive 2011/65/EU and (EU) 2015/863 (RoHS) •... -
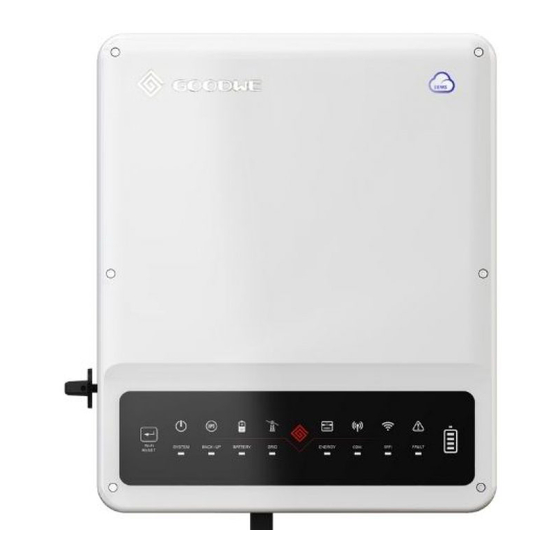
Page 5: Led Indicators
LED Indicators Indicator Status Explanation ON = The system is ready. SYSTEM BLINK = The system is starting. OFF =The system is not working. ON = Back-up is ready / power available. BACK-UP OFF = Back-up is off / power not available. ON = The battery is charging. -
Page 6: Aviso De Segurança
• Siga rigorosamente as instruções de instalação, operação e configuração deste guia e do manual do utilizador. O fabricante não se responsabiliza por danos no equipamento ou ferimentos pessoais se não seguir as instruções. Para mais detalhes sobre a garantia, visite https://en.goodwe.com/warranty. Aviso de segurança Aviso Lado CC: 1. - Page 7 3. O cabo PE do inversor deve ser ligado firmemente. 4. Recomenda-se a utilização de cabos de cobre como cabos de saída CA. Se preferir cabos de alumínio, lembre-se de utilizar terminais adaptadores de cobre para alumínio. Produto: 1. Não aplique carga mecânica aos terminais; caso contrário, os terminais podem ser danificados.
-
Page 8: Declaração De Conformidade Da Ue
A tensão e a frequência no ponto de ligação cumprem os requisitos de ligação da rede do inversor. Declaração de conformidade da UE GoodWe Technologies Co., Ltd. declara pela presente que o inversor com módulos de comunicação sem fios vendido no mercado europeu cumpre os requisitos das seguintes diretivas: •... -
Page 9: Indicadores Led
Indicadores LED Indicador Estado Explicação LIGADO = O SISTEMA ESTÁ PRONTO. SISTEMA PISCA = O sistema está a iniciar. DESLIGADO = O sistema não está a funcionar. LIGADO = Backup está pronto / energia disponível. BACKUP DESLIGADO = Backup está desligado / não há energia disponível. LIGADO = A bateria está... -
Page 10: Product Introduction
Introduction Introduction Product Introduction Introdução ao produto Parts Peças PV input terminal Communication module DC switch (PV1/PV2) port (WiFi or LAN) Meter communication Back-Up port On-Grid port port DRED communication RS485 communication Wi-Fi reset port port Indicators PE terminal 12. Heat sink Mounting Plate Dimensions Dimensões... -
Page 11: Inverter Installation
Inverter Installation Instalação do inversor N = Quantity depends on the inverter model. Space Requirements Requisitos de espaço Children No Touch ≥300mm ≥200m m ≥200m m ≥300mm ≥500mm... - Page 12 ALT: 3000m IP65 0%~95%RH Angle Requirements Requisitos de ângulos Installing the Inverter Instalar o inversor Only for Australia.
- Page 13 Electrical Connection Ligação elétrica PE Cable Cabo PE L=L1+(1~2)mm Copper, S≥4mm AC Cable (ON-GRID) Cabo CA (LIGAÇÃO À REDE) 12-14mm Φ:13-22mm 10-15mm Copper, 6≤S≤10mm...
- Page 14 AC Cable (BACK-UP) Cabo CA (BACKUP) 18mm 7mm Φ:6.5-13.5mm 23mm Copper, 5.3mm ≤S≤6mm...
- Page 15 DC Cable (PV) Cabo CC (FV) 7-8mm Φ: 4-5mm 7-8mm ≤S≤6mm Click Click ≤580V...
- Page 16 Vaconn 7-8mm Φ: 5.5-8mm 7-8mm 2.5mm ≤S≤4mm Click Click ≤580V...
- Page 17 Communication Connection Ligação de comunicação DRED Communication Cable Cabo de comunicação DRED • DRED: for Australia and New Zealand. Remote Shutdown Communication Cable Cabo de comunicação de encerramento remoto...
- Page 18 Connecting Smart Meter or RS485 Ligação de contador inteligente ou RS485 To Smart Meter Smart Meter RS485 Color Smart Meter RS485 Orange&White 485_A Orange 485_B Green&White 485_B1 485_A Blue Blue&White Green 485_A1 485_B Brown&White 485_B1 Brown 485_A1 Communication Module Módulo de comunicação WiFi Kit, Wi-Fi/LAN Kit module: optional...
- Page 19 Power On and Off Ligar e desligar a alimentação elétrica Recommended Circuit Breaker Disjuntor recomendado DC Isolator AC Breaker AC Breaker...
- Page 20 Monitoring via SEMS Portal App Monitorização através da aplicação SEMS Portal play SEMS Portal App Store SEMS Portal APP For more detailed instructions, scan the QR codes below. SEMS Portal EH Series (On-Grid) SolarGo WiFi Quick User Manual User Manual User Manual Installation Guide...
- Page 21 Offical Website GoodWe Technologies Co., Ltd. No. 90 Zijin Rd., New District, Suzhou, 215011, China www.goodwe.com 340-00872-00 Local Contacts service@goodwe.com...
Need help?
Do you have a question about the EH Series and is the answer not in the manual?
Questions and answers