Advertisement
Quick Links
Advertisement

Related Manuals for Kogan X6


Summary of Contents for Kogan X6
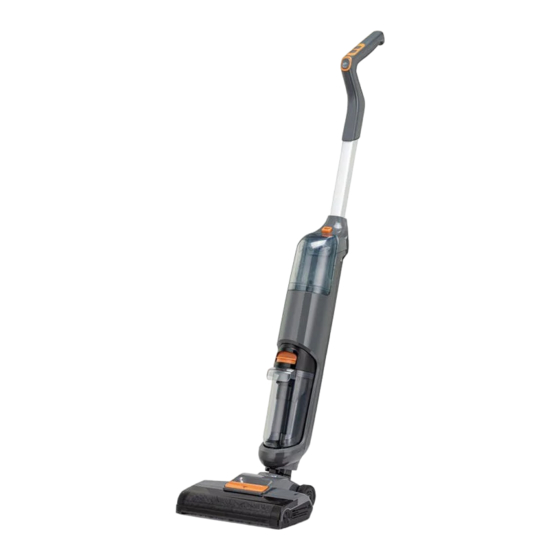
- Page 1 X6 WET & DRY CORDLESS FLOOR VACUUM CLEANER KAVACSTWDX6...
-
Page 2: Table Of Contents
Safety & Warnings Overview Accessories Getting started Operation Cleaning & Care Troubleshooting... -
Page 3: Safety & Warnings
• Do not use with damaged cable or plug. • If the supply cord is damaged, it must be replaced by Kogan.com, its service agent or qualified person to avoid a hazard. • Please dispose of the battery safely. - Page 4 • Use only the type and amount of liquids specified as instruction. • Liquid must not be directed towards equipment containing electrical components. • Do not pull or carry by cable, use cable as a handle, close door on cable or pull cable around sharp edges or corners.
- Page 5 • Please use the cleaning solution specified by manufacturer and use it in the specified proportion. Cleaning fluids that are not approved by manufacturer may cause damage and injury to users, the environment and parts inside the fuselage. • Prevent accidental start. Make sure the switch is in the off position before lifting or handling the unit.
-
Page 6: Overview
OVERVIEW Power button Speed button (High / Low) Indicator Self-cleaning button Clean water tank release button Clean water tank Waste water tank release button Waste water tank Floor brush... -
Page 7: Accessories
Handle Waste water tank handle Floor brush cover ACCESSORIES Base Power adaptor Cleaning tool User guide... -
Page 8: Getting Started
GETTING STARTED Cleaning brush A brush at one end, which can be used to clean the stubborn dirt attached to the inner wall of the sewage tank. The other end is a rotating blade that can be used to clean the tangled hairs on the rolling brush. - Page 9 Charging vacuum Note: Ensure the vacuum has been sufficiently charged before first use. Connect the adapter to a wall socket and turn on. Place vacuum on the base, then plug the adapter into the charging port (see below) to charge; the indicator light will be solid red while charging.
- Page 10 Fill clean water tank Note: Only the clean water tank shall be filled with water, not the waste water tank. Hold the vacuum with one hand and press the release button for the clean water tank with the other hand. Remove the clean water tank. Open the sealing cover of the clean water tank, fill the tank with tap water and close the sealing cover.
-
Page 11: Operation
OPERATION Power on and cleaning To prepare the vacuum for cleaning, place one foot on the floor brush and pull the handle back on an incline until a click is heard. The vacuum will now be ready for operation. Press the power button to turn the vacuum on and start low-speed mode, the indicator will show a solid blue when on. -
Page 12: Cleaning & Care
CLEANING & CARE Emptying dirty water tank & cleaning the filter Notes: • Make sure to clean your dirty tank and let all components dry out after each use to keep your product at its best. • After cleaning, place the vacuum on the base in a location not exposed to direct sunlight or moisture. - Page 13 Remove the sponge filter from the waste water tank and check if the float is caught by any foreign matter. After removing the sponge filter, rinse the tank with clean water and fully dry it before reassembling it back in the same way. A click will indicate the successful installation of the waste water tank.
- Page 14 Clean the rolling brush completely. Use clean water to wash the rolling brush and its cover. After the cleaning is completed, pinch the brush lever with one hand, align the other side of the brush with the right end cover, then put the lever end into the slot. The brush is successfully installed.
-
Page 15: Troubleshooting
TROUBLESHOOTING Issue Possible cause Potential solution • Rolling brush is jammed by hair or • Clean the rolling brush other objects • Clean the waste water tank • The waste water tank is full The scrubber does • Refill the clean water tank not work •... - Page 16 Need more information? We hope that this user guide has given you the assistance needed for a simple set-up. For the most up-to-date guide for your product, as well as any additional assistance you may require, head online to help.kogan.com...
Need help?
Do you have a question about the X6 and is the answer not in the manual?
Questions and answers