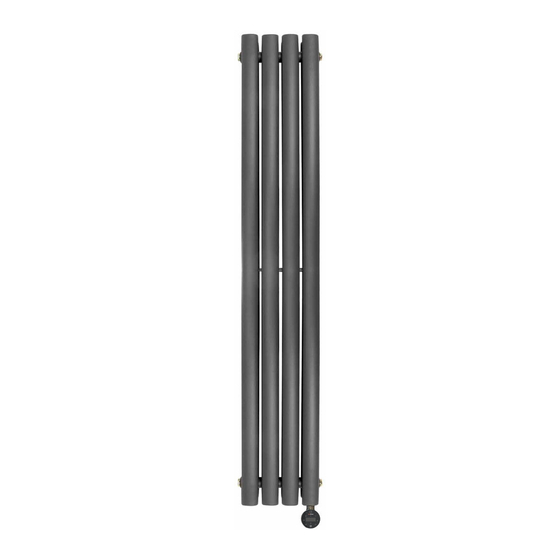
Summary of Contents for Ecostrad ALLORA Vertical
- Page 1 Ecostrad Designer Electric Radiators ALLORA Vertical PLEASE READ AND SAVE THESE INSTRUCTIONS...
- Page 2 Symbols Warning This symbol indicates a hazard with an average risk level which, if not avoided, could result in serious injury or death. Warning of electrical voltage This symbol indicates danger to the life and health of persons due to electrical voltage.
-
Page 3: Table Of Contents
Contents About the Manual - - - - - - - - - - - - - - - - - - - - - 4 2 | Warnings & Precautions - - - - - - - - - - - - - - - - - 4 Installation- - - - - - - - - - - - - - - - - - - - - - - - - - 5 3-1 Components - - - - - - - - - - - - - - - - - - - - - - 5 3-2 Fitting the element - - - - - - - - - - - - - - - - - - 6... -
Page 4: About The Manual
1 | About the Manual This manual describes the Ecostrad Allora Designer Radiator and details how to install and use the product. It is important to thoroughly review this manual before using the product. For technical advice or help concerning the Ecostrad Allora Designer Radiator, contact the retail establishment or distributor from which the product was purchased. -
Page 5: Installation
Warning As with conventional radiators, this electric radiator will get hot to the touch during operation. If the radiator is left on full power for a prolonged period of time the surface temperature can rise to 70 °C (+/- 5 °C). Particular attention should be given where children and vulnerable adults are present. -
Page 6: Fitting The Element
*The heating element is packaged separately from the radiator and may arrive in a separate delivery. 3-2 | Fitting the element Full instructions for fitting the element can be found within the element manual. The user must ensure installation is in accordance with the following: •... - Page 7 NOTE - these tools are not provided with the radiator. 1. Check that the wall is strong enough to hold the weight of the pre-filled radiator. The fixings supplied are suitable for use in solid masonry. For any other wall type you will need to source appropriate fixings.
- Page 8 b. Using a 10mm drill bit, drill four holes in the marked locations and push the Wall Plugs inside. c. Position the Brackets over the holes and fix in place using the Washers and Wall Screws. The Brackets should slot between the bars with their mounting plates facing together: with the Left Brackets on the left and the Right Brackets on the right as you face the radiator (see Figure 5).
-
Page 9: Connecting The Element
d. Using a 10mm drill bit, drill four holes in the marked locations and push the Wall Plugs inside. e. Position the Brackets over the holes and fix in place using the Washers and Wall Screws. 6. The radiator is now ready to mount. Lift the radiator onto the Brackets as in Figure 7. -
Page 10: Cleaning
3-year guarantee on paintwork and a 2-year guarantee on electrical components. Within the stated period, starting from the date the customer receives their unit, Ecostrad guarantee to repair or replace the unit where a fault is due to defects in materials or manufacturing. -
Page 11: Disposal
6 | Disposal In accordance with WEEE Directive 2012/19/EU, the icon with the crossed-out waste bin on electrical or electronic equipment stipulates that this equipment must not be disposed of with household waste at the end of its life. You will find collection points for free return of waste electrical and electronic equipment in your vicinity.


Need help?
Do you have a question about the ALLORA Vertical and is the answer not in the manual?
Questions and answers