Table of Contents
Advertisement
Quick Links
Advertisement
Table of Contents

Related Manuals for EK-Quantum AM5


Summary of Contents for EK-Quantum AM5
- Page 1 EK-Quantum Magnitude Upgrade Kit - AM5 USER GUIDE...
- Page 2 Please note the installation of the product is intended to be undertaken by an adequately trained and experienced person. You are installing the product at your own risk. If you are not properly trained or experienced or feel unsure about the installation procedure, please refrain from installing the product yourself and contact our tech support for assistance.
-
Page 3: Table Of Contents
TABLE OF CONTENTS BOX CONTENTS PREPARING THE AM4 WATER BLOCK FOR UPGRADE PREPARING THE AM5 MOTHERBOARD INSTALLING THE WATER BLOCK CONNECTING THE D-RGB LED STRIP TESTING THE LOOP WARRANTY SUPPORT AND SERVICE SOCIAL MEDIA - 3 -... -
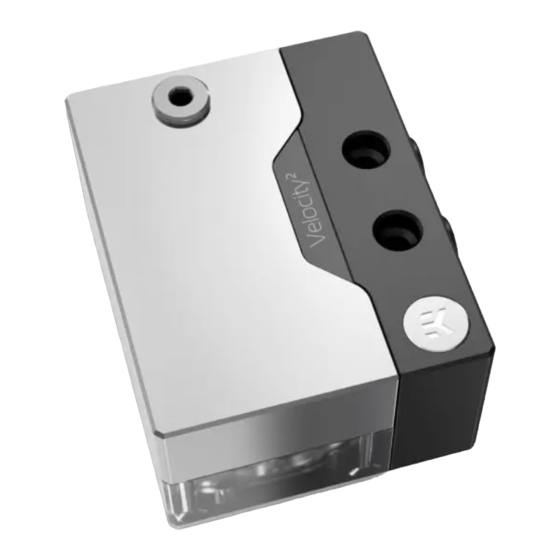
Page 4: Box Contents
MOUNTING STEP 1 SPRING If the EK-Quantum Magnitude AM4 water block is already installed, unscrew four (4) mounting screws using Allen Key 2.5 mm to detach MOUNTING it (As shown in the picture). Save the parts for later use. -
Page 5: Preparing The Am5 Motherboard
Clean the CPU cold plate using a non-abrasive cloth or Q-tip. NON-ABRASIVE CLOTH CLEAN STEP 2 PREPARING THE AM5 MOTHERBOARD STEP 1 Using a Philips-head screwdriver remove the four UNC 6-32 screws UNC 6-32 SCREW securing the original plastic hold-down clamps around the socket as shown in the illustration. - Page 6 STEP 2 NON-ABRASIVE CLOTH Cleaning the CPU: Wipe the IHS clean using a non-abrasive cloth or Q-tip as shown in the illustration. STEP 2 STEP 3 Applying thermal compound: Apply the enclosed thermal grease (thermal compound) on the CPU heat spreader – IHS – as shown in the image.
-
Page 7: Installing The Water Block
INSTALLING THE WATER BLOCK STEP 1 AM5 MOUNTING Loosely install all four (4) provided AM5 Mounting Standoffs before STANDOFF proceeding to tighten them completely. Using pliers or similar tools is not recommended. STEP 1 STEP 2 Position the AM4 CPU Water Block onto the AM5 Mounting standoffs. - Page 8 STEP 3 Insert all four (4) saved Springs inside the Frame. MOUNTING SPRING STEP 3 STEP 4 Loosely insert all four (4) saved Screws before proceeding to tighten them (using Allen Key 2.5 mm) two revolutions at once in a cross pattern. Stop MOUNTING when every Screw is flush with its hole inside the Frame! SCREW...
-
Page 9: Connecting The D-Rgb Led Strip
CONNECTING THE D-RGB LED STRIP STEP 1 Plug the 3-pin connector from the water block’s D-RGB LED light to the DRGB HEADER on the motherboard. The LED will work if the pin layout on the header is as follows: +5V, Digital, empty, Ground. Please ensure that the arrow indicated on the connector is D-RGB HEADER plugged into the +5V line as indicated on your motherboard. -
Page 10: Warranty
WARRANTY Our products are warranted against defects of materials and quality for a period of 24 months, starting with the date of delivery to the end-user. During this period, products will be repaired or have parts replaced at our discretion, provided that 1) the product is returned to the agent from whom it was purchased;... -
Page 11: Support And Service
SUPPORT AND SERVICE In case you need assistance or wish to order spare parts or a new mounting mechanism, please contact: https://www.ekwb.com/customer-support/ EKWB d.o.o. Pod lipami 18 1218 Komenda Slovenia - EU SOCIAL MEDIA EKWaterBlocks @EKWaterBlocks ekwaterblocks EKWBofficial ekwaterblocks...
Need help?
Do you have a question about the AM5 and is the answer not in the manual?
Questions and answers