
Related Manuals for Anmytek Middle Century Media H0043


Summary of Contents for Anmytek Middle Century Media H0043
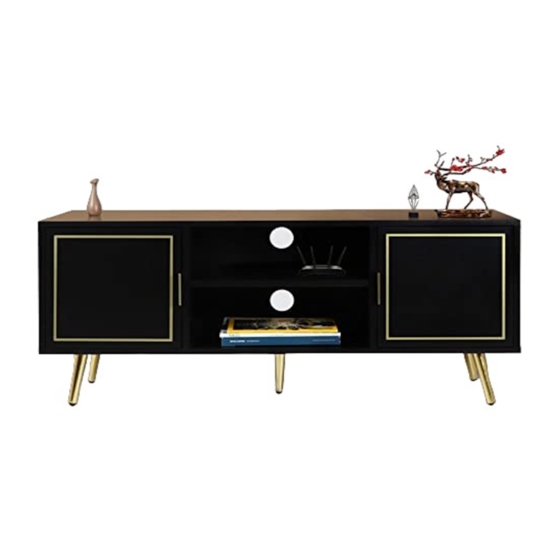
- Page 1 Item No. : H0043 Contact Us : service@anmytek.com M iddle Cent ury M edia Console TV St and ASSEMBLY AND CARE GUIDE 1 HOUR 2 PEOPLE 2 x 1 m ASSEMBLY TIME REQUIRED FOR ASSEMBLY FLOOR SPACE REQUIRED Contact Us : service@anmytek.com...
-
Page 2: Safety Precautions
Item No. : H0043 Contact Us : service@anmytek.com SAFETY PRECAUTIONS PLEASE READ ALL INSTRUCTIONS CAREFULLY BEFORE ASSEMBLING AND USING THE PRODUCT. Please check that all parts are present before you start the assembly of your furniture. A Philips head screwdriver (not included) is required for the assembled of this product. - Page 3 Item No. : H0043 Contact Us : service@anmytek.com 5*14MM Screw 20PCS 2PCS Magnetic Door Catch 3*12MM Screw 14PCS 5*45MM Screw 3*12MM Screw 6*35MM Cam Bolt 15*10MM Cam Lock 8*30MM Wooden Dowel Handle 3*14MM Screw Plastic Connector Metal Pin Metal Hinge...
-
Page 4: Assembly Diagram
Item No. : H0043 Contact Us : service@anmytek.com ASSEMBLY DIAGRAM AFTER SALES SUPPORT feel free to If you have any general enquiries or require spare parts for this product, please contact us via the following email: Email: service@anmytek.com You can contact us for support at any time. We'll answer you in 24hrs. - Page 5 Item No. : H0043 Contact Us : service@anmytek.com ASSEMBLY STEPS STEP 1. 5x14mm Fasten 4 x corner legs (12) and 1 x middle leg (13) to the bottom panel (6) using 20 x screws (A). Tighten with a screwdriver. STEP 2.
- Page 6 Item No. : H0043 Contact Us : service@anmytek.com ASSEMBLY STEPS STEP 3. 3x12mm 3x12mm Attach 2 x door handles (I) to both door panels (7), (8) using 4 x screws (E). Fasten 2 x magnetic door catch (B) to door panels (7), (8) using 2 x screws (C). Tighten with a screwdriver.
- Page 7 Item No. : H0043 Contact Us : service@anmytek.com ASSEMBLY STEPS STEP 5. Slide 2 x back panels (9) and middle back panel (10) into position. STEP 6. 15x10mm 8x30mm Attach top panel (1) to assembled unit using 8 x wooden dowels (H) and 8 x cam locks (G).
- Page 8 Item No. : H0043 Contact Us : service@anmytek.com ASSEMBLY STEPS STEP 7. Insert 4 x metal hinges (M) and 4 x metal pins (L) into position as shown. STEP 8. 3x12mm Attach both side door panels (7) and (8) to assembled unit using 8 x screws (C). Tighten with a screwdriver.
- Page 9 Item No. : H0043 Contact Us : service@anmytek.com ASSEMBLY STEPS STEP 9. 3x14mm Fasten 12 x plastic connector (K) to the back panel using 12 x screws (J). Tighten with a screwdriver. Contact Us : service@anmytek.com...
Need help?
Do you have a question about the Middle Century Media H0043 and is the answer not in the manual?
Questions and answers