
Related Manuals for Anmytek H0045


Summary of Contents for Anmytek H0045
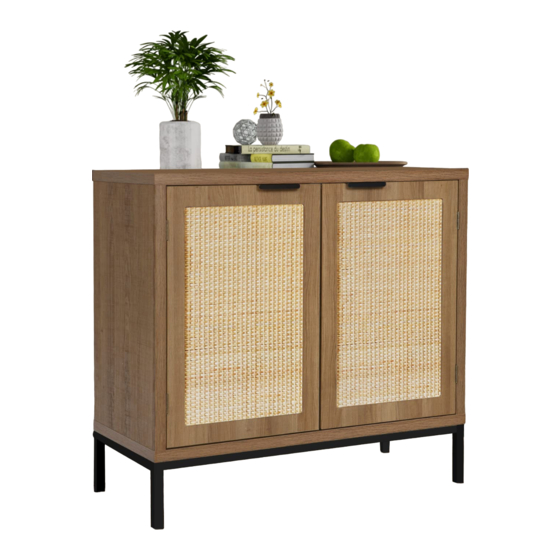
- Page 1 Item No.: H0045 Contact US: service@anmytek.com Two Doors Storage Cabinet with Rattan Texture ASSEMBLY AND CARE GUIDE 1 HOUR 2 PEOPLE 2 x 2 m ASSEMBLY TIME REQUIRED FOR ASSEMBLY FLOOR SPACE REQUIRED Contact US: service@anmytek.com...
-
Page 2: Safety Precautions
Item No.: H0045 Contact US: service@anmytek.com SAFETY PRECAUTIONS PLEASE READ ALL INSTRUCTIONS CAREFULLY BEFORE ASSEMBLING AND USING THE PRODUCT. Please check that all parts are present , need Phillips head screwdriver (not included) before you start the assembly of your furniture. - Page 3 Item No.: H0045 Contact US: service@anmytek.com Contact US: service@anmytek.com...
-
Page 4: Hardware List
Item No.: H0045 Contact US: service@anmytek.com HARDWARE LIST 24 PCS 2 PCS 4 PCS 2 PCS 4 PCS 8 PCS 8 PCS 10 PCS 1 PC 4 PCS 4 PCS 12 PCS 8 PCS 8 PCS 2 PCS 2 PCS... - Page 5 Item No.: H0045 Contact US: service@anmytek.com ASSEMBLY STEPS STEP 1. f x 4 Fix magnet plates (b) to parts 1 and 5 using screws (s), as shown. s x 4 b x 2 STEP 2. a x 12 Fix magnet plates (e) to parts 2 and 3 using screws (t), as shown.
- Page 6 Item No.: H0045 Contact US: service@anmytek.com ASSEMBLY STEPS STEP 3. Insert quickfit screws (f) and wooden dowels (l) to parts 4 and 6 and insert cam locks (g) to part 5, as shown. f x 4 g x 4 l x 4 STEP 4.
- Page 7 Item No.: H0045 Contact US: service@anmytek.com ASSEMBLY STEPS STEP 5. Fit wooden dowels (l) to parts 4 and 6. k x 4 Fix parts 4 and 6 to part 8 using screws (k), as shown. l x 4 STEP 6.
- Page 8 Item No.: H0045 Contact US: service@anmytek.com ASSEMBLY STEPS STEP 7. i x 1 Fix parts 9 to part 10 using Bolt (j), as shown. j x 4 STEP 8. Secure parts 10 and parts 9 assembled unit using screws (h), as shown.
- Page 9 Item No.: H0045 Contact US: service@anmytek.com ASSEMBLY STEPS STEP 9. Fix doors 2 and 3 using screws (a), as shown. a x 12 Contact US: service@anmytek.com...
- Page 10 Item No.: H0045 Contact US: service@anmytek.com ASSEMBLY STEPS STEP 10. Secure back panels 7 using screws (m) and wedges (n), as shown. m x 8 Fix wall straps (p) to part 1 using screws (o), as shown. n x 8...
- Page 11 Item No.: H0045 Contact US: service@anmytek.com ASSEMBLY STEPS STEP 11. fixing screws (q) and wall plugs (r), as shown. p x 2 q x 2 r x 2 WALL If unsure seek advice from a qualified trades person on fixtures to your specific wall.
- Page 12 Item No.: H0045 Contact US: service@anmytek.com WALL FIXING GUIDE NOTE: Supplied wall plugs are only suitable f or use in masonry walls. If you have any doubts about using the correct plug for your wall, please seek professional advi ce. Failu re of the pr oduct due to using incor rect fixings is the r esponsibility of the install er.
Need help?
Do you have a question about the H0045 and is the answer not in the manual?
Questions and answers