Table of Contents
Advertisement
Quick Links
Advertisement
Table of Contents

Subscribe to Our Youtube Channel
Related Manuals for Manhattan Comfort Tribeca Shoe Closet


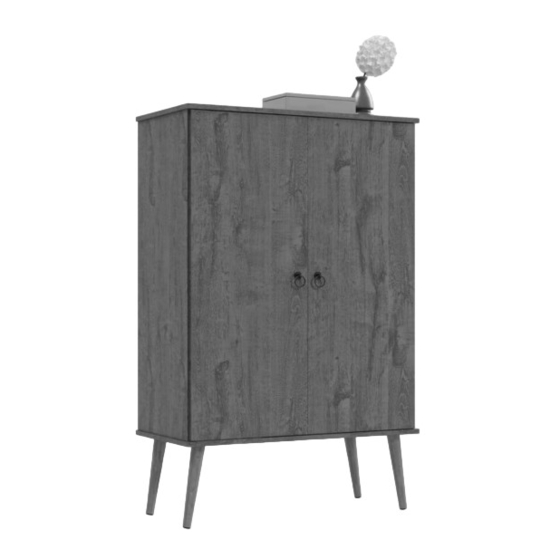
Summary of Contents for Manhattan Comfort Tribeca Shoe Closet
- Page 1 Tribeca Shoe Closet...
- Page 2 Before starting Prepare the room before starting the assembly, leaving it completely clean and the area in good condition to start the work. Use the cardboard of the packaging and the foam sheets protection to separate and support the parts removed from the boxes. Dimension: W: 32.67"...
- Page 3 FRONT VIEW REAR VIEW PART DESCRIPTION QUANTITY RIGHT SIDE FIXED SHELF LEFT SIDE BASE BACK COVER FEET SUSPENDED SHELF DOOR HARDWARE...
- Page 4 STEP 1 - Insert the hardware (B) on the pieces (01, 02 and 04). - Insert the accessory (H) on the parts (02 and 04). STEP 2 - Join the parts (01 and 02) with hardware (A). - Fix the part (03) into part (02) with a bolts (C). STEP 3 - Join the parts (04 and 01) with the hardware (A).
- Page 5 STEP 4 - Fix back cover (06) with nails (F). - Insert the hardware (K) among pieces (06). STEP 5 USE THE GLUE (L) BEFORE FASTENING THE FEET (07). - Fix the feet (07) under the base (05), using bolts (P). - Apply the plastic covers (E) on top of the bolts (P) STEP 6 - Insert the shelfs (08) shawn in image.
- Page 6 STEP 7 D+2J D+2J D+2J D+2J - Fix the hinges (D) in the doors (09) with bolts (J). - Fix the handles (I) in the doors (09) with bolts (G). STEP 8 - Fix the hinge connectors (D) of the doors (09) in the parts (02 and 04) with a bolts (J), taking the marking as reference for correct positioning.
- Page 7 Pass the hardware M through the hole of the part 08 as showed in the figure above. You will need a pencil to mark where you should drill the wall with a 5/16" drill bit to put in the hardware Q. wings *press the wings of the hardware Q wings...
Need help?
Do you have a question about the Tribeca Shoe Closet and is the answer not in the manual?
Questions and answers