Advertisement
Quick Links
Advertisement

Related Manuals for Manhattan Comfort Tribeca 53.94


Summary of Contents for Manhattan Comfort Tribeca 53.94
- Page 1 Tribeca TV Panel 53.94...
-
Page 2: Before Starting
Before starting Prepare the room before starting the assembly, leaving it completely clean and the area in good condition to start the work. Use the cardboard of the packaging and the foam sheets protection to separate and support the parts removed from the boxes. Dimension: W: 53.94"... -
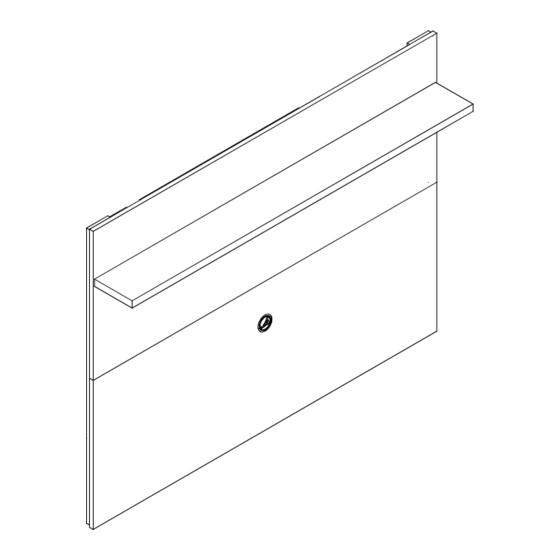
Page 3: Front View
FRONT VIEW REAR VIEW PART DESCRIPTION QUANTITY LOWER PANEL TOP PANEL PANEL SUPPORT BACK SUPPORT SHELF WALL SUPPORT HARDWARE... - Page 4 STEP 1 C+4B C+4B - Insert hardware (H) into parts (01 and 02). - Join the panels (01 and 02) correctly aligning the edges, avoiding gaps between the parts and connect them with the steel plate (C) and bolts (B). STEP 2 USE GLUE (E) ON THE FACE CONTACT OF THE PIECE (03) BEFORE FIXING...
- Page 5 STEP 4 - Connect the shelf (05) in the top panel (02) with the bolts (G) and dowels (H). - Insert the plastic part (D) in the panel (01). STEP 5 With a pencil and measuring tape mark the height to fasten the part (06) on the wall.
- Page 6 STEP 7 Toggle bolt screw Fasten the part (06) on the wall and keep the 45° degree cut to up side. STEP 8 - Verifying all the supports you are ready to hang your TV panel on the wall.
- Page 7 Tribeca TV Stand 53.94...
- Page 8 Before starting Prepare the room before starting the assembly, leaving it completely clean and the area in good condition to start the work. Use the cardboard of the packaging and the foam sheets protection to separate and support the parts removed from the boxes. Dimension: W: 53.94"...
- Page 9 FRONT VIEW REAR VIEW PART DESCRIPTION QUANTITY RIGHT SIDE SHELF PARTITION LEFT SIDE BASE FEET BACK COVER TILTING DOOR RIGHT/ LEFT DOOR HARDWARE...
- Page 10 STEP 1 - Insert the hardware (B and G) on the piece (01). STEP 2 - Connect the parts (02, 03 and 04) with a bolts (A). STEP 3 - Connect top (01) into parts (02, 04 and 05) with hardware (C).
- Page 11 STEP 4 Use the glue (J) before fastening the feet (07). - Insert the hardware (M) in the base (06). - Fix the feet (07) under the base (06) with a bolt (N). - Apply the plastic covers (O) on top of the bolts (N). STEP 5 - Fix the piece (06) under the part assemble on step 3, using bolt (A).
- Page 12 STEP 5 F+2D - Fix the hinges (F) in the door (09) with bolts (D). F+2D E+2D E+2D - Fix the hinges (E) in the doors (10) with bolts (D) E+2D E+2D STEP 6 G 01x - Fix the handles (H) in the doors (09 and 10) with bolts (G). STEP 7 - Fix the hinge connectors (E and F) of the doors (09 and 10) on the parts (05 and 06) with a bolts (D and L),...
Need help?
Do you have a question about the Tribeca 53.94 and is the answer not in the manual?
Questions and answers