Advertisement
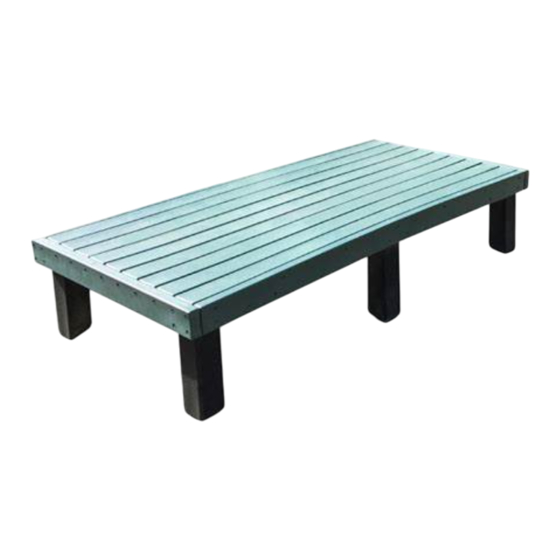
Big Bench
Assembly Instructions:
IMPORTANT:
Please read carefully before assembling
1. Place bench tops face down on a flat surface.
2. Remove temporary legs from underside of bench.
Note: keep screws that are removed, as they will
be used to secure new legs in place.
3. Place Corner Supports (x4) into position as per attached drawing- Detail 1.
4. Using a 4.5 mm drill bit, drill pilot hole through the screw hole and into the support. Using 75 mm bugle screw
attach the leg to the bench frame.
Note: Ensure leg is square before drilling pilot holes.
5. Place Centre Supports (x2) into position as per attached drawing- Detail 2.
6. Using a 4.5 mm drill a bit, drill pilot hole through the screw holes on the support foot and into the bearer.
Using 75 mm bugle head screws, attach the leg to the bench frame.
7. Once all screws have been tightened, turn setting over and place into position.
Note: Big Bench is despatched with temporary legs attached
12 x 14 g x 75 mm Bugle Head Screws (attached to temp legs)
If you require further installation assistance, please contact your supplier.
1800 mm x 900 mm In Ground
.
.
Components List:
1 x Bench Top - pre-assembled
.
4 x Corner Supports
2 x Centre Supports
www.replas.com.au
.
Advertisement
Table of Contents

Related Manuals for Replas Big Bench


Summary of Contents for Replas Big Bench
- Page 1 Using 75 mm bugle head screws, attach the leg to the bench frame. 7. Once all screws have been tightened, turn setting over and place into position. Note: Big Bench is despatched with temporary legs attached Components List: 1 x Bench Top - pre-assembled...
- Page 2 Big Bench 1.8 m Free Standing Assembly Instructions: IMPORTANT: Please read carefully before assembling 1. Place bench tops face down on a flat surface. 2. Remove temporary legs from underside of bench. Note: keep screws that are removed, as they will be used to secure new legs in place.
Need help?
Do you have a question about the Big Bench and is the answer not in the manual?
Questions and answers