Advertisement
Quick Links
Advertisement

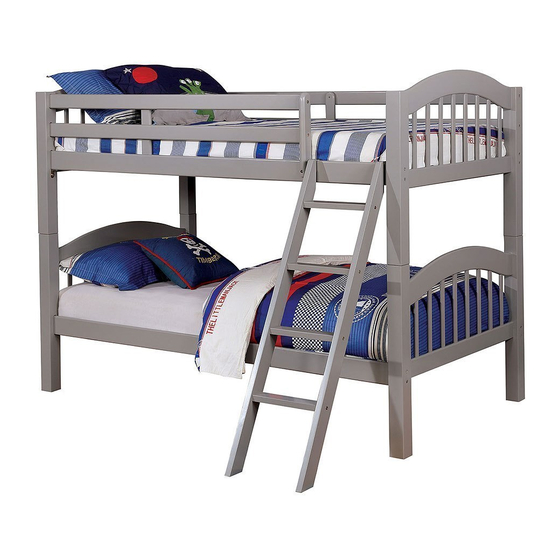
Summary of Contents for Furniture of America Spring Creek CM-BK603
- Page 1 Rev: 15-07-23...
- Page 3 Ladder Steps...
- Page 6 2a. Insert 2 barrel nuts (#B) into each end of the lower side rails (#3) 1. With the help of another person, hold the lower end guardrails (#1) upright and align the lower side rails (#3) to the pre-drilled 2b. Then insert 2 bolts (#A) into holes along the sides of those guardrails.
- Page 7 Place the full slat kit (#7) onto the lower side rails (#3). Align the ends of the slats to the pre-drilled holes located on the inner side of the lower side rails (#3). Insert a screw (#C) into each end and secure using a Phillips screwdriver. 2a.
- Page 8 1. Align the guardrail supports (#10) to the 2. Apply the center support (#9) onto pre-drilled holes located along the sides the slots located along the inner sides of the upper side rails (#4) and guardrails of the upper end guardrails (#2). Insert (#5).
- Page 9 Insert a metal dowel (#G) into the large pre-drilled holes located on top of the lower end guardrails (#1). With the help of another person carefully place the upper bunk bed onto those metal dowels (#G). Insert the ends of the ladder steps (#11) into the designated slots along the side of the ladder rails (#12,13).
- Page 10 Hook the top of the ladder rails onto the upper side rail (#4). Locate the pre-drilled holes on the inner side then align and insert 2 screws (#H).Secure using a Phillips screwdriver. ASSEMBLY IS COMPLETED Page 10 of 11...


Need help?
Do you have a question about the Spring Creek CM-BK603 and is the answer not in the manual?
Questions and answers