Advertisement
Quick Links
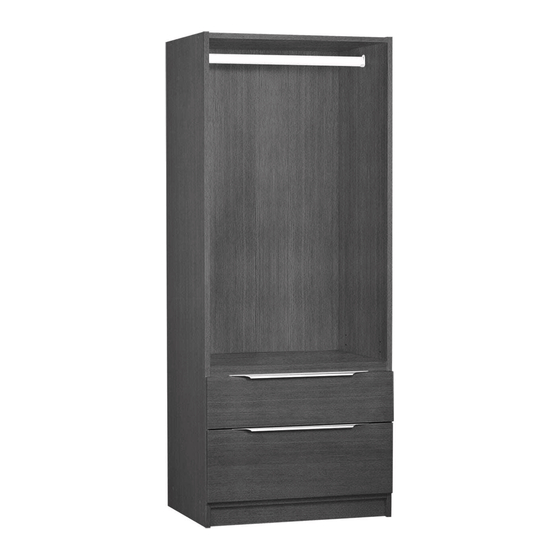
ASSEMBLY INSTRUCTION FOR MAXI ULTRA H2
When attaching unit to wall put safety bracket in
middle of unit with 16mm pan head screw then
25mm pan head screw into wall. For plasterboard
without a stud it is recommended to use a plug with
screw (not provided).
1 x L & R GABLE
1x CAM SHELF
2 x FIXED SHELF
NO MODEL
DESCRIPTION
CONFIRMAT SCREWS 50mm x 5mm
1
2
CAPS
4
BACKING NAILS
5
16mm WOOD SCREW
6
7
30mm FLANGES—PER SET OF 2
TOP of UNIT
PARTS IDENTIFICATION LIST
30mmHANGING RAIL
1 BOTTOM KICK
1 x BACKING BOARD FOLDED IN THE MIDDLE
QTY
NO
MODEL
14
8
14
9
54
10
12
11
1
12
1
FOLD LINE
DESCRIPTION
WHITE CAMS
CAM PINS
16mm PAN HEAD SCREWS
25mm PAN HEAD SCREWS
"L" SAFETY BRACKET
QTY
4
4
1
1
4
1
Advertisement

Related Manuals for Multistore MAXI ULTRA H2


Summary of Contents for Multistore MAXI ULTRA H2
- Page 1 ASSEMBLY INSTRUCTION FOR MAXI ULTRA H2 TOP of UNIT When attaching unit to wall put safety bracket in middle of unit with 16mm pan head screw then 25mm pan head screw into wall. For plasterboard without a stud it is recommended to use a plug with screw (not provided).
- Page 2 INSERT YOUR 4 PINS (9) INTO THE HOLE NO: (13) PROVIDED. INSERT THE CAMS INTO THE HOLES PROVIDED ON THE BOTTOM OF THE SHELF. USING SCREW DRIVER TWIST CAM INTO LOCK POSITION. FOLD OUT BACK, PROCEED TO NAIL THEM NEXT STEP. INTO POSITION MAKING SURE YOU ARE TAP INTO POSITION YOUR SQUARE.
Need help?
Do you have a question about the MAXI ULTRA H2 and is the answer not in the manual?
Questions and answers