Advertisement
Quick Links
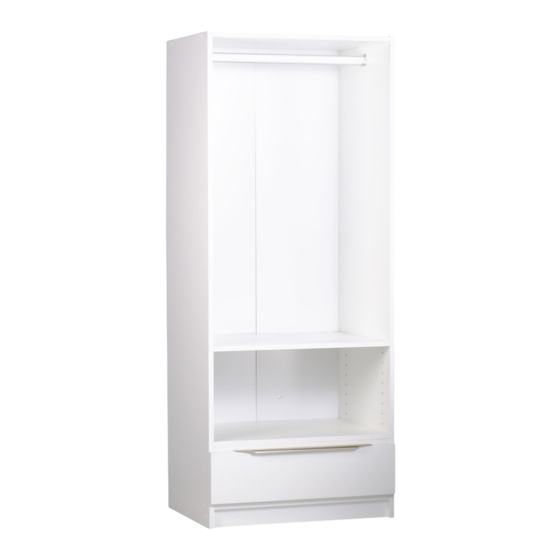
ASSEMBLY INSTRUCTION FOR MAXI ULTRA HS2
TOP of UNIT
When attaching unit to wall put safety bracket in
middle of unit with 16mm pan head screw then
25mm pan head screw into wall. For plasterboard
without a stud it is recommended to use a plug with
screw (not provided).
1 x L & R GABLE
2 x FIXED SHELF
2 x CAM SHELVES
NO MODEL
DESCRIPTION
1
CONFIRMAT SCREWS 50mm x 5mm
2
CAPS
3
BACKING NAILS
4
16mm WOOD SCREW
5
30mm FLANGES-PER SET OF 2
6
PARTS IDENTIFICATION LIST
30mmHANGING RAIL
1 x FOLDED BACKING BOARD
1 x BOTTOM KICK
QTY
NO
MODEL
14
7
8
14
9
60
2
10
1
11
1
FOLD LINE
DESCRIPTION
WHITE CAMS
CAM PINS
16mm PAN HEAD SCREWS
25mm PAN HEAD SCREWS
"L" SAFETY BRACKET
QTY
8
8
1
1
1
4
Advertisement

Summary of Contents for Multistore MAXI ULTRA HS2
- Page 1 ASSEMBLY INSTRUCTION FOR MAXI ULTRA HS2 TOP of UNIT When attaching unit to wall put safety bracket in middle of unit with 16mm pan head screw then 25mm pan head screw into wall. For plasterboard without a stud it is recommended to use a plug with screw (not provided).
- Page 2 TAKE YOUR GABLES AND LAY THEM OUT FLAT, YOU SHOULD HAVE A LEFT AND RIGHT GABLE. NEXT STEP REQUIRES YOU TO OPEN PART 2 FIXED SHELF AND RETREVE THE INFILL. AND SCREWS. KICK INSERT YOUR 4 PINS INTO THE HOLE NO: THEN INSERT THE CAMS INTO THE HOLES INFILL PROVIDED ON YOUR SHELF .
- Page 3 1 x DRAWER ASSEMBLY INSTRUCTION MODEL DESCRIPTION NO MODEL DESCRIPTION CONFIRMAT SCREWS CAMS DOWELS CAM PINS BACKING NAILS 30mm 8 GAUGE SCREW 5/8 X 6 WOOD SCREWS 6 EURO SCREWS INFILL HANDLE RUNNERS PER SET STEP 1. LAYOUT YOUR DRAWER PIECES FLAT AS PER DESIGN WITH PRE- DRILLED HOLES FACING UP.
-
Page 4: Drawer Assembly
DRAWER USING THE WOOD SCREWS PROVIDED (No:4) SCREW TWO INTO EACH RUNNER . REPEAT FOR THE OTHER SIDE PICTURE OF YOUR FINISHED DRAWER Multistore Industries (Aust) Pty Ltd 9 Nevilles Street, Underwood, QLD 4119 Tel—(07) 3208 6799 Fax- (07) 3209 6332 www.multistore.com.au... - Page 5 INSTRUCTIONS FOR RUNNER PLACEMENT DIAGRAM 1 Executive Series ● ● Models Hole Positions Fixed Shelf Position ● ● EXC – 4J 1 – 8 – 15 - 22 ● ● EXC – 5C 1 – 8 – 15 – 20 – 25 ●...
-
Page 6: Warranty
10 Year Warranty • If the purchaser has a fault or defect with this product, the purchaser needs to contact Multistore Industries (Aust) directly on (07) 3208 6799 and state date of purchase, place of purchase and proof of purchase.


Need help?
Do you have a question about the MAXI ULTRA HS2 and is the answer not in the manual?
Questions and answers