
Related Manuals for Multistore MSM-C06


Summary of Contents for Multistore MSM-C06
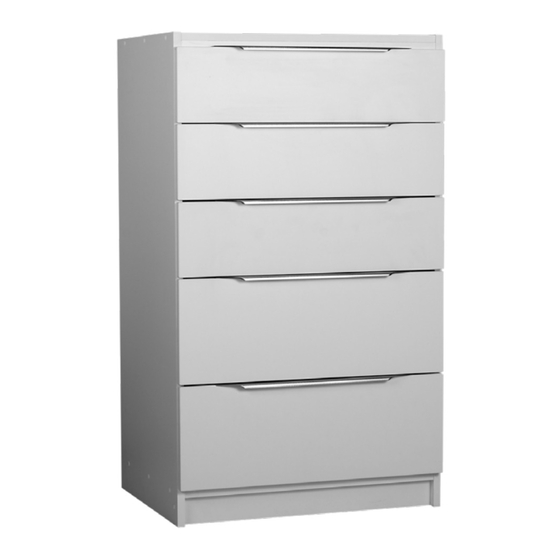
- Page 1 Assembly InstructIons mSm-C06 ComPACt rAnge 3 StAnDArD DrAWerS Jumbo DrAWerS PACKS 1065H x 500W x 450D WHITE #0027271 LIgHT Oak #2683496 Dark COCO #2683534...
- Page 2 ASSEMBLY INSTRUCTION FOR MSM AND MAXI C06 When attaching unit to wall put safety bracket in middle of unit with 16mm pan head screw then 25mm pan head screw into wall. For plasterboard without a stud it is recommended TOP of UNIT to use a plug with screw (not provided).
- Page 3 FIRST STEP:- UNPACKED YOUR CARTON PART 1 OF 2, LAY A,B,C,D,E ON FLOOR & RETRIEVE THE INFILL & SCREWS FROM PART 2. ATTACH THE INFILL TO THE UNDERNEATH OF THE FRONT EDGED TOP FIXED SHELF AS DEMONSTRATED DOWN BELOW IN INFILL STEP. STAND LEFT-HAND GABLE FACING DOWN ON THE EDGED FRONT, USING THE 30mm 8 GAUGE CONFIRMAT SCREWS PROVIDED YOU CAN NOW SCREW YOUR KICK FIRST, BOTTOM SHELF NEXT AND THEN TOP SHELF WITH INFILL ALLREADY ATTACHED FACING DOWN INTO THE LEFT-HAND GABLE.
- Page 4 HOW TO ASSEMBLE YOUR 5—DRAWER MODEL DESCRIPTION NO MODEL DESCRIPTION CONFIRMAT SCREWS CAMS DOWELS CAM PINS BACKING NAILS 30mm 8 GAUGE INFILL SCREW 5/8 X 6 WOOD SCREWS EURO SCREWS HANDLES INFILL RUNNERS PER SET STEP1. LAYOUT YOUR DRAWER PIECES FLAT AS PER DESIGN WITH PRE-DRILLED HOLES FACING UP. START WITH THE BACK OF THE FRONT DRAWER AND PLACE YOUR DOWELS &...
- Page 5 DRAWER ASSEMBLY STEP 3. STEP 4 YOUR DRAWER SHOULD BE FACING DOWN WITH THE FRONT DRAWER EXSPOSING THE CUTOUT FOR THE BASE TO BE PUSHED INTO FACE DOWN WITH THE BROWN SIDE SHOWING. MAK- ING SURE YOU HAVE THE DRAWER SQUARE, PROCEED TO NAIL DOWN THE BASE SPACING THEM OUT AROUND THE EDGE OF THE THREE SIDES.
- Page 6 INSTRUCTIONS FOR RUNNER PLACEMENT Executive Series DIAGRAM 1 ● ● Models Hole Positions Fixed Shelf Position ● ● EXC – 4J 1 – 8 – 15 - 22 ● ● EXC – 5C 1 – 8 – 15 – 20 – 25 ●...
- Page 7 Storage units for any room multistore.com.au multistore Industries (Aust) Pty Ltd 9 nevilles Street, underwood QLD 4119 P:+61 (7) 3208 6799 sales@multistore.com.au For easy assembly instructions, please refer to video on our website: www.multistore.com.au...
Need help?
Do you have a question about the MSM-C06 and is the answer not in the manual?
Questions and answers