Sign In
Upload
Download
Table of Contents
Contents
Add to my manuals
Delete from my manuals
Share
URL of this page:
HTML Link:
Bookmark this page
Add
Manual will be automatically added to "My Manuals"
Print this page
×
Bookmark added
×
Added to my manuals
Manuals
Brands
DeviceWell Manuals
Switch
HDS7105S
User manual
DeviceWell HDS7105S User Manual
5-ch hd switcher
Hide thumbs
Also See for HDS7105S
:
User manual
(28 pages)
1
2
3
4
5
6
7
8
9
10
11
12
13
14
15
16
17
18
19
20
21
22
23
24
25
26
27
28
29
30
31
32
33
34
35
36
37
38
39
40
41
42
43
44
page
of
44
Go
/
44
Contents
Table of Contents
Bookmarks
Table of Contents
汉语
Table of Contents
产品介绍
功能特性
切换台型号功能对照表
设备尺寸
接口规格说明
接口介绍
Tally 接口
接口参数
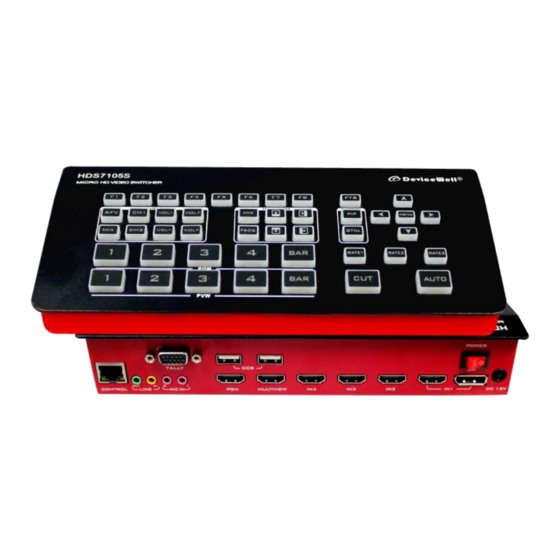
控制面板及接口
控制面板
功能区
按键说明
分区说明
音频控制区
转场特效控制区
综合控制区
Pgm 与 Pvw 的选择
Usb 接口对接 Obs 软件说明
系统菜单设置
推流的使用说明
切换台软件控制
同步地区时间操作说明
故障及维修
English
Functional Characteristics
Introduction
Overview
Switcher Function Comparison
Interface Introduction
Interface Specification
Size
Parameter
TALLY Interface
Control Panel
Control Panel and Interface
Area Description
Audio Control Area
Function Area
Key Description
Transition Effect Control Area
Integrated Control Area
PGM & PVW Selection
System Menu Settings
Instructions for USB Interface to OBS Software
Stream Instructions
Switcher Software Control
Failure and Maintenance
Synchronize Regional Time
More Switcher Options
Advertisement
Quick Links
1
English
2
Functional Characteristics
3
Tally Interface
4
Control Panel
5
System Menu Settings
6
Instructions for Usb Interface to Obs Software
7
Switcher Software Control
8
Synchronize Regional Time
Download this manual
使用手册
Users' Manual
VER 2.0
五通道高清视频切换台
5-CH HD SWITCHER
Table of
Contents
Previous
Page
Next
Page
1
2
3
4
5
Advertisement
Chapters
汉语
3
English
22
Table of Contents
Need help?
Do you have a question about the HDS7105S and is the answer not in the manual?
Ask a question
Questions and answers
Related Manuals for DeviceWell HDS7105S
Switch DeviceWell HDS7105S User Manual
5-ch switcher (28 pages)
Switch DeviceWell HDS7105 User Manual
(38 pages)
Switch DeviceWell HDS7105 User Manual
5-ch switcher (30 pages)
Switch DeviceWell HDS7106 User Manual
(26 pages)
Switch DeviceWell HDS7106 User Manual
(18 pages)
Switch DeviceWell HDS7105P User Manual
5-ch hd switcher (44 pages)
Switch DeviceWell HDS7305 User Manual
5-ch hd switcher (44 pages)
Switch DeviceWell HDS9105 User Manual
(28 pages)
Switch DeviceWell HDS6110 User Manual
(40 pages)
Switch DeviceWell HDS9101 User Manual
(40 pages)
Switch DeviceWell HDS9135 User Manual
5-ch switcher (24 pages)
Switch DeviceWell HDS9125 User Manual
5-ch hd switcher (32 pages)
Switch DeviceWell HDS9125 User Manual
5-ch hd switcher (44 pages)
Switch DeviceWell HDS9106 User Manual
(26 pages)
Switch DeviceWell HDS9106 User Manual
6-ch switcher (24 pages)
Switch DeviceWell HDS9325 User Manual
5-ch hd switcher (44 pages)
This manual is also suitable for:
Hds7105
Hds7105p
Hds7305
Table of Contents
Print
Rename the bookmark
Delete bookmark?
Delete from my manuals?
Login
Sign In
OR
Sign in with Facebook
Sign in with Google
Upload manual
Upload from disk
Upload from URL


Need help?
Do you have a question about the HDS7105S and is the answer not in the manual?
Questions and answers