Advertisement
Installation and Operating Instructions
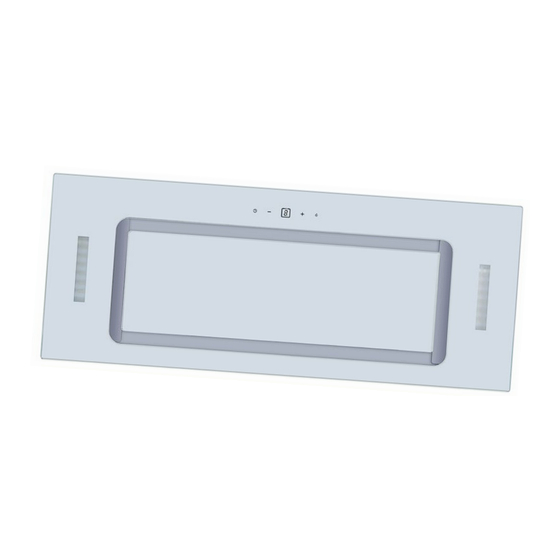
Description
: Robinhood Power Pack with DC motor
Model Number : RPG3CL52BK (52cm, Black), RPG3CL52WH (52cm, White)
RPG3CL75BK (75cm, Black), RPG3CL75WH (75cm, White)
RPG3CL90BK (90cm, Black), RPG3CL90WH (90cm, White)
RPG3CL52BK
RPG3CL75BK
RPG3CL90BK
RPG3CL52WH
RPG3CL75WH
RPG3CL90WH
*Actual unit may vary from above model picture
Issue 1
Advertisement


Need help?
Do you have a question about the RPG3CL52BK and is the answer not in the manual?
Questions and answers