Advertisement
Available languages
Available languages
Quick Links
H-6267, H-6268, H-6269
H-6270, H-8183
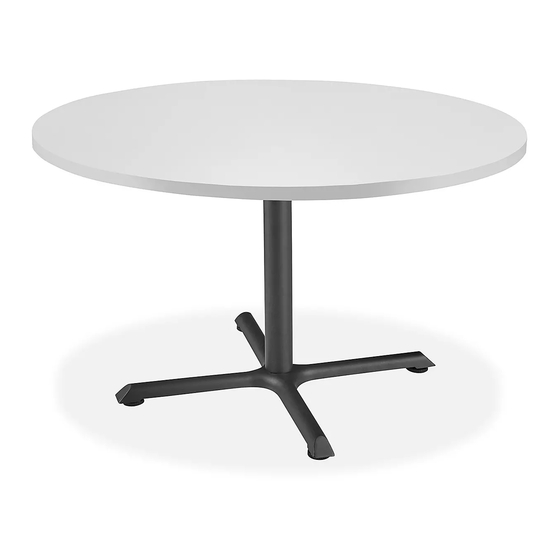
CAFE TABLE
TOOLS NEEDED
Phillips
Screwdriver
(Optional)
Two Person Assembly
Recommended
Round Tabletop x 1
(For H-6267, H-6268 and H-8183)
NOTE: Use Allen wrench to tighten bolts (A). Use
Phillips screwdriver to tighten screws (B).
NOTE: Assemble on a smooth, non-marring
surface to avoid scratching.
• Check that all parts are included.
• Instructions are identical for tables with
square tops and tables with round tops.
1. Align tabletop mounting plate (D) with holes on
column (E). Use three M8 x 1⁄" bolts (A) to secure.
(See Figure 1)
NOTE: Both ends of column (E) are identical.
Attach tabletop mounting plate (D) to either
end of column.
PAGE 1 OF 6
1-800-295-5510
uline.com
Drill
Allen Wrench
(Included)
Square Tabletop x 1
(For H-6269 and H-6270)
PARTS
F
Tabletop Mounting Plate x 1
Base x 1
ASSEMBLY
Figure 1
Para Español, vea páginas 3-4.
Pour le français, consulter les pages 5-6.
D
E
Column x 1
A
D
E
A
M8 x 1⁄" Bolt x 6
B
#5 x 1" Screw x 8
0922 IH-6267
Advertisement

Related Manuals for U-Line H-6267


Summary of Contents for U-Line H-6267
- Page 1 M8 x 1⁄" Bolt x 6 Base x 1 Round Tabletop x 1 Square Tabletop x 1 (For H-6269 and H-6270) (For H-6267, H-6268 and H-8183) Column x 1 #5 x 1" Screw x 8 ASSEMBLY NOTE: Use Allen wrench to tighten bolts (A). Use Figure 1 Phillips screwdriver to tighten screws (B).
- Page 2 ASSEMBLY CONTINUED 2. Align base (F) with holes on open end of column (E). 3. Place tabletop (G) upside down. With second Use three M8 x 1⁄" bolts (A) to secure. (See Figure 2) person, align tabletop mounting plate (D) from assembled base with holes in tabletop.
-
Page 3: Herramientas Necesarias
6 Pernos M8 x 1⁄" Cubierta de Mesa 1 Base 1 Cubierta Cuadrada 1 Cubierta Redonda (Para H-6267, H-6268 and H-8183) (Para H-6269 and H-6270) 1 Columna 8 Tornillos #5 x 1" ENSAMBLE NOTA: Utilice la llave Allen para apretar todos Diagrama 1 los tornillos (A). - Page 4 CONTINUACIÓN DEL ENSAMBLE 2. Alinee la base (F) con los orificios en el extremo 3. Voltee la cubierta (G). Con la ayuda de la otra abierto de la columna (E). Use tres pernos persona, alinee la placa de instalación para M8 x 1⁄"...
-
Page 5: Outils Requis
Boulon M8 x 1 ⁄ po x 6 de table x 1 Dessus de table ronde x 1 Dessus de table carrée x 1 Base x 1 (pour H-6267, H-6268 and H-8183) (pour H-6269 and H-6270) Colonne x 1 Vis n 5 x 1 po x 8 MONTAGE REMARQUE : Utilisez la clé... - Page 6 MONTAGE SUITE 2. Alignez la base (F) sur les trous de l'extrémité ouverte 3. Placez le dessus de table (G) à l'envers. À deux, de la colonne (E). Fixez-la avec trois boulons alignez la plaque de fixation du dessus de table (D) M8 x 1 ⁄...