Advertisement
Kit Contents
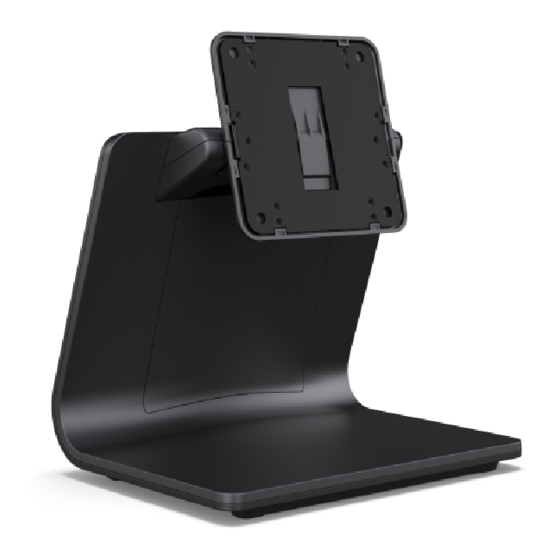
Stand
M4x6 mounting screws (4)
75mm VESA mount adapter for customer facing display
Elo Technical Support
Online self-help: www.elotouch.com/support
America
Europe (EMEA)
800-ELO-TOUCH
Tel +32 16 930 136
Tel +1 408 597 8000
emea.sales@elotouch.com
elosales.na@elotouch.com
The information in this document is subject to change without notice. Elo Touch Solutions, Inc. and its Affiliates (collectively "Elo") makes no
representations or warranties with respect to the contents herein, and specifically disclaims any implied warranties of merchantability or fitness for a
particular purpose. Elo reserves the right to revise this publication and to make changes from time to time in the content hereof without obligation
of Elo to notify any person of such revisions or changes.
No part of this publication may be reproduced, transmitted, transcribed, stored in a retrieval system, or translated into any language or computer
language, in any form or by any means, including, but not limited to, electronic, magnetic, optical, chemical, manual, or otherwise without prior
written permission of Elo Touch Solutions, Inc.
Elo and the Elo logo are either trademarks or registered trademarks of Elo Touch Solutions, Inc..
© 2021 Elo Touch Solutions, Inc. All rights reserved.
Asia Pacific
Tel +86 (21) 3329 1385
EloAsia@elotouch.com
Quick Installation Guide
Z10 POS Stand
www.elotouch.com
Revision B
P/N E185186
Advertisement
Table of Contents

Summary of Contents for Elo TouchSystems Z10
- Page 1 Kit Contents Stand M4x6 mounting screws (4) 75mm VESA mount adapter for customer facing display Quick Installation Guide Z10 POS Stand Revision B P/N E185186 Elo Technical Support Online self-help: www.elotouch.com/support America Europe (EMEA) Asia Pacific 800-ELO-TOUCH Tel +32 16 930 136...
- Page 2 Rotate the display mounting plate back as far as it will go. Remove the lower plastic cover to expose Remove the cable cover door and route the USB-C cable from the I-Series 4 Slate Display under the the VESA mounting holes by pressing the button and sliding the cover down. Then slide the upper stand opening and connect to the USB-C port on the rear of the display.


Need help?
Do you have a question about the Z10 and is the answer not in the manual?
Questions and answers