Advertisement
Quick Links
PARTS LIST
ATTENTION: Before you begin to assemble the
product, please make sure that all the parts are
included in the package and in good condition.
A
Backrest
B
Seat
x1
x1
5-Star base
C
D
Mechanism
x1
x1
F
E
Hydraulic
Casters
Gas Lift
x1
x5
Armrests
G
x1
x1
Right
Left
When you seat on the chair, not looking at it.
K
Metal Brackets
L
Ø 6x25mm
x4
x8
(Bracket to seat)
M
Ø 6x30mm
N
Ø 6x20mm
x4
x8
(Armrests to brackets)
(Mechanism)
O
Ø 8x20mm
P
Washers
x3
x7
(Backrest)
(Mechanism, backrest)
R
Q
Allen wrench 5mm
Allen wrench 6mm
x1
x1
ASSEMBLY INSTRUCTIONS
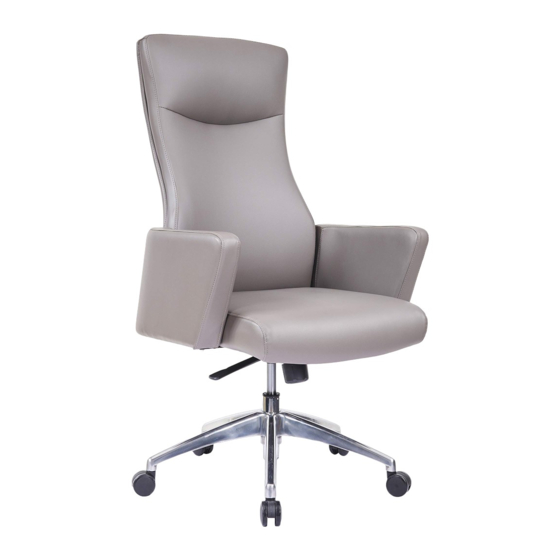
CHAIR STYLE RTA-1011
• Follow the instructions step by step.
ATTENTION:
• To avoid misalignments, leave the screws loose and do not tighten them until all are in their respective places.
• Do not overtighten or force the screws as they could break, strip, or damage the threads of the holes.
• Using the wrong size of screws on a part could result in damage to the screw or the part
1
Insert the casters (F) in the legs of the
base (C) using pressure, then place the
gas lift (E) and in the middle of the base
as shown.
E
4
Using screws (N) and washers (P),
assemble the mechanism (D) to the seat
(B) with its knob facing to the FRONT as
shown.
N+P
Q
(Front the seat)
D
2
Flip over the seat (B) with its front
towards you and assemble the brackets
(K) using screws (L) as shown.
L
Q
(bracket to seat)
C
F
(Front of the seat)
5
Assemble the backrest (A) to underneath
the mechanism (D) using screws (O) and
washers (P) as shown.
O+P
R
B
D
3
Assemble the armrests (G) to the
brackets in the respective sides using
screws (M) as shown.
M
Q
G (Left)
K
K
B
(Front of the seat)
6
Place the top parts over the base parts
making sure the tip of the gas lift enters
into the hole of the mechanism.
A
Before seating and using the chair for
the first time, make sure that all
screws are properly tightened.
(Arm to bracket)
G (Right)
Advertisement

Subscribe to Our Youtube Channel
Summary of Contents for Techni Mobili RTA-1011
- Page 1 ASSEMBLY INSTRUCTIONS CHAIR STYLE RTA-1011 • Follow the instructions step by step. PARTS LIST ATTENTION: • To avoid misalignments, leave the screws loose and do not tighten them until all are in their respective places. ATTENTION: Before you begin to assemble the •...
- Page 2 CHAIR’S FUNCTIONS: (1) Chair height: Pull UP the lever located under the seat on your RIGHT. The chair goes down while sitting on it, or up if you lift your body. (2) Backrest reclining: Push BACK the lever located under the seat on your LEFT.


Need help?
Do you have a question about the RTA-1011 and is the answer not in the manual?
Questions and answers