HMS EasyConnect EC220 Starter kit Get Started
Hide thumbs
Also See for EasyConnect EC220 Starter kit:
- User manual (70 pages) ,
- User manual (60 pages)
Table of Contents
Advertisement
Quick Links
EasyConnect EC220 Starter kit
Get started with
HMS Industrial Networks AB
Post address:
Box 4126
300 04 Halmstad
SWEDEN
EasyConnect
Visitor's address:
Stationsgatan 37
302 45 Halmstad
SWEDEN
Telephone:
+ 46 35 17 29 00
Fax:
+ 46 35 17 29 09
Doc:
SP1410 Rev. 1.10
E-mail:
info@hms-networks.com
Web:
www.netbiter.com
Advertisement
Table of Contents

Related Manuals for HMS EasyConnect EC220 Starter kit


Summary of Contents for HMS EasyConnect EC220 Starter kit
- Page 1 EasyConnect EC220 Starter kit Get started with EasyConnect HMS Industrial Networks AB Doc: SP1410 Rev. 1.10 Visitor’s address: Post address: Telephone: E-mail: Box 4126 Stationsgatan 37 + 46 35 17 29 00 info@hms-networks.com 300 04 Halmstad 302 45 Halmstad Fax:...
- Page 2 □ Power Supply □ Power cables; UK, US and EU □ DIN rail mounting kit □ 5m extension antenna, magnetic foot □ Netbiter SIM card □ Temperature sensor □ Temperature sensor wiring kit HMS Industrial Networks AB Page 2 (12)
-
Page 3: Hardware Installation
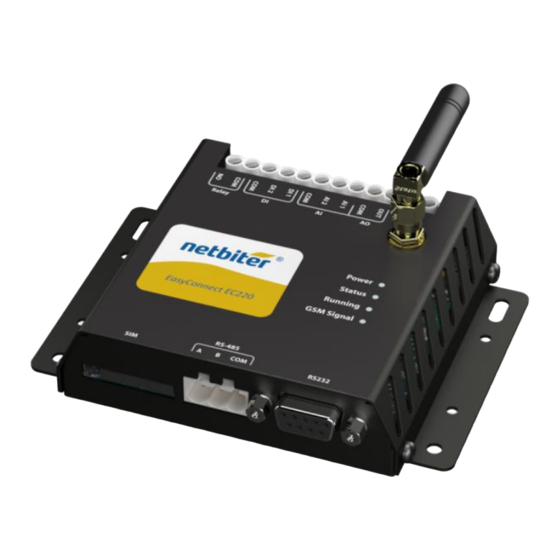
Open the SIM card holder by pushing the yellow button next to the holder, on the bottom of the EC220. Insert the SIM card (placed as shown in the picture), with the SIM connection area facing downwards. Re-insert the SIM card holder into the Netbiter EC220. HMS Industrial Networks AB Page 3 (12) -
Page 4: Connect The Temperature Sensor
The wires can be threaded put through the opening in the back. The other ends of these wires should be connected to the Netbiter EC220. 4) Connect the brown wire to the AI COM connector 5) Connect the white wire to the AI1 connector. HMS Industrial Networks AB Page 4 (12) -
Page 5: Connect The Power Supply
Two (2) flashes indicate an acceptable, although not optimal signal. Improve antenna reception by trying a different antenna placement. Medium signal Three (3) flashes indicate a good and stable signal on the GSM network. Good signal HMS Industrial Networks AB Page 5 (12) - Page 6 The System ID and the Activation Code are provided on the Netbiter Argos information sheet supplied with the Netbiter gateway. 4. Accept the terms and conditions, by checking the box provided. 5. Click the Register button. HMS Industrial Networks AB Page 6 (12)
- Page 7 8. It is now possible to log in to the account. Press the go to login button to return to the Netbiter Argos login page. 9. Navigate to the Netbiter Argos login page at https://www.netbiter.net. Enter the User and Password for the account and then click the Log on button. HMS Industrial Networks AB Page 7 (12)
- Page 8 4. Select Standard subscription from the dropdown list. 5. Click the activate button to activate the Netbiter EC220 on Netbiter Argos. 6. In the Management menu, go to Management MyFirstProject Netbiter System HMS Industrial Networks AB Page 8 (12)
- Page 9 9. Click the Send button at the bottom of the page. This will send a configuration SMS to the Netbiter EC250, which will process the configuration, reboot and then reconnect to Netbiter Argos. This may take a few minutes. HMS Industrial Networks AB Page 9 (12)
- Page 10 The device will reboot and reconnect to Netbiter Argos automatically, which may take a few minutes. After the above process is complete, data will be available from the field system, e.g. in the dashboard Netbiter EC220 Starterkit. HMS Industrial Networks AB Page 10 (12)
- Page 11 Now that you have added your first field system to your first project, it can now be viewed at Netbiter Argos. Click on the Presentation menu to access the project containing the Netbiter EC250. HMS Industrial Networks AB Page 11 (12)
- Page 12 Support is accessed from the Netbiter Support web page at www.support.netbiter.com. 1. Click on the Request Support button. 2. Fill in as much information you can about your problem. Fields marked with a red asterisk (*) are required. 3. Click the Submit button. HMS Industrial Networks AB Page 12 (12)
Need help?
Do you have a question about the EasyConnect EC220 Starter kit and is the answer not in the manual?
Questions and answers