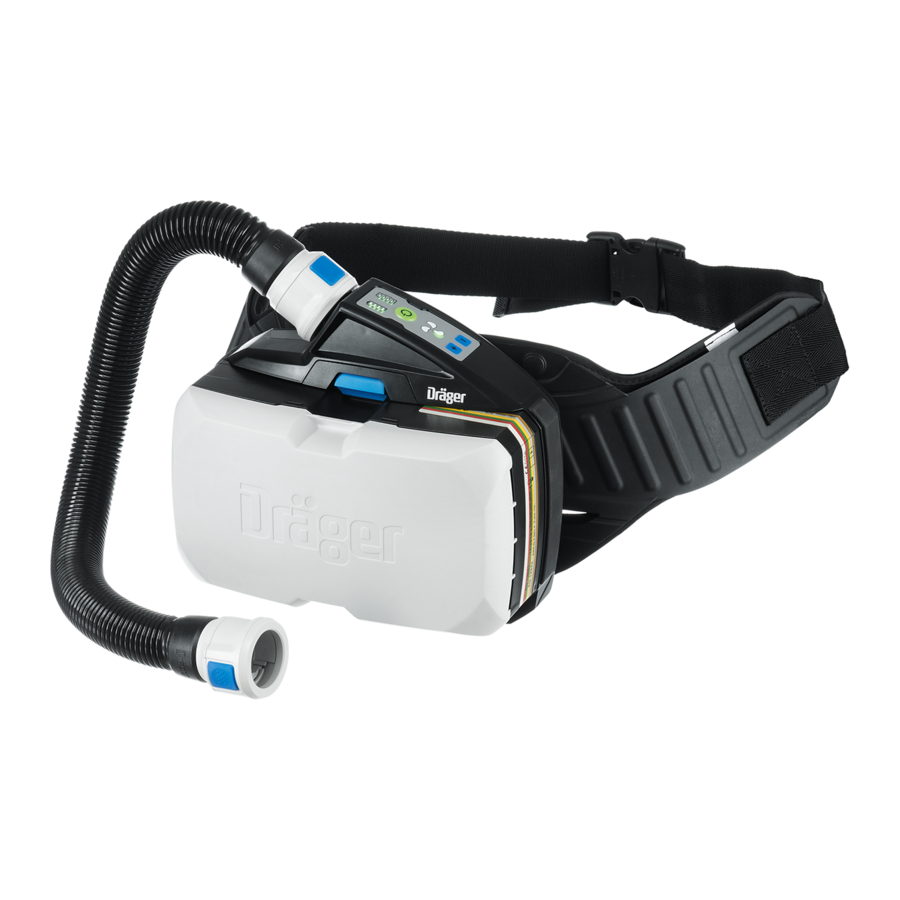
Dräger X-plore 8000 Manual
Hide thumbs
Also See for X-plore 8000:
- Instructions for use manual (246 pages) ,
- Cleaning and maintenance manual (7 pages) ,
- Instructions for use manual (187 pages)
Table of Contents
Advertisement
Quick Links
Cleaning and disinfection of Dräger X-plore 8000 with chlorine
solution
General
This document describes a cleaning and disinfection process for the Dräger X-plore 8000 system with
a chlorine solution. Please note that Dräger only assessed the compatibility of the equipment based
on the process described below, but did not evaluate the effectiveness of any agents with regard to
inactivating viruses or bacteria on our products.
The processes below were tested on X-plore 8000 components by running through 25 cleaning and
disinfection cycles. The equipment was fully functional afterwards. However, please note that
intensive cleaning and disinfection of X-plore 8000 components may result in color change or even
reduced service life of components. All components have to be checked carefully after each cleaning
and disinfection process and have to be exchanged if needed.
Please note that this document does not replace or in any way amend the Instructions for Use
(IfU)for the X-plore 8000. The Instructions for Use must always be fully read and understood prior
to any use, cleaning or disinfection of the device.
Other cleaning and disinfection detergents than the ones mentioned in this document or in the
associated IfU(s) have not been tested by Dräger. Therefore, Dräger cannot assess if other detergents
may cause any damage to the Dräger X-plore 8000 components or may reduce lifetime of the
product.
Please observe and follow the following steps additionally:
Read and follow the IfUs for all X-plore 8000 components.
Read and follow the IfUs from the manufacturer of the cleaning and disinfection agents used.
Carefully follow recommended concentration and time for the cleaning and disinfection
agents used.
Thoroughly rinse all components (battery attached to the PAPR unit) with clean, warm water
and thoroughly dry them before use or storage.
Always practice good hand hygiene.
Follow local regulations for proper disposal of cleaning equipment and solutions.
Initial steps
1. Detach the headpiece from the hose.
2. Detach the hose from the PAPR unit.
3. Detach the Decon belt from the PAPR unit.
4. Discard the disposable hose cover if one is used. (Note: Dräger recommends using a
disposable hose cover to make cleaning and disinfection of the corrugated hose easier.)
Advertisement
Table of Contents

Subscribe to Our Youtube Channel
Summary of Contents for Dräger X-plore 8000
- Page 1 Please note that this document does not replace or in any way amend the Instructions for Use (IfU)for the X-plore 8000. The Instructions for Use must always be fully read and understood prior to any use, cleaning or disinfection of the device.
- Page 2 In order to prevent cross-contamination of material from the outside of the PAPR unit to the inside, it is recommended to clean and disinfect the outside of the unit first. Follow the process as described below. Then remove the splash guard lid and the filter. Plug the hose connection opening as well as the blower inlet opening on the PAPR unit.
- Page 3 Decon belt (carrying system) Clean Decon belt Clean the entire Decon belt with a clean, soft cloth dampened with warm (max. 30 °C) water containing a mild pH-neutral (pH 6-8) detergent. Rinse Decon Belt Rinse Decon belt thoroughly under running water. Disinfect Decon belt Prepare a disinfection bath with a 0.5 % chlorine solution or a solution containing 5,000 ppm available free chlorine or a comparable solution as specified by your facility, local health authority,...
- Page 4 Other components Hose The hose can be cleaned and disinfected by following the same process as described for the decon belt. If immersed into a cleaning or disinfection solution, please make sure that also the inside of the hose is properly rinsed with clean water afterwards. Filter If the filter is intended to be reused, the outer housing can be cleaned by following the same process as described for the PAPR unit and the battery.


Need help?
Do you have a question about the X-plore 8000 and is the answer not in the manual?
Questions and answers