Table of Contents
Advertisement
Quick Links
Advertisement
Table of Contents

Related Manuals for Intermec EasyCoder PL3


Summary of Contents for Intermec EasyCoder PL3
- Page 1 Quick Start Guide EasyCoder ® PL3 Printer...
- Page 2 The information contained herein is proprietary and is provided solely for the purpose of allowing customers to operate and service Intermec-manufactured equipment and is not to be released, reproduced, or used for any other purpose without written permission of Intermec.
-
Page 3: Table Of Contents
Contents Introducing the EasyCoder PL3 Printer ... 4 Unpacking and Inspecting... 4 Reporting Damage ... 5 Learning About the Printer ... 5 Installing the Battery... 7 Charging the Battery... 8 Understanding the LCD Control Panel ... 9 Loading the Media... 11 Verifying the Printer Is Working ... -
Page 4: Introducing The Easycoder Pl3 Printer
™ (PLUS ) to create labels and send files to your printer. The manual and Intermec PLUS are available on the CD that came with your printer and on our web site at www.intermec.com. Unpacking and Inspecting Remove the accessories, packing material, and printer from the shipping container. -
Page 5: Reporting Damage
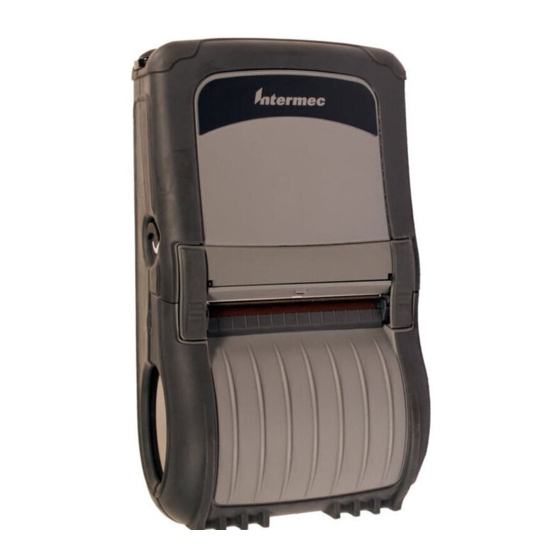
• notify your authorized Intermec reseller or sales representative. Learning About the Printer The EasyCoder PL3 printer is a rugged mobile label and receipt printer that provides: • print resolution of 200 dpi. • print speeds up to 7.62 cm (3 inches) per second. - Page 6 Media cover Media support disks (2 places) Printhead Control panel "D" rings Front View of the EasyCoder PL3 Belt clip Charging jack Battery Back View of the EasyCoder PL3 EasyCoder PL3 Printer Quick Start Guide Platen roller Black mark sensor...
-
Page 7: Installing The Battery
Battery 3 Insert the battery into the printer. 4 Press the battery into the printer until it locks in place. When the battery is first installed, the Control Panel indicators may briefly turn on and then go off, which indicates the battery is not fully charged. -
Page 8: Charging The Battery
• Single battery charger (P/N AT15759-7) that comes with an AC contact adapter for the U.S.A. (110V) Charger jack Single battery charger Charger contact adapter Connecting the Single Battery Charger For help using the charger, see the documentation that came with the charger. EasyCoder PL3 Printer Quick Start Guide... -
Page 9: Understanding The Lcd Control Panel
A flashing icon indicates that the media cover is open or not properly latched. A flashing icon indicates that a file is being downloaded to the printer. EasyCoder PL3 Printer Quick Start Guide Scroll button Select button... - Page 10 In addition to the status icons, the LCD control panel can display many of the printer’s settings and functions as text. Refer to the next table, “LCD Functions,” for the full set of printer features that you can see with the LCD panel. To set these functions, see the EasyCoder PL-Series Printer Programmer’s...
-
Page 11: Loading The Media
Factory Reset ** Some parameters, such as the WLAN ID number and non-standard no- activity timeout values can be set using a PC running Intermec PLUS and a data cable link to the printer. The LCD has a backlight option that allows viewing of the screen in a dark environment or provides better contrast in a very bright environment. - Page 12 To load the media 1 Pull the latch release lever on the side of the printer. The latch assembly flips open automatically. 2 Rotate the media cover back to expose the media compartment and the adjustable media supports. Media cover...
- Page 13 4 If you want to use the printer in Tear-Off mode, continue with Step 5. If you want to use the printer in Self-Strip mode, peel one or two labels off of the backing material. 5 Close the media cover.
- Page 14 Self-Strip mode 7 Rotate the latch assembly until it locks in place. 8 Turn on the printer or press the Feed button if the printer is already on. The printer advances the media. EasyCoder PL3 Printer Quick Start Guide...
-
Page 15: Verifying The Printer Is Working
The printer prints a line of interlocking “x” characters to make sure all elements of the printhead are working, prints out the version of software loaded in the printer, and then prints two reports. EasyCoder PL3 Printer Quick Start Guide Media cover Latch... - Page 16 HTSE7940 /18 Testing Memory... Memory tested and OK Baud Rate: 19200 BPS In-activity Timeout: 120 Secs Low battery Shut-down: 170 End of report. Example of the First Report of the Configuration Label EasyCoder PL3 Printer Quick Start Guide Printhead test...
- Page 17 .encryption .address 00:80:37:17:1E:B0 Debug Mode: Disabled Example of the Bluetooth Part of the Second Report EasyCoder PL3 Printer Quick Start Guide Application number Report appears only on units with wireless options installed. Units with no wireless options will print an empty line and resume the report.
- Page 18 INDEX .WML 4723 1226000 Bytes Free Command Language: Amount of memory available CCL Key '!'[21] End of report. Example of the End of the Second Report EasyCoder PL3 Printer Quick Start Guide Flash memory size Maximum label size...
-
Page 19: Using The Belt Clip
• Hook the clip over your belt and ensure that the clip is securely attached to the belt. The belt clip pivots to allow you to move freely while wearing the printer. Printer can pivot freely EasyCoder PL3 Printer Quick Start Guide Clip printer to belt... -
Page 20: Using The Adjustable Shoulder Strap
1 Snap each end of the shoulder strap into the “D” rings on the top of the printer. 2 Slide the buckle until you achieve the desired length. Pull here Pull here to lengthen to shorten Hold buckle Snap into "D" rings on printer EasyCoder PL3 Printer Quick Start Guide... -
Page 21: What To Do Next
• establish communications with a PC or terminal. • configure the printer to communicate with your network. • install Intermec PLUS so you can design labels or configure your printer. • write applications for the printer. - Page 22 -15°C to 50°C (5°F to 122°F) Storage -25°C to 70°C (-13°F to 158°F) Relative humidity Operation 10% to 80% (non-condensing) 10% to 40% for Bluetooth printer Storage 10% to 90% (non-condensing) Electrical 7.4V (nominal) Lithium-Ion battery EasyCoder PL3 Printer Quick Start Guide...
- Page 23 EasyCoder PL3 Printer Quick Start Guide...
- Page 24 6001 36th Avenue West Everett, WA 98203 U.S.A. www.intermec.com © 2003 Intermec Technologies Corp. All Rights Reserved EasyCoder PL3 Printer Quick Start Guide *073816-001* *073816-001*...
Need help?
Do you have a question about the EasyCoder PL3 and is the answer not in the manual?
Questions and answers