Advertisement
Quick Links
Advertisement

Related Manuals for fantastic furniture Torkay


Summary of Contents for fantastic furniture Torkay
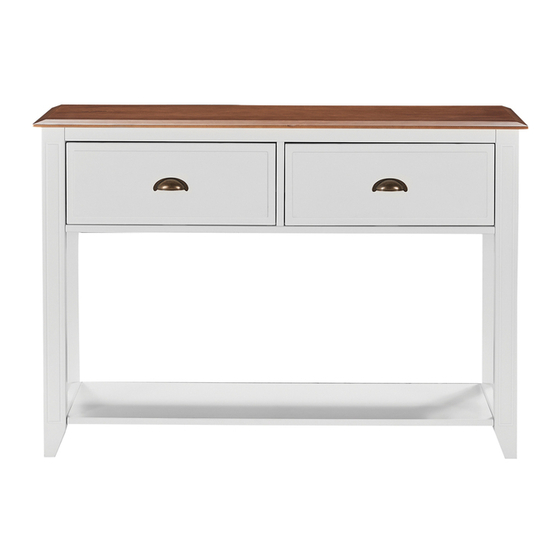
- Page 1 Version 1.0 Torkay Bookcase Lowline White Walnut fantasticfurniture.com.au...
- Page 2 Secure it! Reduce the risk of furniture tip-over accidents WARNING: ENSURE THE WALL STRAP IS ATTACHED TO AVOID SERIOUS INJURY. To avoid any serious or fatal injury, a wall strap has been provided with this product to prevent toppling. We strongly recommend that this product is permanently fixed to the wall or other suitable surface.
- Page 3 We’re thrilled you’ve chosen Fantastic Furniture to help create a home you’ll love! Love it? Share it! Fantastic buy! Share how it looks at home on Instagram for your chance to win a $250 Fantastic Furniture Gift Card! @fantasticfurniture fantasticfurniture.com.au fantasticfurniture.com.au...
-
Page 4: Assembly Checklist
Assembly checklist Read through the instructions carefully Make sure you have all the required tools. before you begin. Never use power tools unless instructed. Identify and lay out all of the components Unless instructed, do not fully tighten screws before you begin assembly. until the item is fully assembled. -
Page 5: What You Need
What you Need To assemble the product Other tools you need: Phillips Head Screwdriver Mallet (soft headed) Right Side Panel (P3) Part List Back Panel (P9) 1 x Top Panel (P1); 1 x Left Side Panel (P2); 1 x Right Side Panel (P3); 1 x Top Panel Rail (P4);... - Page 6 Step 1 You will need: (H1)x8 8 x Cam Bolts Phillips Head Screwdriver (H1) (P1) Attach 8x Cam Bolts (H1) to the Top Panel (P1) as shown by tightening with the Phillips Head Screwdriver. Step 2 (H1)x7 You will need: (P2) 14 x Cam 4 x Wooden...
- Page 7 Step 3 (H1)x2 You will need: (P6) 6 x Cam 4 x Wooden Bolts (H1) Dowels (H3) (H3)x4 (H1)x4 Mallet Phillips Head (P6) Screwdriver (soft headed) Insert 4x Wooden Dowels (H3) into the Centre Shelf (P6) as shown using the Soft headed Mallet to gently secure in position.
- Page 8 Ensure the white, bevelled edges of Step 5 the centre panels and bottom shelf are facing the front of the bookcase before securing. You will need: (P5) (P5) Phillips Head 4 x Cam Nuts Screwdriver (H2) (H2)x4 This is how a cam nut works..The head of the cam bolt goes into the open (P7)
- Page 9 Step 7 You will need: (P6) Phillips Head 6 x Cam Nuts (P7) Screwdriver (H2) (P2) This is how a cam nut works..The head of the cam (H2)x6 bolt goes into the open mouth of the cam nut. You then turn the cam nut so it tightens over the bolt.
- Page 10 Ensure the countersunk holes are on the Step 9 underside of the top rail panel before securing. You will need: (P4) Phillips Head 1 x Cam Nut (H2) Screwdriver (H2) This is how a cam nut works..(P2) The head of the cam bolt goes into the open mouth of the cam nut.
- Page 11 Step 11 (P7) (P8) Attach the Support Leg (P8) to the bottom of the Bottom Shelf (P7), turning clockwise to secure. Step 12 Ensure the white, laminated side of each back panel is facing the inside of the bookcase. With assistance, carefully turn the assembled unit upright. Insert 2x Back Panels (P9) into the grooves of the Left and Right Side Panels (P2 &...
- Page 12 Step 13 (P1) You will need: (P4) (H2)x8 (P3) 4 x Large Phillips Head 8 x Cam Nuts Screws (H4) Screwdriver (H2) (P2) This is how a cam nut works..The head of the cam bolt goes into the open mouth of the cam nut.
- Page 13 Step 15 Step 1 You will need: 2 x Medium 2 x Wall Straps (H7) Screws (H6) 2 x Washers Phillips Head (H8) Screwdriver Attach 2 x Wall Straps (H7) to the back of the Top Panel (P1) using 2 x Medium Screws (H6) and 2 x Washers (H8), tightening with the phillips head screwdriver.
- Page 14 Step 16 You will need: (H8)x2 2 x Washers Phillips Head (H8) Screwdriver Screw and Wall Plug are not provided. Please use appropriate fixtures for your wall. Seek advice from a qualified trades person on how to attach safety strap to the wall .
- Page 15 Page 15 fantasticfurniture.com.au...
Need help?
Do you have a question about the Torkay and is the answer not in the manual?
Questions and answers