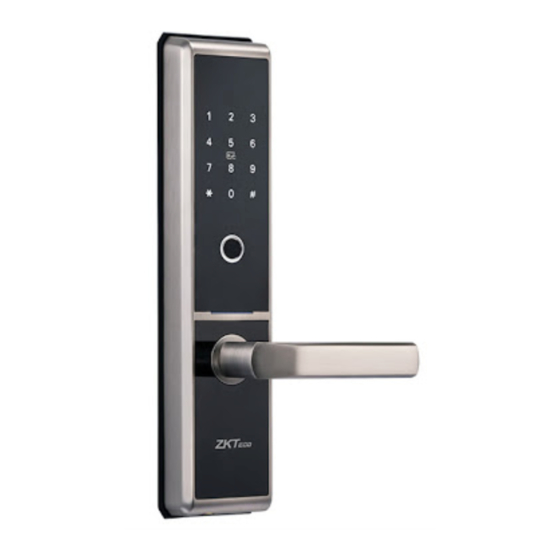
Summary of Contents for ZKTeco TL300Z
- Page 1 Installation Guide Model: TL300 Version: 1.0 Due to regular upgrades of systems and products, ZKTeco could not guarantee exact consistency between the actual product and the written information in this manual.
-
Page 2: Table Of Contents
Important Notes Please read this Installation Guide carefully or contact the Customer Care for any queries regarding installation. Installation is recommended to be performed by a professional to avoid any additional service charges that may cause due to improper product installation. We constantly revise the contents of this Installation Guide and update our products to improve the quality and performance without any prior notice. -
Page 3: What's In The Box
What’s in the Box Outdoor Unit Indoor Unit Mounting Plate Gasket Mortise Strike Plate and Box Keys MF Cards Spindle A & B Screw A Screw B Screw C Screw D Door Thickness Spindle A Spindle B Screw B Screw C 38 to 46 mm 45 mm 65 mm... -
Page 4: Installation Diagram
Installation Diagram Outdoor Unit Gasket Door Gasket Spindle A Mounting Plate Keys Indoor Unit Batteries Screw B Mortise (not included) Screw C Screw A Battery Cover Strike Plate Spindle B and Box Screw D Installation Procedure Door Properties Measure the door thickness Measure the door thickness and select the proper Spindle and Screw length. - Page 5 Mortise Mortise Strike Plate Strike Plate Left Inward Right Inward Mortise Mortise Strike Plate Strike Plate Left Outward Right Outward User Location Adjust the direction of latch (if needed) Push the reversing block in downward direction. Push the latch bolt into the mortise. Rotate the latch bolt at 180°...
-
Page 6: Drilling Holes On The Door
Change the location of stud bolts (if needed) If the holes are already drilled on the door, you can adjust the location of two stud bolts to fix the lock. Drilling Holes on the Door Installing Mortise Place the Installation Template at Secure the Mortise with the Screw A. -
Page 7: Installing Outdoor Unit
Installing Outdoor Unit Attach the Gasket to the Outdoor Unit. Insert Spindle A into the clutch. Make sure the triangle mark points towards the door opening direction. Attach the Outdoor unit to the door by inserting the cable through the drilled holes. -
Page 8: Installing Indoor Unit
Installing Indoor Unit Tighten the screw to fix the Spindle B. Connect the cable to the port on the Indoor Unit. Place the Indoor Unit properly on the Mounting Plate. Then use Screw D to secure the Indoor Unit. Note: Push cable into the hole. Installing Battery and Cover Insert eight Alkaline AA batteries and cover them with a battery cover. -
Page 9: Installing Strike Plate And Box
Installing Strike Plate and Box Make sure that the Strike Box is aligned with the latch bolt. Then, use the Installation Template to drill holes. Align the Strike Plate and Box with the drilled holes and secure them with Screw A. Physical Testing Test the lock by rotating the handle and the double locking knob. - Page 10 Warning: This device complies with Part 15 of the FCC Rules. Operation is subject to the following two conditions: (1) This device may not cause harmful interference, and (2) this device must accept any interference received, including interference that may cause undesired operation.
- Page 11 ZKTeco Industrial Park, No. 26, 188 Industrial Road, Tangxia Town, Dongguan, China. Phone : +86 769 - 82109991 : +86 755 – 89602394 www.zkteco.com Copyright © 2020 ZKTECO CO., LTD. All Rights Reserved.


Need help?
Do you have a question about the TL300Z and is the answer not in the manual?
Questions and answers