Table of Contents
Advertisement
Quick Links
Advertisement
Table of Contents

Related Manuals for GeoVision GV-SNVR3203


Summary of Contents for GeoVision GV-SNVR3203
- Page 1 Quick Start Guide GV-SNVR3203, GV-SNVR6403 The Vision of Security Thank you for purchasing GV-SNVR. This guide is designed to assist the new user in getting immediate results from the GV-SNVR. For advanced information on how to use the GV-SNVR, please SNVR-U-QG-A refer to GV-SNVR User's Manual.
- Page 2 GeoVision. Every effort has been made to ensure that the information in this manual is accurate. GeoVision, Inc. makes no expressed or implied warranty of any kind and assumes no responsibility for errors or omissions. No liability is assumed for incidental or consequential damages arising from the use of the information or products contained herein.
-
Page 3: Table Of Contents
Content 1 LED INDICATORS 2 OVERVIEW..................2.1 GV-SNVR3203 / GV-SNVR6403 F ........2 RONT 2.2 GV-SNVR3203 / GV-SNVR6403 R ......... 3 2.3 F ................4 RONT ANEL UTTONS 3 DISK INSTALLATION ................6 3.1 P ..................REPARATION 3.2 R ................6... -
Page 4: Led Indicators
1 LED Indicators Status Description Steady on Normal. RUN (Operation) Blinking Starting up. ALM (Alarm) Steady on Device alarm occurred. NET (Network) Steady on Connected to network. GUARD (Arming) Steady on Arming is enabled. CLOUD Not functional. Steady on No disk; or disk is abnormal. HD (Hard disk) Blinking Reading or writing data. -
Page 5: Overview
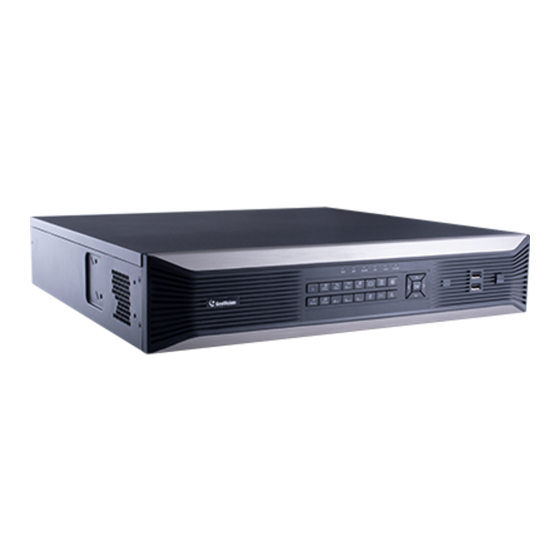
2 Overview The following part shows the front and rear panels of the NVR models. GV-SNVR3203 / GV-SNVR6403 Front View Name Description LED Indicators 1. LED Indicators. Front Panel 2.3 Front Panel Buttons. Buttons Connects to a keyboard, mouse, or USB flash USB 2.0 Ports... -
Page 6: Gv-Snvr3203 / Gv-Snvr6403 Rear View
GV-SNVR3203 / GV-SNVR6403 Rear View Name Description Grounding Screw Fixes the NVR to the ground. Network Ports Connects to the network. Audio Line Out Connects to a speaker. Port Audio Line In Port Connects to a microphone. HDMI Output Connects to HD TVs. -
Page 7: Front Panel Buttons
Front Panel Buttons Button Description Display the main menu. Switch to the next tab on the screen or switch the input method. Auxiliary function button. Exit the current window. The 4 arrows: Switch windows or menu items; or control rotation directions of a PTZ camera when the PTZ toolbar is closed. - Page 8 Button Description Enter 0 or a space.
-
Page 9: Disk Installation
3 Disk Installation The illustrations are for reference only. The actual device may vary. Preparation Disconnect power before installation. Remove Upper Cover 1. Loosen the screws on the upper cover. 2. Slide the upper cover backward, then lift it up to remove the cover. Install Disks 1. - Page 10 3. Secure the disks on the mounting plate. Fix the screws according to the figure below. Avoid damaging the disk in the process. 4. Put the mounting plate back in place. Connect the power cables and data cables as shown in the figure. Repeat the steps to connect all the disks. 5.
-
Page 11: Startup And Shutdown
4 Startup and Shutdown Make sure the cables are connected correctly and the device is grounded properly. Use a power supply that meets requirements. Startup Connect the device to power and turn on the power switch. Shutdown Click > Shutdown on the screen toolbar in live view page. CAUTION! Do not disconnect power when the NVR is operating or shutting down. -
Page 12: Local Operations
5 Local Operations Add IP Devices Before you begin, make sure the devices are connected to your NVR via network. 5.1.1 Quick Add Follow the wizard to the fourth step. Select the devices to add in the discovered device list, and then click Add. NOTE! After the device is added, if wrong username or password message shows in the preview window, click... -
Page 13: Custom Add
5.1.2 Custom Add 1. Right click in the preview page, click Menu > Camera > Camera. 2. Click Custom Add, enter the IP address and other required information. 3. Check the status of camera. means the camera gets online successfully. If the status icon is grayed out, place your mouse cursor over the icon to view the cause of error. -
Page 14: Remote Access Via Mobile Devices
6 Remote Access via Mobile Devices The NVR supports for remote access via mobile devices based on Android and iOS operating system. Refer to GV-Eye Installation Guide for details on operating instructions. NOTE! This function is only applicable to GV-Eye V3.0.0 or later. -
Page 15: Web Login
7 Web Login Before you begin, check that your PC is connected to your NVR through network. 1. Open the browser on your PC, enter the IP address (192.168.0.100 / 192.168.1.100) in the address bar, then press Enter. NOTE! Install the plugin as required at first login. Close your browser during the installation. - Page 16 ⚫ Keep firmware up to date: It is recommended that your device is always upgraded to the latest version for the latest functions and better security. Visit GeoVision’s official website or contact your local dealer for the latest firmware. The following are recommendations for enhancing network security of your device: ⚫...
- Page 17 ⚫ Check logs: Check your device logs regularly to detect unauthorized access or abnormal operations. ⚫ Isolate video surveillance network: Isolating your video surveillance network with other service networks helps prevent unauthorized access to devices in your security system from other service networks. ⚫...
- Page 18 ⚫ Use a mains socket outlet with a protective earthing (grounding) connection. ⚫ Ground your device properly if the device is intended to be grounded. Battery Use Caution ⚫ When battery is used, avoid: Extremely high or low temperature and air pressure during use, storage, ➢...
Need help?
Do you have a question about the GV-SNVR3203 and is the answer not in the manual?
Questions and answers