Zehnder Rittling ComfoClime 24 Service Manual
Hide thumbs
Also See for ComfoClime 24:
- Quick user manual (64 pages) ,
- User manual (30 pages) ,
- Installer manual (24 pages)

Related Manuals for Zehnder Rittling ComfoClime 24


Summary of Contents for Zehnder Rittling ComfoClime 24
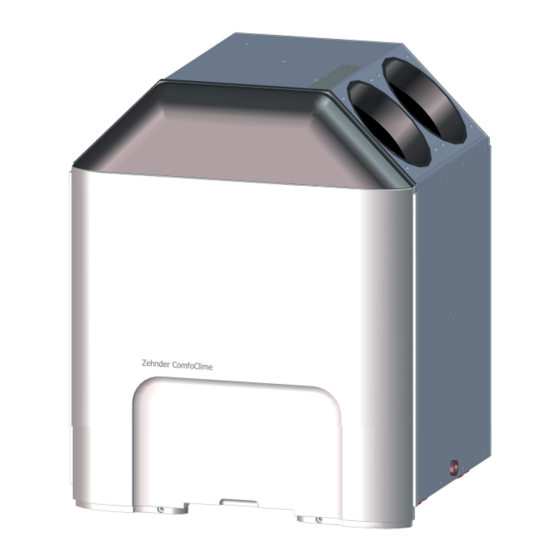
- Page 1 ■ Decorative radiators ■ Comfortable indoor ventilation ■ Heating and cooling ceiling systems ■ Clean air solutions ComfoClime 24 ComfoClime 36 Service manual 1 - EN...
-
Page 2: Table Of Contents
Table of Contents Preface ..................................3 1 Introduction ................................3 2 ComfoClime unit internal access ..........................4 2.1 Access to the LEFT front coil ..........................4 2.2 Access to the LEFT front condensation tray ......................5 2.3 Access to the RIGHT back coil (siphon and condensation tray) ................6 2.4 Access to the RIGHT back condensation tray ......................7 2.5 Replacement of the actuators ..........................8 All rights reserved. -
Page 3: Preface
24 or ComfoClime 36. It is also intended as a reference for servicing, so that this can be carried out in a responsible manner. The unit is subject to continuous development and improvement. As a result, the ComfoClime 24 or ComfoClime 36 may slightly differ from the descriptions. -
Page 4: Comfoclime Unit Internal Access
2 ComfoClime unit internal access 2.1 Access to the LEFT front coil Always comply with the safety regulations, warnings, comments and instructions given in this document. Failure to comply with the safety regulations, instructions, warnings and comments may lead to personal injury or damage to the unit. In order to proceed with access to the LEFT front coil, follow the steps as described below: Step Action... -
Page 5: Access To The Left Front Condensation Tray
Step Action The coil E is visible on the left side (higlighted in red); it is possible to clean it using a vacuum cleaner or a compressor taking care of closing the below intake of the ComfoAir Q to avoid the dirt to fall down into the ComfoAir Q (see after for access to condensation tray). -
Page 6: Access To The Right Back Coil (Siphon And Condensation Tray)
Step Action Unscrew the two screws B that lock the condensation tray C then pull it gently toward you rotating it slightly. It is possible to replace the internal siphon extracting gently the rubber hose ends. CAUTION! The supplier shall not be held liable for any damage, to things or people, caused by accidents due to a failure to comply with the instructions provided in this manual and in the following chapters. -
Page 7: Access To The Right Back Condensation Tray
Step Action The coil and the condensation B tray are visible and it’s possible to clean the coil with a vacuum cleaner or a brush taking care of closing the below intake of the ComfoAir Q to avoid the dirt to fall down into the ComfoAir Q. -
Page 8: Replacement Of The Actuators
Step Action Unscrew the two screws B that lock the condensation tray then pull it gently toward you rotating it slightly. CAUTION! The supplier shall not be held liable for any damage, to things or people, caused by accidents due to a failure to comply with the instructions provided in this manual and in the following chapters. - Page 9 Step Action Unplug the two connectors B from the upper part of the actuator. Unscrew the two screws C that hold it attached to the frame. CAUTION! The supplier shall not be held liable for any damage, to things or people, caused by accidents due to a failure to comply with the instructions provided in this manual and in the following chapters.
- Page 10 Zehnder Group IT Via G. di Vittorio 6 41100 Campogalliano (MO), Italy...
Need help?
Do you have a question about the ComfoClime 24 and is the answer not in the manual?
Questions and answers