Advertisement
Quick Links
Installation Guide
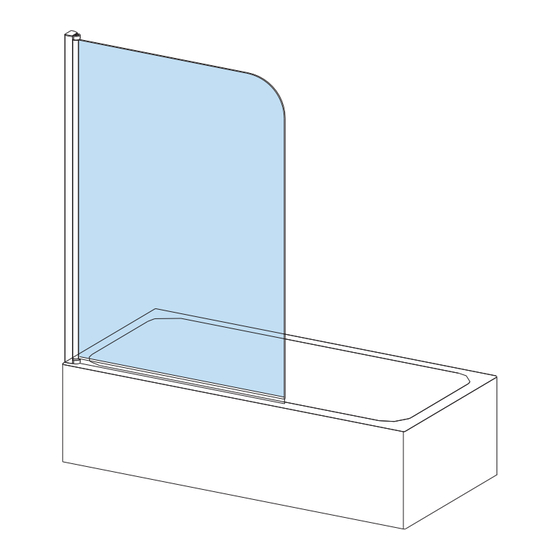
MB11 Pivot
The wall plugs supplied with the installation kit are for use in solid walls.
Hollow or 'stud partition' walls will require alternative fixings. Please consult
a hardware supplier for the correct type. It may also be necessary to consult
your tiling supplier about the correct method for drilling your tiles.
Advertisement

Related Manuals for MERLYN MB11


Summary of Contents for MERLYN MB11
- Page 1 Installation Guide MB11 Pivot The wall plugs supplied with the installation kit are for use in solid walls. Hollow or ‘stud partition’ walls will require alternative fixings. Please consult a hardware supplier for the correct type. It may also be necessary to consult...
- Page 2 Wall plug SP0M7017L / SP0M7017R SP0B08070 Wall profile SP0M7013 Screw ST4x40 A2403001 Cover strip SP0M7004 Bottom seal SP0M7030 Moving panel Screw ST4x12 A2401201 parts shown are not to scale 4x40 A2403001 A2401201 SP0B08070 SP0B08092 SP0M7030 SP0M7017L SP0M7017R...
- Page 3 2. Plumb the wall profiles using the vertical element of 1.Position the wall profile so the seal on the moving panel sits on the inside edge of the the spirit level. Mark 3 holes, drill with 6mm masonry bath. FIG 1. bit and fit wall plugs.
- Page 4 4. Insert the screen into the wall profile. Ensure the bottom edge of the moving panel is parallel to the top surface of the bath. Make sure open side of bracket is to the inside. FIG 4. INSIDE INSIDE FIG 4 5.
- Page 5 7. Fix top cover cap(SP0M7017) to wall profile (SP0M7013). FIG 7. FIG 7 8. Fix the bottom seal. FIG 8. IMPOTANT:Cut 2mm from the end of the bottom fin. Slide the end of the seal onto the glass and tight against the bottom bracket. Push up the rest of the seal onto the glass edge ensuring the bottom fin is in contact with the bath edge.
- Page 6 FIG 9...
Need help?
Do you have a question about the MB11 and is the answer not in the manual?
Questions and answers