Table of Contents
Advertisement
Quick Links
Advertisement
Table of Contents

Summary of Contents for Ayrton Lynx Control
- Page 1 KEEP THIS MANUAL FOR FUTURE NEEDS...
- Page 2 Thank you for choosing our equipment. We are confident that our excellent products and service can satisfy you. For your own safety, please read this user manual carefully before using this device. INTRODUCTION: Thank you for choosing this professional tool. Unpacking the device.
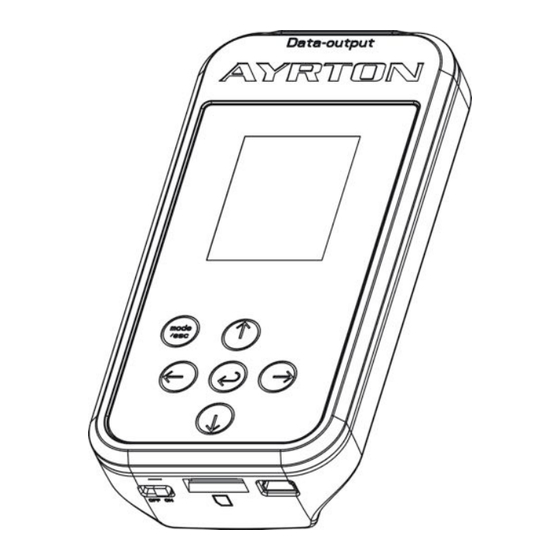
- Page 3 OVERVIEW DMX output socket LCD-Display MODE/ESC –button LEFT-button DOWN-button ENTER-button RIGHT-button UP-button Power switch MICRO SD socket Power supply...
- Page 4 SAFETY INSTRUCTIONS This LYNX CONTROL left the factory in perfect condition. In order to maintain this condition and to ensure a safe operation, it is absolutely necessary for the user to follow the safety instructions and warning notes written in this user manual.
- Page 5 Step1: Insert the MICRO SD card with software release into the MICRO SD port. Connect the signal output cable of the LYNX CONTROL to the signal input port of the lighting; switch On the LYNX CONTROL and select the required folder.
- Page 6 Step5: Once the upgrade done, you will be prompted to continue the upgrade or exit this procedure.
- Page 7 Installation of the battery Notice: 1) Please use the battery provided by the supplier . 2) Please charge the battery when low power . CLEANING AND MAINTENANCE The following points have to be considered during the inspection: 1) All screws for installing the devices or parts of the device have to be tightly connected and must not be corroded.
- Page 8 installer and any safety problems have to be removed. We recommend a frequent cleaning of the device. Please use a moist, lint-free cloth. Never use alcohol or solvents. There are no serviceable parts inside the device. Please refer to the instructions under “Installation instructions”.


Need help?
Do you have a question about the Lynx Control and is the answer not in the manual?
Questions and answers