Advertisement
anovafurnishings.com
888.535.5005 tel
TOOLS NEEDED:
•
1/2" Open-end or box-end wrench
•
5/16" Open-end or box-end wrench
•
Ratchet with 1/2" socket
•
Ratchet with 5/16" socket
•
Square
BENCH COMPONENTS:
(4) Outer Planks
(2) Center Planks
Recycled Plastic
Recycled Plastic
ASSEMBLY HARDWARE: All hardware is stainless steel.
(4) No. 12 x 1 1/2"
Pan Head Screws
ASSEMBLY:
1.
Inspect the shipping container contents for damage and to
determine that all components and hardware are present.
2.
Lay all parts on a soft work surface or on the shipping
packaging to prevent damage to finish.
NOTE: Before assembling the nuts to the bolts, it is
recommended that a light oil or petroleum jelly be applied
to the screw threads.
Two of the planks have two extra holes toward one
end. These planks must be placed in the center of the
bench with the additional holes located near the bench
centerline. The additional holes are placed to mount the
gusset brackets.
3.
Locate the planks and place them with the predrilled holes
facing upward.
Assembly Instructions
Recycled
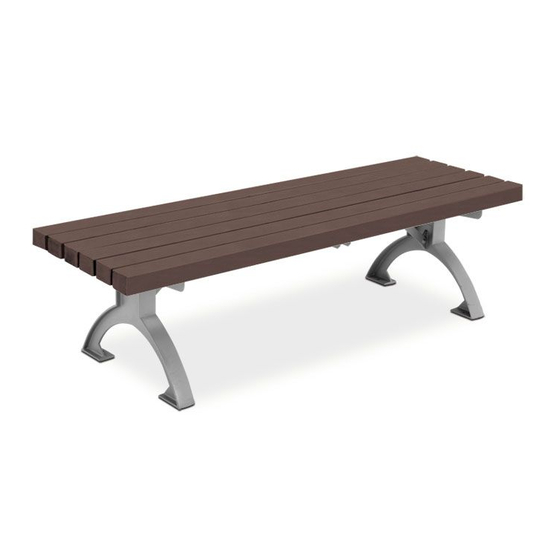
FBW6R - 6' Parkway Recycled Plastic Flat Bench
(1) Bench Channel
(6) 5/16"-18 x 1 1/4"
(12) 5/16" Flat
Hex Head Bolts
(2) Cast Iron Bench Legs
(2) Gusset Brackets
(6) 5/16"-18
Washers
Nylock Nuts
IMPORTANT:
Center planks location and orientation
of gusset brace mounting holes
(2) Bench Brackets
(1) Cross Support
(18) 5/16" x 2"
Lag Screws
Outer
Planks
Outer
Planks
1
Advertisement
Table of Contents

Related Manuals for Anova FBW6R


Summary of Contents for Anova FBW6R
- Page 1 Assembly Instructions Recycled FBW6R - 6' Parkway Recycled Plastic Flat Bench anovafurnishings.com 888.535.5005 tel TOOLS NEEDED: • 1/2" Open-end or box-end wrench • 5/16" Open-end or box-end wrench • Ratchet with 1/2" socket • Ratchet with 5/16" socket • Square...
- Page 2 Leave the two center holes empty 5/16" x 2" Lag Screws Place the cross support across the center of the planks and Cross Support line up the holes in the cross support with the predrilled holes in the middle of the planks. Start a 5/16” x 2" lag screw into each of the bench support holes, except for the two center mounting holes.
- Page 3 After two weeks, retighten all of the hardware. Bench Channel 5/16" x 2" Lag Screw 4 X O 0.40" 18.92" 52.77" FBW6R - FOOT MOUNT Assembly and Replacement Parts Center Plank Recycled Plastic Outer Plank Recycled Plastic Bench Bracket Cast Iron Bench Leg...
Need help?
Do you have a question about the FBW6R and is the answer not in the manual?
Questions and answers