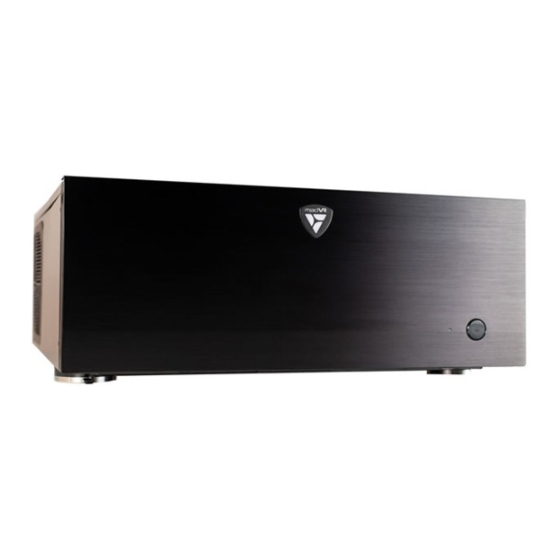
madVR Labs Envy Setup Manual
Jvc laser projector nz7/nz8/nz9, rs2100/rs3100/rs4100
Hide thumbs
Also See for Envy:
- User manual (21 pages) ,
- Barco setup manual (9 pages) ,
- Sony setup manual (8 pages)
Summary of Contents for madVR Labs Envy
- Page 1 Envy JVC Laser Projector Setup Guide NZ7/NZ8/NZ9 RS2100/RS3100/RS4100 www.madvrenvy.com Rev. 1.05 madVR Envy – JVC Setup Guide Copyright © madVR Labs, LLC. All rights reserved.
-
Page 2: Projector Settings
2.0.2 SDR Picture Mode Configuration The Envy does not require any special JVC settings to display SDR content, so you can use whatever you prefer. One easy way to set up the JVC for displaying SDR content is to use the “Natural” Picture Mode, with Color Profile on Auto, Color Temperature at 6500K, and a Gamma of 2.4. - Page 3 Select menu available within the JVC Input Signal Menu (second menu option from the Left). Go to the “SDR(2D)” line, press Enter, and then select “Natural” (or whichever Picture Mode you set up from earlier in this section). madVR Envy – JVC Setup Guide Copyright © madVR Labs, LLC. All rights reserved.
- Page 4 2.0.3 HDR Picture Mode Configuration There are two approaches to setting up the JVC for playback of HDR content with the Envy. The first allows the JVC to automatically select the correct Picture Mode whenever it receives an HDR signal. The second approach requires the user to manually select the right Picture Mode, or to use a control system (e.g., Control4, Savant,...
- Page 5 Select “Custom 1”. Then go to the “Correction Value” menu line, and in the sub-menu, select “Import.” The default Gamma value when selecting “Import” is 2.2. You therefore need to select 2.2 in the Envy’s Transfer Function settings. We cover this in section 4.0.1.2.
- Page 6 Lastly, in the Auto Picture Mode Selection menu, for the HDR10 entry, select “User 4” (or “HDR-Auto”, or whatever you named it). The JVC will then automatically select this Picture Mode whenever it sees an incoming HDR signal, which requires a special setting in the Envy, as covered in section 4.0.1.2. 2.0.3.2 Manual Picture Mode Selection the Envy intentionally sends HDR content inside an SDR container.
- Page 7 This is the reason it must be chosen manually, or by using a control system, to properly view HDR content from the Envy. For this option, you must set the HDR Flag menu option in the Envy to Off (see section 4.0.1.2). 3.0 Other Projector Settings There are a few other settings that need to be made in the Projector, in addition to the settings covered in For these settings, go to the Installation Menu (third option from the Left).
- Page 8 4.0.1 Envy Display Calibration Menu 4.0.1.1 Transfer Function If you are not using a 3D LUT, you must set the Transfer Function in this Envy menu to match the Gamma value you set in the JVC. madVR Envy – JVC Setup Guide...
- Page 9 Picture Mode you created for HDR Content (in our example above, User 1, or “HDR-Manual”), or have your control system programmed to select this automatically. madVR Envy – JVC Setup Guide Copyright © madVR Labs, LLC. All rights reserved.
- Page 10 4.0.2 Envy Display Configuration Menu 4.0.2.1 Levels Just as we set the Input Level in the Projector to Limited (16-235), we need to set the Envy to do the same, as shown below. In the Envy, this is called “Limited Range (TV).”...
- Page 11 “sanity check” to help ensure everything is set up optimally: ● Play any 4K HDR movie (except Gemini Man or Billy Lynn). Check the Envy Incoming Signal Menu (press OK on the Envy remote when no Envy menu is active) and make sure that the “Framerate” shows 23.976.


Need help?
Do you have a question about the Envy and is the answer not in the manual?
Questions and answers