
Related Manuals for Apera Instruments Premium ORP5


Summary of Contents for Apera Instruments Premium ORP5
- Page 1 ORP5 Premium Pocket ORP Tester APERA INSTRUMENTS (Europe) GmbH www.aperainst.de v3.1...
- Page 2 Battery Installation Please install batteries according to the following steps. Please note direction of batteries: All POSITIVE SIDES (“+”) FACING UP. (Wrong installation of batteries will cause damage to the tester and potential hazards) ① Pull the battery cap up ②...
- Page 3 Complete kit Preparation Before Use 1) Pour certain amount of Storage solution (KCl) into the probe cap, soak the probe for 3 to 5 minutes to activate the sensor (if frequently used, there is no need to soak). 2) The soaking solution is 3M KCl solution, which comes with the test kit. Users can also make it by themselves by dissolving 25g KCl in 100 ml distilled water.
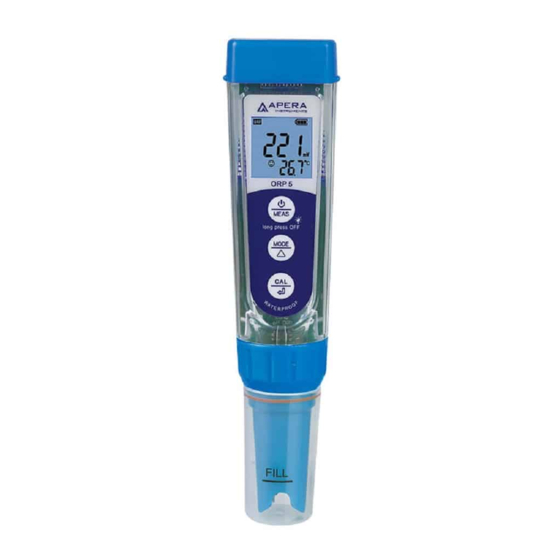
- Page 4 ORP Measurement Press to power on, clean the probe in distilled water and dry it. And place the probe in the tested solution and stir gently and let it stand still. Read the measurement after comes up and stays. Notes 1) Usually there’s no need to calibrate for ORP testing.
- Page 5 9.2 Parameter setting instruction When turned off, long press to enter parameter setting mode; Press to switch from P1- P2-…P6. Press , the parameter flashes; Press to choose parameter Press confirm; Long press to power off. A) High-Low Measurement Heads-Up Examples (P1 and P2) Heads-Up when measured value ≤120 mV: Preset low value = 120 mV, highest value = 1000 mV, when measured value ≤...
- Page 6 We warrant this instrument to be free from defects in material and workmanship and agree to repair or replace free of charge, at option of APERA INSTRUMENTS (Europe) GmbH, any malfunctioned or damaged product attributable to responsibility of APERA INSTRUMENTS (Europe) GmbH for a period of TWO YEARS (SIX MONTHS for the probe) from the delivery.
Need help?
Do you have a question about the Premium ORP5 and is the answer not in the manual?
Questions and answers