Table of Contents
Advertisement
Quick Links
Advertisement
Table of Contents

Related Manuals for Apera Instruments ORP60


Summary of Contents for Apera Instruments ORP60
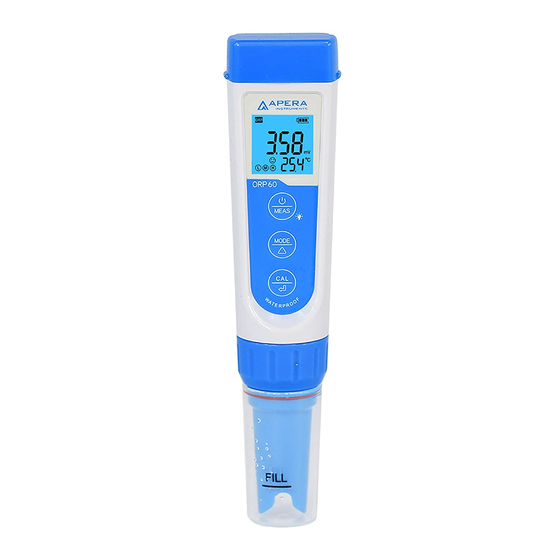
- Page 1 ORP60 Premium Pocket ORP Tester APERA INSTRUMENTS, LLC www.aperainst.com v3.1...
-
Page 2: Battery Installation
1. Battery Installation Please install batteries according to the following steps. Please note direction of batteries: All POSITIVE SIDES (“+”) FACING UP. (Wrong installation of batteries will cause damage to the tester and potential hazards) ① Pull the battery cap up ②... -
Page 3: Preparation Before Use
Complete kit Graph - 2 Preparation Before Use 1) Pour certain amount of Storage solution (KCl) into the probe cap, soak the probe for 3 to 5 minutes to activate the sensor (if frequently used, there is no need to soak). 2) The soaking solution is 3M KCl solution, which comes with the test kit. - Page 4 222 mV (25˚C) ORP Standard Buffer Solution Calibration Reference Table Temperature (˚C) Temperature (˚C) For example, if the temperature is around 25˚C, then adjust the calibration value to 222 mV. If the temperature is around 20˚C, then adjust the calibration value to 227 mV. press to complete the calibration.
- Page 5 Parameter Setting 8.1 Setting chart Symbol Parameter Setting Contents Code Factory Default -1000 to 1000 Low value measurement alarm -1000 -1000 to 1000 High value measurement alarm 1000 Off – On Select automatic lock Select backlight Off - 1 - On 1 (1 min auto off) ˚C - ˚F ˚C...
-
Page 6: Technical Specifications
• Auto. Power-Off in 8 minutes without operation Electrode Replacement Twist off the probe ring, unplug the probe, plug in new probe (pay attention to the electrode’s position), and screw on the probe ring. The compatible model of replacement probe is ORP60-E. - Page 7 We warrant this instrument to be free from defects in material and workmanship and agree to repair or replace free of charge, at option of APERA INSTRUMENTS, LLC, any malfunctioned or damaged product attributable to responsibility of APERA INSTRUMENTS, LLC for a period of TWO YEARS (SIX MONTHS for the probe) from the delivery.
- Page 8 APERA INSTRUMENTS, LLC Address: 6656 Busch Blvd, Columbus Ohio 43229 Phone: 1-614-285-3080 Email: info@aperainst.com Website: www.aperainst.com...
Need help?
Do you have a question about the ORP60 and is the answer not in the manual?
Questions and answers