Table of Contents
Advertisement
Quick Links
Advertisement
Table of Contents

Related Manuals for Kärcher G 3050 OH


Summary of Contents for Kärcher G 3050 OH
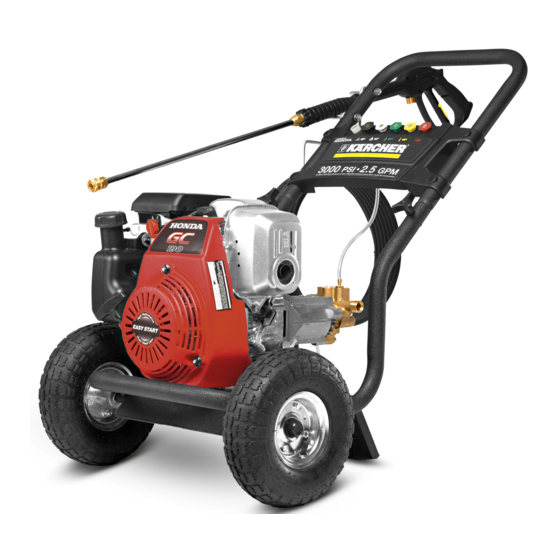
- Page 1 G 3050 OH 9.801-179.0 09/10...
-
Page 3: Table Of Contents
Dear Customer, appliances. Please dispose your old appli- Please read and comply with ances using appropriate collection sys- these original instructions prior tems. to the initial operation of your appliance and Notes about the ingredients (REACH) store them for later use or subsequent own- You will find current information about the ers. -
Page 4: Safety Instructions
Check the high-pressure hose for dam- Helpline age before every use. Please arrange KÄRCHER UK Limited operates a helpline for the immediate replacement of a allowing customers to discuss any prob- damaged high-pressure hose. lems experienced with our products. High-pressure jets can be The helpline operates during normal busi- dangerous if improperly ness hours and may be busy at peak peri-... - Page 5 Do not smoke or use open fire while fill- Children should be supervised to pre- ing and storing fuels. vent them from playing with the appli- ance. Do not overfill the tank. There must not be any fuel in the filling nozzle. This appliance was designed to be used with detergents which are supplied or Fuels may only be filled in a well-venti-...
-
Page 6: Operation
Caution High pressure hose Observe a distance of at least 30 cm The high pressure hose is specially con- when using the jet to clean painted sur- structed with reinforced walls to handle wa- faces to avoid damaging paintwork. ter pressure up to 20,7 MPa - it can be Never leave the appliance unattended easily damaged and should be stored care- when it is in operation. - Page 7 Attach the wand to the trigger gun. Before Startup Mount loose parts delivered with appliance prior to start-up. Illustrations on Page 2 Attach the handle to the frame of the pressure washer. Align holes, insert bolts, and tighten with knobs. Pull the spring-loaded collar of the wand back to insert your choice of quick con- nect nozzle.
- Page 8 Fill gas tank with unleaded gasoline. Water supply Do not use leaded gasoline. According to the applicable regula- Do not add oil to the gasoline. tions, the appliance must never be Connect the high pressure hose to the used on the drinking water supply unit’s high pressure outlet.
- Page 9 WARNING Quick connect nozzles High pressure in nozzle area. The color-coded quick connect nozzles pro- Risk of injury caused by improperly vide a wide array of spray widths from 0° to locked nozzle. 65° and are easily accessible when placed Make sure you hear a ‘click’...
-
Page 10: Transport
Recommended cleaning method Finish operation Spray the detergent sparingly on the dry surface and allow it to react, but not to Caution dry. Only separate the high-pressure hose from Spray off loosened dirt with the high- the trigger gun or the appliance while there pressure jet. -
Page 11: Storage
Maintenance and care When transporting in vehicles Empty fuel tank. Warning Secure the appliance against shifting Prior to any care or maintenance work, and tipping over. switch the appliance off and let the engine Only transport the appliance in an up- cool off. -
Page 12: Technical Specifications
Applied conformity evaluation method Dimensions and weights 2000/14/EC: Appendix V Weight Sound power level dB(A) Tyre pressure (max.) 0,206 G 3050 OH (PSI) Measured: Guaranteed: 107 Values determined as per EN 60335-2-79 The undersigned act on behalf and under Hand-arm vibration value... -
Page 13: Troubleshooting
Troubleshooting You can rectify minor faults yourself with Remove the spark plug cable to prevent ac- the help of the following overview. cidental ignition of the engine before mak- If in doubt, please consult the authorized ing any repair. customer service. Caution Symptom Cause... - Page 14 Symptom Cause Solution No detergent. Detergent suction tube not properly Check connection. connected to the machine. Detergent is too thick. Dilute detergent, for best results use Kärcher detergent. ® Filter on detergent suction tube is Run warm water through filter to clogged.
Need help?
Do you have a question about the G 3050 OH and is the answer not in the manual?
Questions and answers