Advertisement
Quick Links
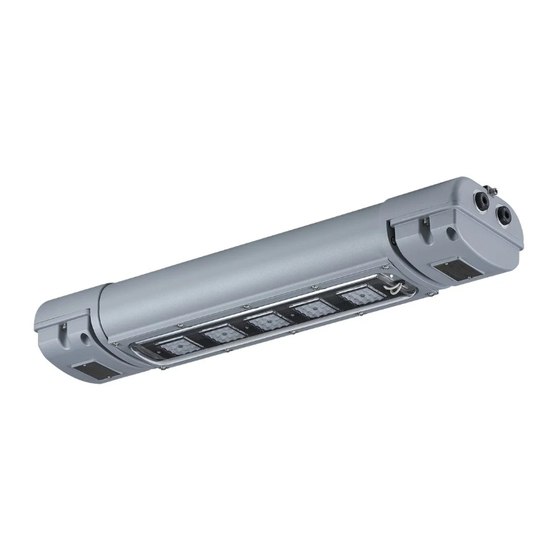
WARRIOR
SPI
Linear Range - Installation Guide
This installation guide provides instructions for installing WARRIOR series of industrial
linear luminaires.
Text in italics is specific for emergency variants.
Overview
Important information
The WARRIOR series of industrial luminaires are specialist devices, for use in specific
operating environments.
The units must be installed in accordance with these instructions and must be installed by
suitably qualified personnel.
If you have any queries about the installation or the certification of the unit – please contact
Raytec for immediate assistance and advice.
Safety Instructions
1
Installation
2
Maintenance
3
Technical Specification
4
Advertisement

Related Manuals for Raytec SPI WARRIOR Series


Summary of Contents for Raytec SPI WARRIOR Series
- Page 1 The units must be installed in accordance with these instructions and must be installed by suitably qualified personnel. If you have any queries about the installation or the certification of the unit – please contact Raytec for immediate assistance and advice.
-
Page 2: Safety Instructions
8. The light source contained in this luminaire shall only be replaced by the manufacturer or his service agent or a similar qualified person. Replace any cracked protective shield Order SPX-BKT-RL-G2 from Raytec Ltd 1.5m Isolate mains before Install in a well... -
Page 3: Installation
1. To meet the requirements of certification a MINIMUM of 2 fixing points must be used, the fixing points must be suitable for the conditions of use. Raytec recommend using 2xM8 or 4xM6 Marine Grade A4 Stainless Steel fixings (not supplied as standard unless with accessory kits) 2. - Page 4 Loop In Loop Out Dimensional Diagrams 641 FOR WL84 STD 1151 FOR WL168STD 400 FOR WL84 700 FOR WL168 Spigot Mount Versions Dimensional Diagrams 969 F O R WL84 E M 851 F O R WL84 1341 FO R WL168 www.raytecled.com UK / Europe Tel: + 4 4 (0) 1670 520055 Americas Tel: + 1 613 270 9990...
- Page 5 Typical wiring diagram - Standard Variants Typical wiring diagram - Emergency Variants GREEN PS U EARTHTO S CREW PS U TO LED's GREY BROWN BROWN BLUE BLUE WHITE WHITE RED WHITE/RED REMOVE LINK IF 4-CORE CABLE USED BLACK BLACK UK / Europe Tel: + 4 4 (0) 1670 520055 www.raytecled.com Americas Tel: + 1 613 2709990...
- Page 6 Open the terminal block enclosure. Wire the Mains cable into the terminal block. Provision has been made for this and identified as the E (Earth), L1 (Live switched), L2 (Live permanent) and N (Neutral) terminals. There are two pairs of contacts for each of these to facilitate a mains cable that can be looped in and out of the unit, in non LL versions an identical terminal block is also available at the other end of the luminaire to allow the unit to be through wired.
- Page 7 WARRIOR Intelligent Emergency Operation Guide The light fitting will carry out the following function automatically after installation: • Commissioning Cycle • Function test • Self-test A tri-colour LED indicator displays the light fitting status. The indication colours are shown in table 1.
-
Page 8: Technical Specification
Notes • The luminaire will switch off momentarily (<0.5sec) during the transition between a test and normal operation. If a test was interrupted by a mains failure, the test will be halted, and the unit will enter emergency mode. Once the mains supply is back, the unit will allow 24 hours to recharge the battery before continuing the tests. - Page 9 Inrush Current Typical Curve Twidth Max number of fittings allowed per MCB (Based on 230V) SPI WL84 STD SPI-WL84 E M SPI-WL168 STD SPI-WL168 E M M C B Type Rating UK / Europe Tel: + 4 4 (0) 1670 520055 www.raytecled.com Americas Tel: + 1 613 270 9990...
- Page 10 UK / Europe T: + 4 4 (0) 01670 520055 hazsales@raytecled.com Americas T: + 1 613 270 9990 ushazsales@raytecled.com www.raytecled.com...
Need help?
Do you have a question about the SPI WARRIOR Series and is the answer not in the manual?
Questions and answers