Table of Contents

Summary of Contents for KERN DAB-SH-e-1610
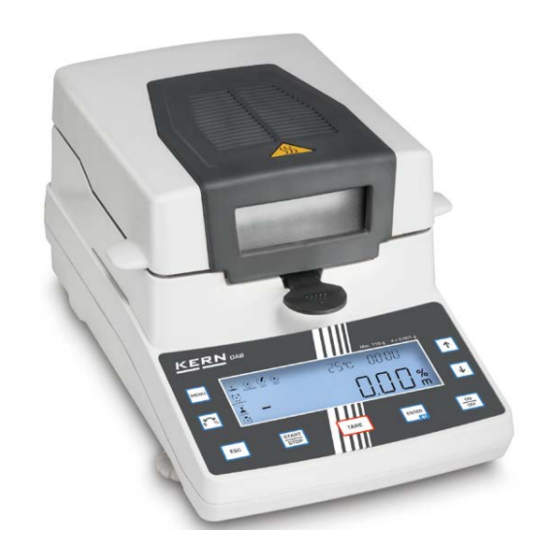
- Page 1 KERN & Sohn GmbH Ziegelei 1 Tel: +49-[0]7433- 9933-0 D-72336 Balingen Fax: +49-[0]7433-9933-149 E-Mail: info@kern-sohn.com Internet: www.kern-sohn.com Service manual Electronic Moisture Analyser KERN DAB Version 1.0 06/2016 DAB-SH-e-1610...
-
Page 2: Table Of Contents
KERN DAB Version 1.0 05/2016 Servicemanual Content Basic Information ..................- 3 - Introduction ....................- 3 - Instruction ....................- 4 - Security ........................... - 4 - Assembly drawing ..................- 5 - Adjustment ..........................- 6 - Error massages........................- 10 - 4.2.1... -
Page 3: Basic Information
After successful repair the balance will have to be reverified before it can be used again in a statutorily regulated field. Introduction This service manual covers the DAB series and is edited for the authorized servicing personnel. Note all rights are reserved. Copying any part of this manual is prohibited without our permission. - 3 - DAB-SH-e-1610... -
Page 4: Instruction
In case of fire or explosion. • Toxic and corrosive substance: Keep the samples of toxic or corrosive ingredients in well-ventilated environment. Above the sample test will be particularly careful, for any damage caused by your own risk DAB-SH-e-1610 - 4 -... -
Page 5: Assembly Drawing
Please installation the instrument according the picture Installation order from top to bottom:1 --2--3--4--5 1. Aluminum scale pan 2. The triangle scale frame,keep in the center with sensor fix. 3.Scale pan brackets 4. Wind cover 5. Stainless steel plate - 5 - DAB-SH-e-1610... -
Page 6: Adjustment
„CAL“ is displayed. 1) Wait until the weighed value for the required adjustment weight appears flashing. Put the required adjustment weight carefully into the centre of the sample dish and close heating hood.Adjustment is carried out automatically. DAB-SH-e-1610 - 6 -... - Page 7 Three point weight adjustment balancecan not weighing, and Press” ” when the light turn on, release and press the liner error more than ±10d. Max load (100g) is flashing put on the calibration weight (100g F2 is recommended) - 7 - DAB-SH-e-1610...
- Page 8 The display will show After a few second it will display Put on the next calibration weight (50 g F2 recommended) After a few second it will display Remove the calibration weight. The display will show DAB-SH-e-1610 - 8 -...
- Page 9 After a few second the display will show Put on the next calibration weight (20g F2 recommended) After a few second it will display Remove the calibration weight Return to the normal operating mode - 9 - DAB-SH-e-1610...
-
Page 10: Error Massages
Err-2: The temperature setting less than 40℃,please reset. Err-3:The testing time less than 30 seconds Err-4: The power for halogen lamp problem. Err-5: The time setting for Soft testing mode less than 3 minutes Err-6:The temperature sensor broken. DAB-SH-e-1610 - 10 -... - Page 11 Please try to adjust the four corner error, adjust the sensor for repeatability level place. When test The sensor not warm up, and also can put 100g weight on the finish,not go pan for one day (Aging experiment) zero - 11 - DAB-SH-e-1610...
-
Page 12: Sensor Fix
1. Heat insulating layer: keep level, if up will touch the case, if down will touch the sensor, the result is make the balance not stable. 2. The connecting pole must in the center of the hole in upper shell 3. The spring also need in the middle. DAB-SH-e-1610 - 12 -... -
Page 13: Halogen Error
After a long use the sensor will be dirty. You have to Temp Sensor clean it from time to time. Must use our calibration meter and put on the pan center,useSoft mode with manual stop, and check the Tempcalibration temperature. See 4.3.1 - 13 - DAB-SH-e-1610... -
Page 14: Temperature Calibration Set
2.The chip broken (temperature control system) Halogen lamp beyond control The switch broken,so can not send the close signal. Not working when press Start 4.3.1 Temperature calibration set TEMP METER Calibration procedure you will find in the manual DAB-BA-e-1610 DAB-SH-e-1610 - 14 -... -
Page 15: Interface And Fan
Can not connect and the com interface. computer The RS232 interface is broken. Choose the truebaud rate Can not print The RS232 broken The printer has a problem Print the error font The baud rate is wrong - 15 - DAB-SH-e-1610... -
Page 16: Fan
1.Press “ ” key to switch on the back light close 2.Back light broken. Please restart the moisture analyzer Just back light,but no The main chip in main-board was broken font show The LCD is broken. DAB-SH-e-1610 - 16 -... -
Page 17: How To Replace The Halogen Lamp
And please give some mark when you move the joint. If make mistake will broken the mainboard.So this step is most important. 3).Unscrew the 8 screws on the baffle 4).Unscrew the 2 screws, so we can remove the lamp. - 17 - DAB-SH-e-1610... -
Page 18: Spare Part List
LCD Display RDAB-4001 Display overlay RDAB-5001 Temperature sensor RDAB-5002 Temperature sensor RDAB-5003 Switch RDAB-8001 Level bubble RDAB-8002 Adjustable base foot RDAB-9001 RDAB-9002 Triangle bracket RDAB-9003 Sample pan handler RDAB-9004 Draft shield RDAB-9005 Removal aid RDAB-9006 Halogen Lamp DAB-SH-e-1610 - 18 -...


Need help?
Do you have a question about the DAB-SH-e-1610 and is the answer not in the manual?
Questions and answers