Table of Contents

Related Manuals for KERN MLS 50-3...N series


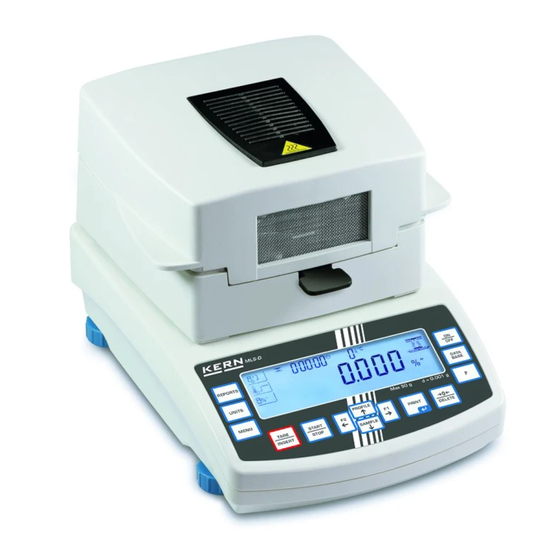
Summary of Contents for KERN MLS 50-3...N series
- Page 1 KERN & Sohn GmbH Ziegelei 1 Tel: 0049-[0]7433- 9933-0 D-72336 Balingen-Frommern Fax: 0049-[0]7433-9933-149 E-Mail: info@kern-sohn.com Internet: www.kern-sohn.com Service Manual Page 2 Electronic Moisture Analyzer KERN MLS 50-3…N Version 1.2 10/2008...
-
Page 2: Table Of Contents
CONTENTS Keyboard Description ..................3 Troubleshooting....................4 Error Messages ....................5 Factory Menu (service menu)................6 How to enter the service menu..............6 Description of factory parameters..............7 Factory Calibration ....................9 Temperature Calibration..................10 Linearity Correction ................... 11 Linearity correction (single-stage) .............. 11 Parabolic linearity correction .............. -
Page 3: Keyboard Description
Keyboard Description Function • Switch machine on/off • Change display during drying process • Start/Stop drying • Cancel an entry • Leave menu • Arrow keys for navigation in menu • Change the value of a parameter • Data export to external device •... -
Page 4: Troubleshooting
Troubleshooting Unit does not turn on Check mains cable Check fuses Check cable connections Problem on power board Problem on display board Problem on main board Balance is weighing but is Mechanical damage unstable Pan rubbing against case or not installed correctly Air drafts or vibration or unstable table Not good parameters for the working conditions Dirt inside the measurement system or inside the coil... -
Page 5: Error Messages
Error Messages Fault messages Error Description number Error of control sum Error data transfer Error A/D Error A/D converter Overcrossed range Outside maximum range Overcrossed range Outside maximum range A/D Null Error A/D converter A/D Full Error A/D converter Tare/zero above the range Outside of weighing range Tare above the range Outside of taring range... -
Page 6: Factory Menu (Service Menu)
Factory Menu (service menu) Contents of the factory menu are parameters needed to start, settings and regulations. How to enter the service menu Open the housing and set jumper „JP1“ on main board 172xxx.PCB to access the service menu. Plug the balance into the power outlet and enter service menu. MLS…N-SH-e-0812... -
Page 7: Description Of Factory Parameters
Description of factory parameters Press the ON/OFF key (main switch) to turn on the balance Enter main menu Set index next to parameter P0 Factory Enter submenu P0 Factory Parameter name Description Parameter number Factory deff Delete all settings in balance and load program P0 01 primal settings »... - Page 8 Temp. corr. Starts temp. compensation in a room with P0 17 regulated temperature (range ± 1°C). Correction is done in temp. 18°C up to 28°C. The parameters/values are stored after doing temperature compensation (parameters P0 27, P0 28). Start div Preload (with pan) - balance find it automatically P0 18 Cal.
-
Page 9: Factory Calibration
Fat perc. fun Function of large content in user menu P0 73 0= disabled (function not available in user menu) 1= enabled (function available in user menu) Heater type Type of heating element in moisture analyzer: P0 74 0= Halogen 1= IR Cor, factor T Service parameter for characteristic of drying... -
Page 10: Temperature Calibration
Temperature Calibration We recommend checking the temperature value of the device from time to time. Before you do this, allow the device to cool down for at least 3 hours after the last heating phase. Push the probe into the designated hole in the disk. Push the probe as closely as possible to the thermal sensor of the MLS. -
Page 11: Linearity Correction
Linearity Correction Linearity correction (single-stage) Enter submenu P0 Factory Set index next to parameter P0 16 and press the button Return to weighing mode: Press the ESC-key repeatedly until the query ”SAVE?“ appears. Confirm query by pressing the PRINT-key or reject it by pressing the ESC-key. MLS…N-SH-e-0812... -
Page 12: Parabolic Linearity Correction
Parabolic linearity correction Enter submenu P0 Factory Set index next to parameter P0 16 and press the button Return to weighing mode: Press the ESC-key repeatedly until the query ”SAVE?“ appears. Confirm query by pressing the PRINT-key or reject it by pressing the ESC-key. MLS…N-SH-e-0812... -
Page 13: Linearity Correction (Multi-Stage)
Linearity correction (multi-stage) Enter submenu P0 Factory Set index next to parameter P0 16 and press the button Return to weighing mode: Press the ESC-key repeatedly until the query ”SAVE?“ appears. Confirm query by pressing the PRINT-key or reject it by pressing the ESC-key. MLS…N-SH-e-0812... -
Page 14: Changing Linearity Factors
Changing linearity factors 1. After come back to weighing mode do calibration. 2. Check balance readings in all measuring points. 3. In case of differences make a note. 4. If there is a positive difference you should add this difference to the factor. If there is a negative difference you should subtract this difference to the factor. -
Page 15: Off-Center Load Adjustment
Off-Center Load Adjustment Scews to adjust the off-center load Zero the display with nothing on the pan. Place a mass of ⅓ of maximum load at the centre, than at the left, rear, right and front side of the pan, ½ of the way out from the centre. -
Page 16: Printout Of Factory Parameters
Printout of Factory Parameters Open the housing and set jumper „JP1“ on main board 172xxx.PCB to access the service menu. Connect a standard printer to RS 232 data interface of the moisture analyzer. Press the ON/OFF key (main switch) to turn on the balance. Enter main menu 29.12.04 Setup...
Need help?
Do you have a question about the MLS 50-3...N series and is the answer not in the manual?
Questions and answers