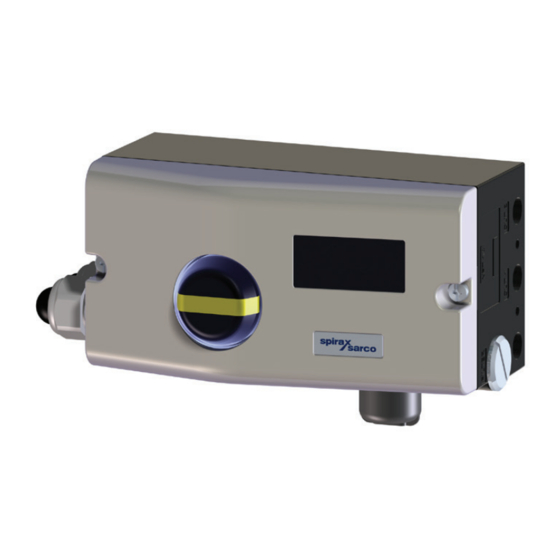
Spirax Sarco SP7-10 Installation And Maintenance Instructions
Hide thumbs
Also See for SP7-10:
- Manual (64 pages) ,
- Installation and maintenance instructions manual (48 pages) ,
- Quick start manual (13 pages)
Advertisement
3440755/1
IM-S51-09
CTLS Issue 1
SP7-10, SP7-11, SP7-12,
SP7-20, SP7-21, SP7-22 and SP8-10
Installation and Maintenance Instructions
Operators must wear ear protection when commissioning the positioner
Copyright © Spirax-Sarco Limited 2022
All rights reserved
Spirax-Sarco Limited grants the legal user of this product (or device) the right to use the Work(s)
solely within the scope of the legitimate operation of the product (or device). No other right is
granted under this licence. In particular and without prejudice to the generality of the foregoing,
the Work(s) may not be used, sold, licensed, transferred, copied or reproduced in whole or in
part or in any manner or form other than as expressly granted here without the prior written
consent of Spirax-Sarco Limited.
SP7-10, SP7-11, SP7-12, SP7-20, SP7-21, SP7-22 and SP8-10
© Copyright 2022
1
IM-S51-09 CTLS Issue 1
Advertisement
Table of Contents

Summary of Contents for Spirax Sarco SP7-10
- Page 1 Work(s) may not be used, sold, licensed, transferred, copied or reproduced in whole or in part or in any manner or form other than as expressly granted here without the prior written consent of Spirax-Sarco Limited. SP7-10, SP7-11, SP7-12, SP7-20, SP7-21, SP7-22 and SP8-10 © Copyright 2022 IM-S51-09 CTLS Issue 1...
- Page 2 The screw plug and the filter insert can be ejected if the screw plug is loosened when the pressurized air is switched on. Only ever loosen the screw plug when the positioner is depressurized and vented. SP7-10, SP7-11, SP7-12, SP7-20, SP7-21, SP7-22 and SP8-10 IM-S51-09 CTLS Issue 1...
- Page 3 For the SP8-10, also check the filter element (sieve) in the supply air inflow for contamination and damage. Power-up the supply air to the positioner and check all screw connections you loosened for tightness. Filter insert Screw plug Fig. 2 Note SP7-10 shown for reference. SP7-10, SP7-11, SP7-12, SP7-20, SP7-21, SP7-22 and SP8-10 IM-S51-09 CTLS Issue 1...
- Page 4 SP7-10, SP7-11, SP7-12, SP7-20, SP7-21, SP7-22 and SP8-10 IM-S51-09 CTLS Issue 1...


Need help?
Do you have a question about the SP7-10 and is the answer not in the manual?
Questions and answers