Advertisement
Quick Links
Advertisement

Related Manuals for Spirax Sarco SP2


Summary of Contents for Spirax Sarco SP2
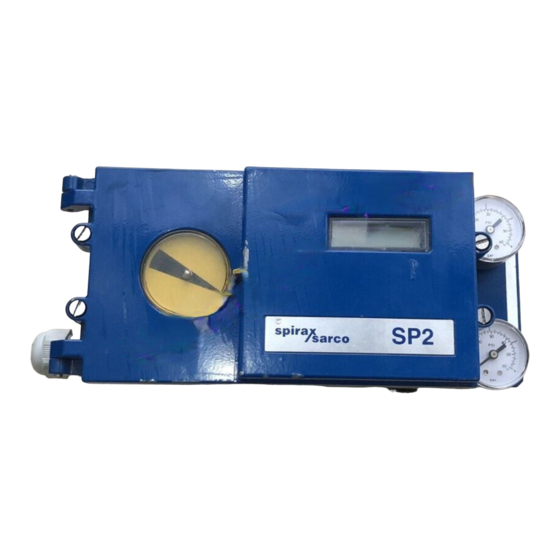
- Page 1 3439152/2 IM-P343-22 CH Issue 2 SP2 Options Installation and Maintenance Instructions 1. General safety information 2. Options 3. Electrical connections 4. Programming and commissioning travel switches 5. Fitting a filter plug kit Printed in the UK IM-P343-22 CH Issue 2...
- Page 2 IM-P343-22 CH Issue 2...
- Page 3 Regional regulations. 1.1 Electrical safety requirements The SP2 is a class III product which must only be powered from Safe Extra Low Voltage (SELV) sources whether by virtue of a 4 - 20 mA control signal or from a separate power supply.
- Page 4 2. Options 2.1 Available options 2.1.1 Software travel switches Two software configured travel switches supplied on a standard options PCB. The travel switch 1 (TS1) is normally open and the travel switch 2 (TS2) is normally closed. 2.1.2 Pepperl and Fuchs mechanical travel switches Two mechanical proximity travel switches plus standard options PCB board.
- Page 5 2.2.3 Loosen the two plastic retaining clamps within the SP2 housing (refer to Fig. 2). Retaining Retaining clamp clamp Fig. 2 2.2.4 Locate the edge of the options PCB in the two cast-in location lugs at the base of the SP2 case (refer to Fig.
- Page 6 2.2.6 Secure the options PCB in place by locating the two retaining clips and tighten the fixing screws. Note: with the retaining clips secured, there will be some float of the PCB (refer to Fig. 4). Retaining clips Earth connection (4 - 20 mA option only) Fig.
- Page 7 2.3 Fitting Pepperl and Fuchs mechanical proximity switches 2.3.1 Fitting of Pepperl and Fuchs switch assembly. Refer to Fig. 5 for components and Fig. 6 for general assembly. Fig. 5 Pepperl and Fuchs switch assembly kit components 2.3.2 Prepare the assembly kit by unscrewing the extension spindle (12) and remove the two switch vanes (6).
-
Page 8: Washer,
Ensure that the electrical and pneumatic supplies to the positioners are isolated. To fit the Pepperl and Fuchs switches it is recommended that the SP2 positioner is removed from the valve / actuator assembly and fitting is carried out on a clean flat surface. -
Page 9: Switch Sensor
2.3.8 It is now necessary to fit the options board. Firstly ensure all elements of the yellow changeover switch SW1 are set at position 'B'. Prepare the ribbon cable by ensuring that the connector is at right angles to the options PCB, ready for insertion into the main PCB socket, (only required with 4 - 20 mA retransmit option). - Page 10 Loosen the option board plastic retaining clamps. Now locate the options board within the SP2 enclosure ensuring it is correctly located within the lugs at the bottom of the housing (refer to Fig. 10). Note: the options board should be located with terminal connectors at the top.
-
Page 11: Im-P343-22 Ch Issue 2
(4) provides fine setting. For setting the Pepperl and Fuchs switches you must now mount the SP2 positioner onto the valve / actuator assembly and recommission the SP2 positioner as described in Section 5, 'Installation' of the SP2 Installation and Maintenance Instructions IM-P343-19. - Page 12 2.4.2 Coarse setting of the PF2 switch Position the valve at the desired switching position for PF2. Coarsely set the second switching vane within PF2 switch sensor (5) as previously described whilst maintaining the previous setting of the PF1 switching vane. Tighten the extension spindle (12). 2.4.3 Fine adjustment of the PF1 and PF2 switch To achieve fine adjustment it is necessary to have some form of switching indicator device across terminals 1 and 2 for PF1 and terminals 3 and 4 for PF2.
-
Page 13: Im-P343-22 Ch Issue 2
3. Electrical connections 3.1 Guidance notes on wiring installation For heavy industrial applications it is recommended to use screened cables or signal cables run in metal conduit. Failure to do so could result in positional errors of up to ±5% in an RF field excess of 10 V/m. - Page 14 3.2 Options board wiring diagrams SW1 shown in position 'A' Socket connections PF1 and PF2 from Pepperl and Fuchs switches Ribbon connection to main PCB EMC earth to case Fig. 16 3.2.1 Options wiring diagrams 1 kW Travel switch 1 4 - 20 mA retransmit Fig.
- Page 15 Table 1 Changeover switch SW1 Terminals 1 and 2 Terminals 3 and 4 (Software travel switches) (Pepperl and Fuchs mechanical travel switches) Table 2 - Software travel switch ratings Ratings Supply Impedance On current Off current < 53 µA @ 24 V TS1 travel switch 18 - 30 Vdc 1 kW...
- Page 16 4. Programming and commissioning travel switches Advance to TUNE in the SP2 main menu. Press key to advance to travel switch 1 (TS1). Shut-off minimum Dead-band ä ä (S-MIN) (dBand) TUNE Travel switch 2 Shut-off maximum (TS2) (S-MAX) Normally closed...
- Page 17 TS1 - software configured travel switch 1 (normally open) Programming notes Software configured travel switches are optional with the SP2 positioner. The switching point can be set as a percentage of the valve travel between 0 to100%. A value can be set outside the limits of the travel settings (MIN-T) and (MAX-T).
- Page 18 TS2 - software configured travel switch 2 (normally closed) Programming notes Software configured travel switches are optional with the SP2 positioner. The switching point can be set as a percentage of the valve travel between 0 to 100%. A value can be set outside the limits of the travel settings (MIN-T) and (MAX-T).
- Page 19 To change the filter proceed as follows: Ensure that the air supply to the positioner is isolated. Unscrew the filter plug (1) from the SP2 housing using a 5 mm allen key (refer to Fig. 22). The replacement filter plug can now be fitted: Fit the 'O' ring (4) and filter (3) onto the filter plug (1) (refer to Fig.
- Page 20 IM-P343-22 CH Issue 2...
Need help?
Do you have a question about the SP2 and is the answer not in the manual?
Questions and answers