Table of Contents
Advertisement
Quick Links
WARNING
In order to reduce the risk of personal injury and damage to equipment, basic safety precaution should always
be followed when assembling and using this product. Read all instructions carefully before assembly and use.
•
Some parts may contain sharp edges. Wear protective gloves if necessary.
•
In order to ensure safe assembly, it is recommended that this product be assembled by at least two
people.
•
Keep children and pets away from the assembly area.
•
Begin the assembly at least 6' (1.8 m) away from any obstruction, such as a fence, garage, house,
overhanging branches, laundry line, or electrical wires.
•
Install this gazebo on level ground. This gazebo cannot be permanently stacked or attached to a
concrete floor or platform. This gazebo is intended for decorative and sunshade purposes only, and is
not designed to withstand harsh weather, including high winds, rain, and snow.
•
Verify that all nuts and bolts are tightly secured before and during use.
•
Remove the canopy or take other precautions in high wind conditions.
•
Anchor or stake a minimum of four (4) locations of the unit to the ground for added safety and security.
Assembly Instructions
ITEM# L-GZ136PST-9
Advertisement
Table of Contents

Subscribe to Our Youtube Channel
Related Manuals for Sunjoy L-GZ136PST-9


Summary of Contents for Sunjoy L-GZ136PST-9
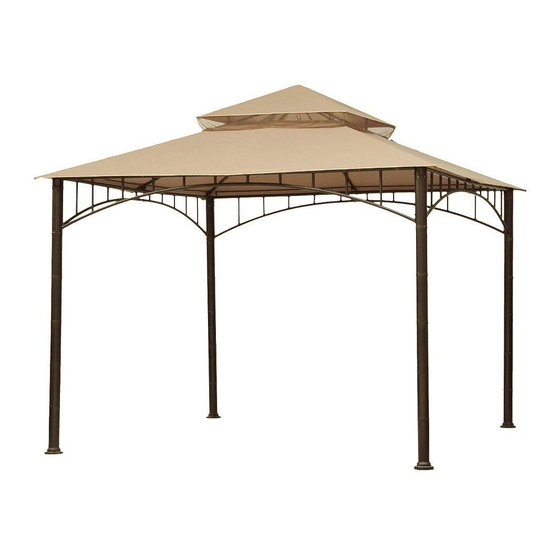
- Page 1 Assembly Instructions ITEM# L-GZ136PST-9 WARNING In order to reduce the risk of personal injury and damage to equipment, basic safety precaution should always be followed when assembling and using this product. Read all instructions carefully before assembly and use. •...
- Page 2 Parts List 4 pieces Left Frame 4 pieces Right Frame 4 pieces Column Top Connector for the 1 piece second roof 1 piece Hook Short Bar for the second 4 pieces roof Medium 4 pieces second roof Long Bar for the second 4 pieces roof Canopy for the second...
- Page 3 Tools required: Hammer, Ladder, Screwdriver (not included) Hardware ease identification hardware organized into Identification separate Hardware packs for each Hardware type in the Instruction Manual. Hardware Pack 1 (AA) M6×20 screw 28 pieces TBZ01406020HQ (BB) M6 big flat washer 28 pieces TBZ10806HQ Hardware Pack 2 (CC) M6×40 screw...
- Page 4 STEP #1 Columns (x28) (AA) (x28) (BB) Fig.1, Fig.2: Insert each Left Frame (1A) into Right Frame (1B) to form four side screens around, and secure them by using Screw AA and Washer BB. Fig.3: Attach the assembled screens onto four Columns (1C) by using Screw AA and Washer BB, to get a complete frame.
- Page 5 STEP #2 The second roof (x 8) (CC) (x 8) (BB) (x 8) (DD) (x 1) (WW) (X12) (GG) Fig.4: Insert one end of Medium Bar for the second roof (2D) into one end of Short Bar for the second roof (2C).
- Page 6 STEP #3 Top roof, canopy and mosquito net (x 4) (CC) (x 4) (BB) (x 4) (DD) Fig.8: Put Canopy for the second roof (3A) onto top roof. Do not complete it here in order to assemble the second roof. Fig.9: Insert Small Top Pole (3C) into Top Connector (3B), then use screws CC, washers BB and nuts DD to secure 3C and bars on the second roof.
- Page 7 Important: Please do not return this product to the store. For technical assistance on assembly or replacement parts. Please call Sunjoy Industries at 1-866-578-6569 from 8:00 am EST to 8:00 pm PST or fax the replacement part form which is in the box to 1-740-283-3549 or Email customer.care@sunjoygroup.com for assistance.
Need help?
Do you have a question about the L-GZ136PST-9 and is the answer not in the manual?
Questions and answers