Table of Contents
Advertisement
Quick Links
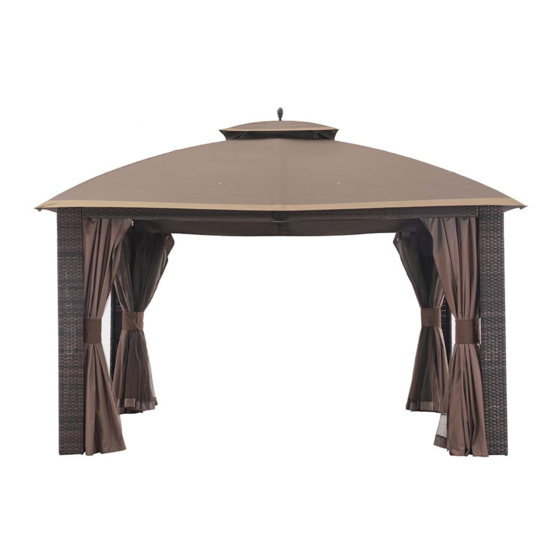
10x12 ft Sonoma resin wicker gazebo-Canopy
Assembly Instruction
Item no# L-GZ815PST-1-PK
SAFETY INFORMATION
Please read and understand this entire manual before attempting to assemble
or install the product.
WARNING
Keep all children and pets away from assembly area. Children and pets should be
supervised when they are in the area.
Keep all flame and heat sources away from the tent fabric. This tent is made with
fabric that meets CPAI-84 specification for flame resistance. It is not fireproof. The
fabric will burn if left in continuous contact with any flame sources. The application of
any foreign substance to the tent fabric may render the flame-resistant properties
ineffective.
PREPARATION
Before beginning assembly of product, make sure all parts are present. Compare
parts with package contents list. If any part is missing or damaged, do not attempt to
assemble the product.
Advertisement
Table of Contents

Subscribe to Our Youtube Channel
Summary of Contents for Sunjoy L-GZ815PST-1-PK
- Page 1 10x12 ft Sonoma resin wicker gazebo-Canopy Assembly Instruction Item no# L-GZ815PST-1-PK SAFETY INFORMATION Please read and understand this entire manual before attempting to assemble or install the product. WARNING Keep all children and pets away from assembly area. Children and pets should be supervised when they are in the area.
- Page 2 Parts List Small canopy 1 pc Big canopy 1 pc Fig.1: Open the hook-and-loop fasteners at the valance of canopy. Fig.2: Remove four corners of the canopy from cant beam (I) and take down the canopy. Fig.3: Take down the small top from big top. Fig.4: Open the hook-and-loop fasteners at four corners of small top netting.
- Page 3 Fig.5: Remove the finial (O) from small top. Fig.6: Remove the small canopy (T) from small top cant beam and take it down. Fig.7: Take down the big canopy (U) from big top. Fig.1: Put the big canopy (U) onto the big top but do not spread out.
- Page 4 Fig.3: Fix four corners of small canopy (T) to the end of small top cant beam (K). Fig.4: Fix the hook-and-loop fasteners at the bottom netting of small canopy (T) Fig.5: Fix the small top to the big top by inserting the tube of the small top cant beam (K) into the tube of big top cant beam (F).
- Page 5 Please do not return this product to the store. For technical assistance or replacement parts, please call Sunjoy Group at 1 (866) 578-6569 between 8:00 AM EST and 8:00 PM PST. You may fax your replacement parts form (which is...


Need help?
Do you have a question about the L-GZ815PST-1-PK and is the answer not in the manual?
Questions and answers