Table of Contents
Advertisement
Quick Links
Our clear, easy-to-follow, step-by-step instructions will guide you through the project from start to finish.
All you will need is a hammer and ladder (not included) whose height is no less than 2.5m.
Item Identification: For ease of identification, all parts are labeled to correspond to the Step number in
which the part is used.
PRECAUTIONS:
Do not cook underneath canopy.
Do not ignite fireworks underneath canopy.
Do not bleach canopy to clean.
Do not dry clean.
Do not wash in washing machine or dry in dryer.
Lower and secure side panels if open in stormy conditions.
Be certain to brush snow off cover in winter
This is a temporary structure and is not recommended as a permanent structure.
Assembly Instructions
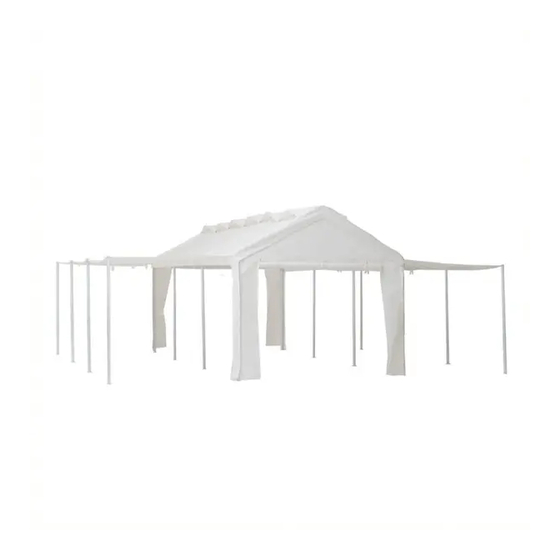
10'x20' Shelter
Item: L-GZ761PST
Advertisement
Table of Contents

Related Manuals for Sunjoy L-GZ761PST


Summary of Contents for Sunjoy L-GZ761PST
- Page 1 Assembly Instructions 10'x20' Shelter Item: L-GZ761PST Our clear, easy-to-follow, step-by-step instructions will guide you through the project from start to finish. All you will need is a hammer and ladder (not included) whose height is no less than 2.5m. Item Identification: For ease of identification, all parts are labeled to correspond to the Step number in which the part is used.
- Page 2 Parts List 3-way corners for horizontal bar 4-way corners for horizontal bar Post (1) Horizontal bar Incline bar Post (2) Post base Screw cap Top canopy Short side panel Stake...
- Page 3 Hardware Pack 1 Flat washer M8 Nut M8 Bolt M8*60 Elastic ball strap Rope L=3000mm Wrench M8 Frame Assembly Layout 1. Incline bar (E) 2. Horizontal bar (D) 3. 4-way corners (B) 4. 3-way corners (A)
- Page 4 Frame Assembly Each bar (E, D) has a spring-activated button for locking into the corner pieces. Insert Incline bar (E) and Horizontal bar (D) into corners (A, B) as shown below and the spring-activated button will lock into the corner pieces. Top Canopy Assembly Spread the top canopy (I) over the inclined frame as shown below.
- Page 5 Short side panel Assembly Tie the short side panel (J) to the incline bar (E) with the elastic ball strap (DD) as shown below. Insert the strap through the grommet on the canopy. Wrap the strap around the bar and then around the ball to lock the ball in place, as shown in Fig.1 &...
- Page 6 Post (1) Assembly Each post (1) has a spring-activated button for locking into the corner pieces. Insert post 1 (C) to post base (G) and tighten with bolt (CC), flat washer (AA) and nut (BB). There are two optional holes on the bottom of the posts.
- Page 7 Post (2) Assembly Insert post 2 (F) to post base (G) and tighten with bolt (CC), flat washer (AA) and nut (BB). Insert stake (K) to post base (G), then attach the side panel of top canopy (I) and the assembled end of rope (EE) to the screw of top post (2) and fix them by screw cap (H).
- Page 8 This warranty gives you specific legal rights, and you may also have other rights which vary from state to state. Important: For technical assistance on assembly or replacement parts, please call Sunjoy Industries at 1(866) 578-6569 from 8:00 AM EST to 8:00 PM PST or email to customer.care@sunjoygroup.com or visit www.sunjoyonline.com to place your order or fax your parts replacement order form together with your...
Need help?
Do you have a question about the L-GZ761PST and is the answer not in the manual?
Questions and answers