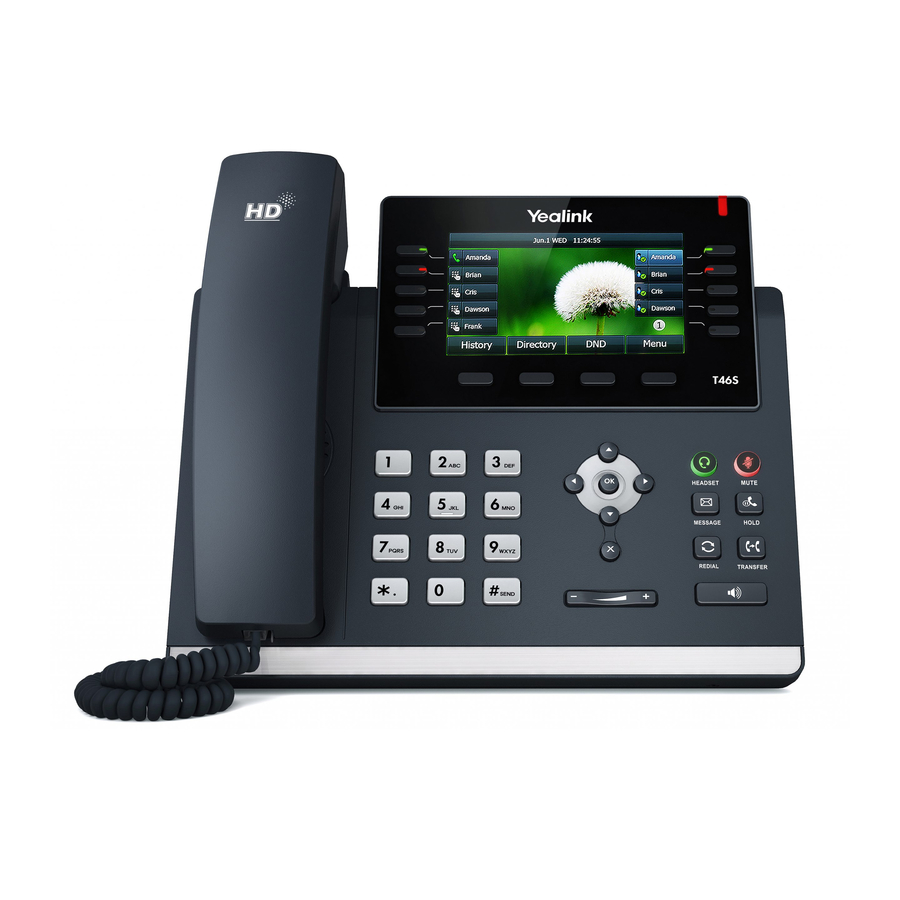
Yealink SIP-T46S Quick Start Manual
Hide thumbs
Also See for SIP-T46S:
- Quick start manual ,
- User manual (239 pages) ,
- Quick reference manual (8 pages)
Summary of Contents for Yealink SIP-T46S
-
Page 1: Table Of Contents
Home PBXware SERVERware TELCOware SIPmon SIPProt Desktop & Mobile UADs Appliances From Bicom Systems Wiki Contents 1 Introduction 2 Video Tutorial 3 Requirements 3.1 Identifying phone model 3.2 Phone firmware 3.3 DHCP server 3.4 PBXware version 4 Installation 4.1 Power adapter 4.2 Power over Ethernet (PoE) 4.3 Find the phone IP address 4.4 Reset to factory settings... -
Page 2: Video Tutorial
This Configuration Guide is written as general guide on how to configure the Yealink phone model SIP-T46S to work with PBXware 4.1. Yealink T46S supported features: Multiple VoIP accounts Auto provision via TFTP/HTTP/HTTPS Call hold, mute, DND Call forward, call waiting, call transfer... -
Page 3: Requirements
Make sure that your phone is loaded with appropriate firmware version,66.81.x.x. To find out the firmware version of your Yealink phone model open a new browser window and enter your phone IP address in order to access the phone web administration interface login screen. -
Page 4: Installation
Make sure the Ethernet cable and router or switch is Power over Ethernet (PoE) compliant. Find the phone IP address Find out your Yealink phone IP Address. Press OK button. The IP address will be displayed on the top of display. -
Page 5: Registering Phone
Do not unplug or remove power to the phone while it is updating firmware and configurations. Registering phone This chapter describes how to identify Yealink phone model, requirements that must be met and how to register the phone using manual configuration or auto provisioning. The following topics are covered:... - Page 6 UAD settings Navigate to Settings:UAD. Make sure Yealink UAD is enabled. To check the UAD status click on the edit icon corresponding to your Yealink phone. Make sure Status is set to Active, Auto provisioning is set to No, and DHCP is set to Yes.
- Page 7 Registering Phone This chapter describes how to register Yealink phone using Hostname or IP Address, or DNS SRV. The following topics are covered: Hostname or IP Address DNS SRV Hostname or IP Address Login to phone web administration interface Open a new browser window and enter your phone IP address in order to access the phone web administration interface login screen.
- Page 8 - Example for IP Address: 192.168.1.10 Click on the Confirm button. You'll have to wait sometime prior for the device to reboot. If everything is done as above described, you should have successfully registered your phone to PBXware. Dial *123 to verify registration.
-
Page 9: Auto Provisioning
Example: http://192.168.1.10. Login to PBXware with your e-mail address and password. UAD settings. Navigate to Settings:UAD. Make sure Yealink UAD is enabled. To check the UAD status click on the edit icon corresponding to your Yealink phone. - Page 10 Enter a name for the extension being created. Example: John Smith. E-mail Enter the e-mail address associated with this extension. This e-mail address will receive all system notification messages. Example: john.smith@bicomsystems.com Auto Provisioning Set to Yes. MAC Address Enter Yealink phone MAC address. Example: 001565FF1536. MAC address can be found...
- Page 11 Click on the Save button. Registering Phone This chapter describes how to register Yealink phone using DHCP, TFTP, HTTP & HTTPS or DNS SRV. The following topics are covered: DHCP TFTP or HTTP & HTTPS...
- Page 12 Example for Hostname using HTTPS: https://abc.bicomsystems.com/prov Example for IP Address using HTTP: http://192.168.1.10/prov Example for IP Address USING HTTPS: https://192.168.1.10/prov Enter Auto Provisioning username and password into User Name and Password fields. If you choose to use server type TFTP enter tftp:// followed by Hostname or IP Address Example for Hostname: https://voip.bicomsystems.com Example for IP Address: tftp://192.168.1.10...
-
Page 13: Using Tls
Auto Provisioning. Login to phone web administration interface If there is no DHCP in your network, you can still auto provision your Yealink phone. Please refer to your Yealink phone model User Guide for instruction about setting static IP address. -
Page 14: Configure Blf
PBXware. If everything is done as above described, you should have successfully registered your phone to PBXware. Dial *123 to verify registration. Configure BLF This chapter describes how to configure BLF (Busy Lamp Field) for Yealink T46S. The following topics are covered: - Extension Settings... -
Page 15: Phone Settings
Click on Confirm button to save changes. Additional Configuration Template If You want to include some additional UAD configuration for Yealink T46S, just add fields to User Agent General Auto Provisioning Template in Settings -> UAD -> Yealink T46S menu, or add them directly to the extension in UAD Auto Provisioning Template section.


Need help?
Do you have a question about the SIP-T46S and is the answer not in the manual?
Questions and answers