Advertisement
Quick Links
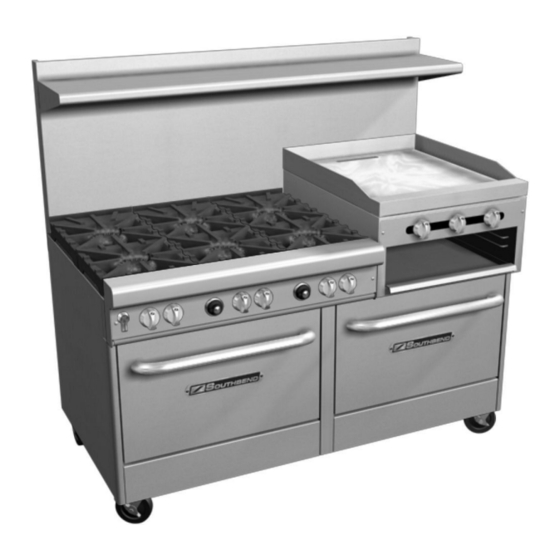
Owner's Manual
Restaurant Ranges
Model 4365A
Improper installation, adjustment, alteration, service, or maintenance can cause property damage, injury, or death.
Read installation, operation, and maintenance instructions thoroughly before installing or servicing this equipment.
1100 Old Honeycutt Road, Fuquay-Varina, NC 27526 USA • www.southbendnc.com
O
'
M
1190820
WNER
S
ANUAL
REV
$30.00
Ultimate
Model 400 Series
3 (11/10)
Model 4601DD-2RR
WARNING
IMPORTANT FOR FUTURE REFERENCE
Please complete this information and retain
this manual for the life of the equipment:
Model #: __________________________
Serial #: __________________________
Date Purchased: ___________________
U
R
LTIMATE
ESTAURANT
M
ANUAL
R
ANGES
S
ECTION
Advertisement


Need help?
Do you have a question about the 4601AA and is the answer not in the manual?
Questions and answers