Advertisement
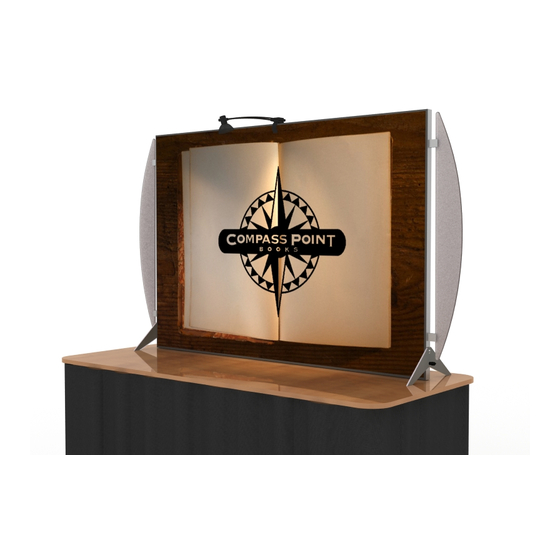
Order #XXXXX - VK-1851 - Table Top - Graphic Frame Assembly
Graphic: To Ensure Proper Fit
Corner A
Corner B
Corner D
Corner C
It is important to first insert
Step 1
graphic into each alternate
Insert corner A. Turn edge of
corner then to the sides of
graphic so silicon welt is
the frame. If this is not done,
perpendicular to face of
graphic will not fit into the
graphic. Insert narrow side
frame correctly.
of welt with fabric to outside
into the channel. Repeat for
other side of this corner.
Corner
Tighten knob
to secure
1
w w w . c l a s s i c e x h i b i t s . c o m
Step 2
Step 3
Repeat Step 1 for opposite
Once all corners are inserted,
corner C, then insert corner
press one silicon edge into
B, followed by corner D, to
channel from corners and
complete the installation of
work
toward
the corners.
Make sure welt is fully inserted
into channel. Continue until
all sides are done. Smooth
out edges of graphic.
5
6
Center
Slide connecting
bar between
verticals/horizontals
and tighten knob
to secure
3
4
WHEN DISASSEMBLING ALUMINUM EXTRUSION, TIGHTEN ALL
SETSCREWS AND LOCKS TO PREVENT LOSS DURING SHIPPING
Graphic Removal
To remove the graphic from
the frame, locate the fabric
pull tab. Gently pull up on the
the
center.
tab to remove the fabric.
Item
Description
44" SEG Extrusion
1
2
44" SEG Extrusion
3
31.5" SEG Extrusion
4
31.5" SEG Extrusion
5
31.5" SEG Extrusion
6
31.5" SEG Extrusion
A10 Clamp Attachment
When desired location
2
is found, tighten
set screw to secure.
Tighten knob to
secure wing in place.
866.652.2100
When
assembled
Setups:
1) Assembled SEG extrusions together on floor.
2) Apply SEG graphic to assembled frame.
3) Attach feet to both sides of assembled frame
where indicated.
4) Attach wings to assembled frame.
Foot Attachment
Hook keyhole cut
out up bolt
Tighten Knob to secure
Step 1
© 2012
Advertisement
Table of Contents

Summary of Contents for SEGUE VK-1851
- Page 1 Step 1 Order #XXXXX - VK-1851 - Table Top - Graphic Frame Assembly 866.652.2100 Graphic: To Ensure Proper Fit Graphic Removal Corner A Corner B Corner D Corner C It is important to first insert Step 1 Step 2 Step 3 graphic into each alternate Insert corner A.
- Page 2 Step 2 Order #XXXXX - VK-1851 - General Information 866.652.2100 Using Your Setup Instructions The Visionary Designs Setup Instructions are created specifically for your Detail A configuration. They are laid out sequentially, including an exploded view of the entire display, and then a logical series of detailed steps to assemble the main structure and components.
- Page 3 Step 3 Order #XXXXX - VK-1851 - Portable Case Packing Instructions 866.652.2100 Top View of Each Level Level 1 Level 2 Level 3 WHEN DISASSEMBLING ALUMINUM EXTRUSION, TIGHTEN ALL SETSCREWS AND LOCKS TO PREVENT LOSS DURING SHIPPING © 2012 w w w . c l a s s i c e x h i b i t s . c o m...


Need help?
Do you have a question about the VK-1851 and is the answer not in the manual?
Questions and answers